Creating Sunbursts with Ease:: A scrapbooking tutorial by Marcy Penner
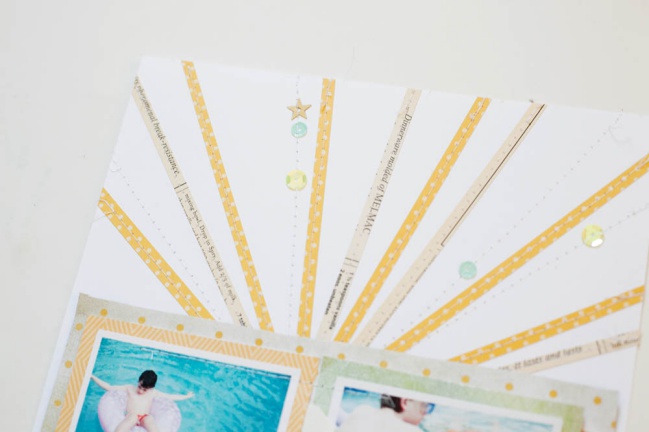
I think on the ‘Technique’ spectrum I fall more on the tips and tricks side. I like to find new ways to do things and find ways to make things easier. I’ve loved creating starbursts on layouts for a while now. Especially in summer. They just seem to ‘fit’. I wanted to share how I’ve been creating them lately… highlighting a little trick that will make them a whole lot easier and faster.
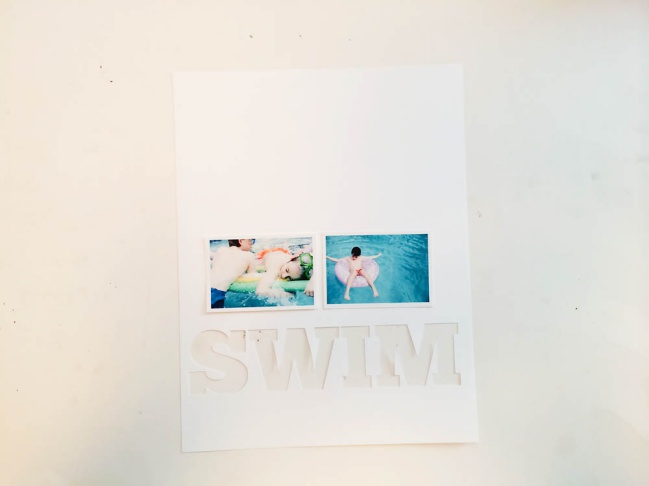
I want to hide the base of my sunburst behind my photos so I decided on two photos running across my page and sitting on top of a large title. I cut this title out with my Cameo.
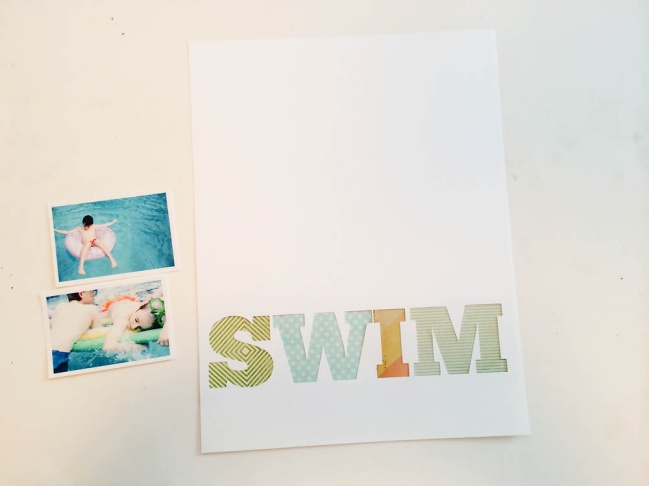
I chose some scraps of papers in summer-y colours and adhered them behind the letters cut out in my background.
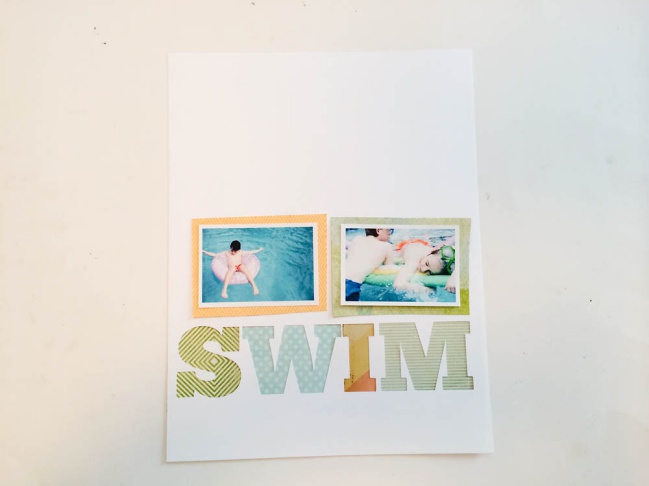
I matted my photos with patterned paper individually and then adhered the both of them to another piece of patterned paper. This way I’m guaranteed to have the centre of my sunburst covered.
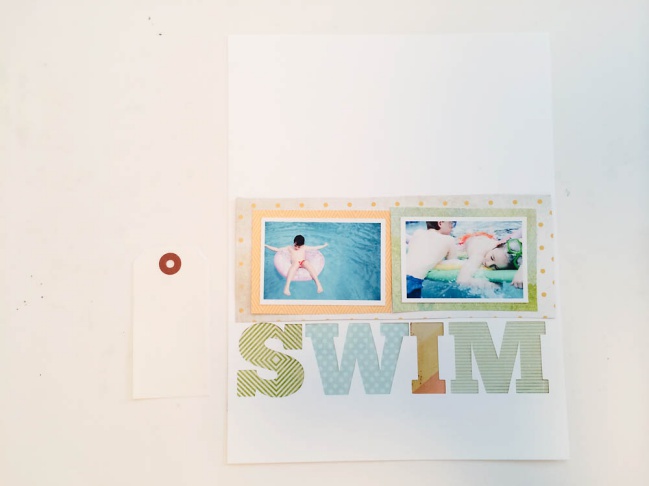
I’ll be sticking the photos and their patterned paper base down later so I’m going to move that aside and layer a few bits under it here and there.
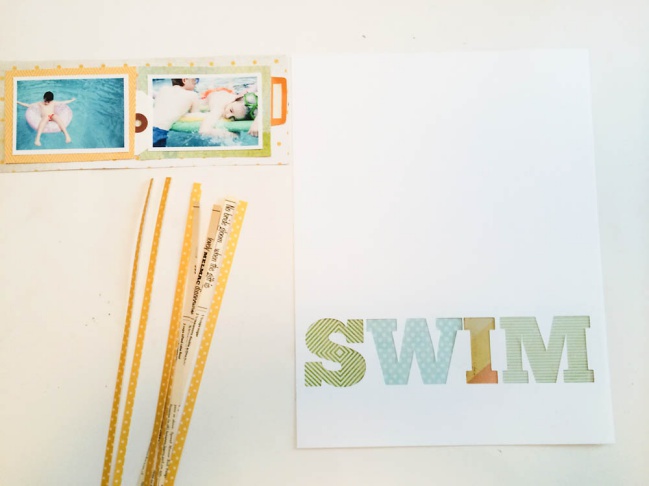
I chose a yellow paper for my sunburst. I was picturing a thin/skinny sunburst but this would work with thicker strips as well.
I trimmed random skinny strips of that yellow paper and got them ready.
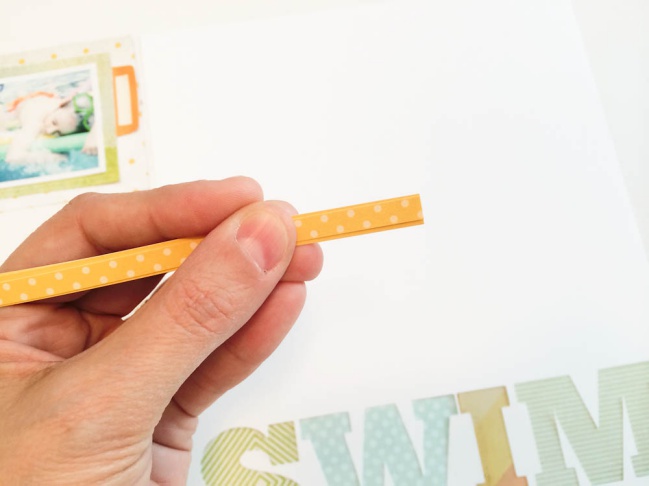
Now, here’s where the trick comes in. I could just mark a spot on my card stock and adhere all the strips down coming off that mark. But I’ve found an easy way to do that… to keep them in that centre point but also allowing them to be moved around and adjusted until I was happy.
I gathered up my skinny strips and piled them all together. I made a pencil mark on my page where I wanted all the strips to originate from.
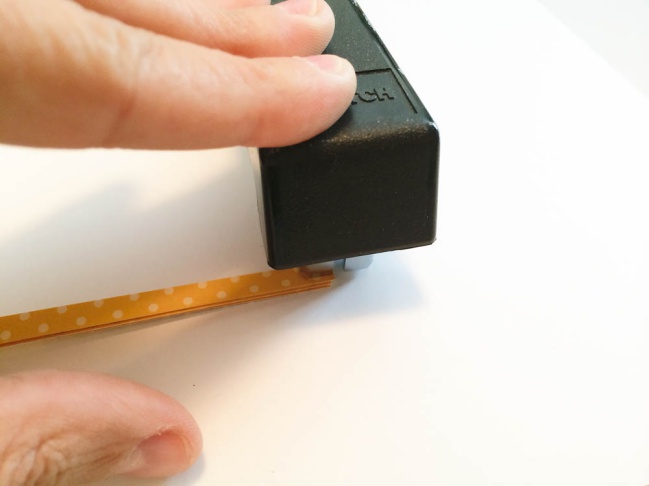
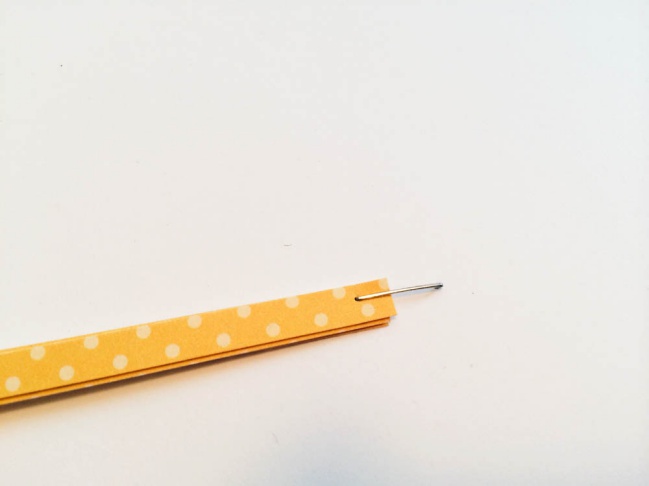
Using a long-reach stapler I stapled them onto the centre of the page…. having only one prong of the
staple going through the pile of strips. You could easily do this with a regular stapler too. You’d just have to open the stapler and staple into the pile making sure you have a mat underneath to bend your prongs back.
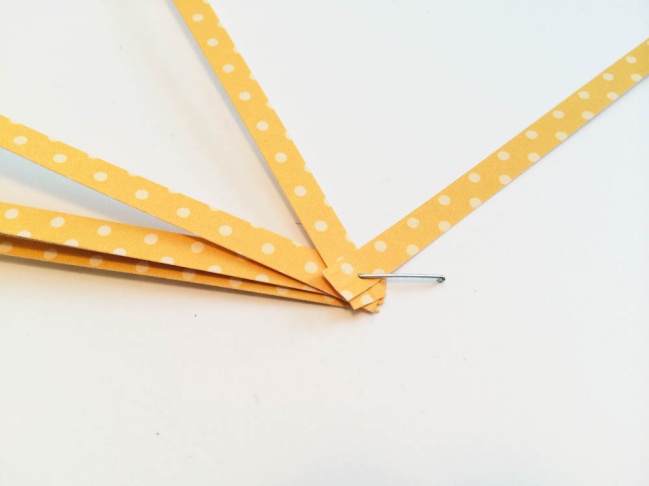
Now I simply fanned my strips out.
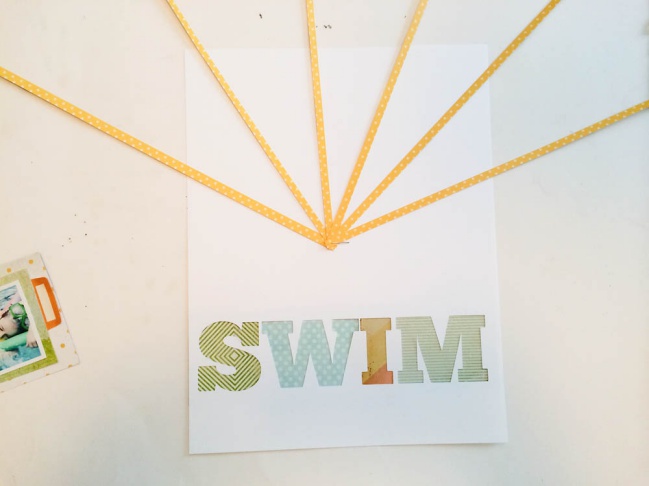
Having the staple keeping my strips anchored to my page lets me spread them out until I’m happy. They’re not going to move from that centre mark and I’m not going to accidentally brush one aside and have to line them all up again.
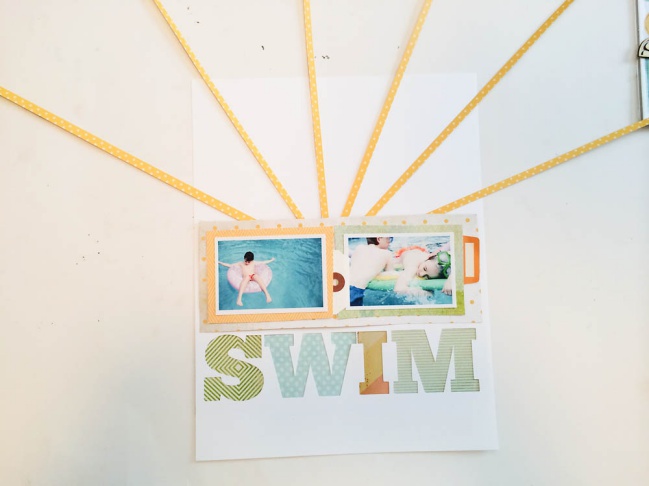
I did a quick check of their placement by putting my photo collage on top and adjust the rays again.
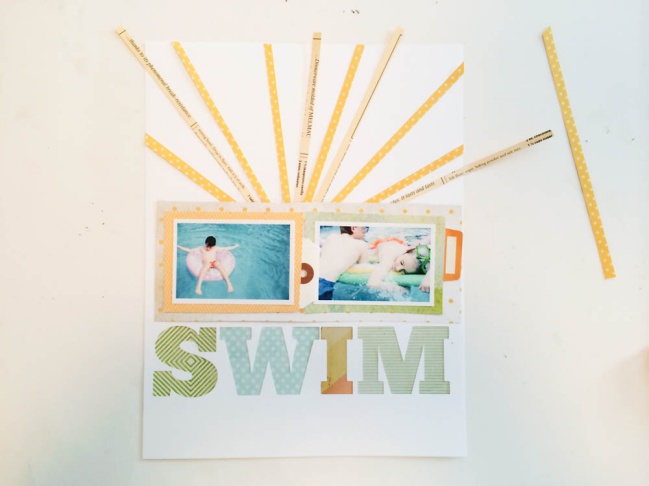
In the end I decided to add some more and and just quickly tucked in some of the extra strips with the B side showing.
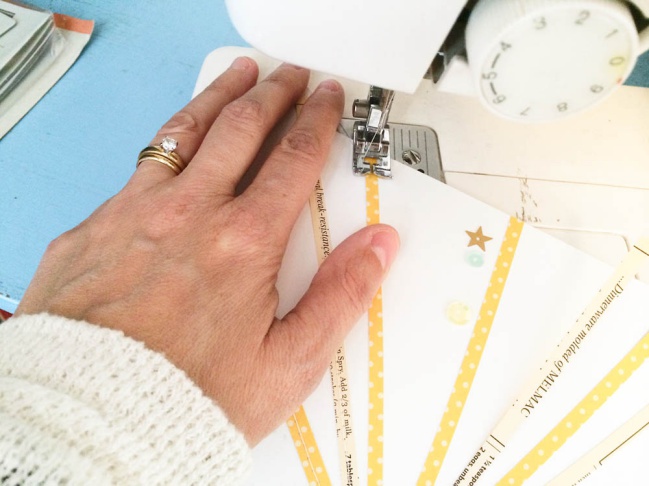
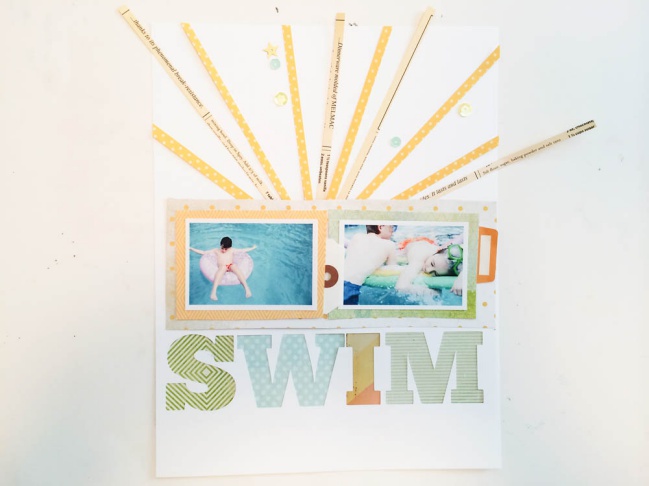
Using just a bit of my roller adhesive I tacked down the strips and got them ready to run through my sewing machine. I added a few sequins in between the rays to sew down as well.
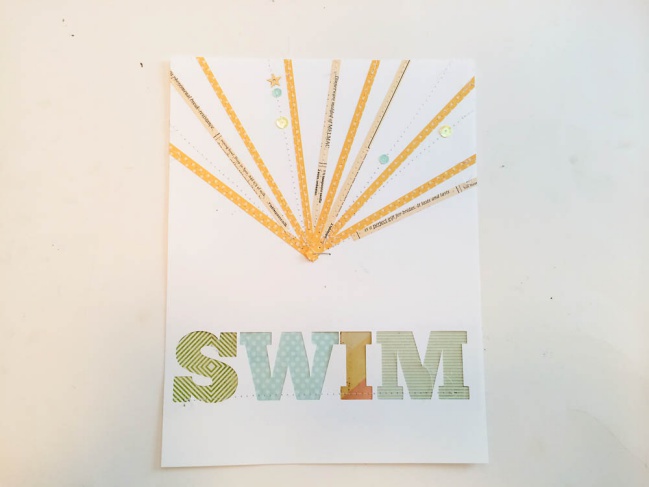
Now I have all my strips sewn down. By not adhering my photos till the very end I can sew right down to the centre. At this point I removed my staple. The stitches will hold everything in place.
Once my photos are glued down over top I sewed them down a bit and did some journaling under my title and some enamel dots and washi tape.
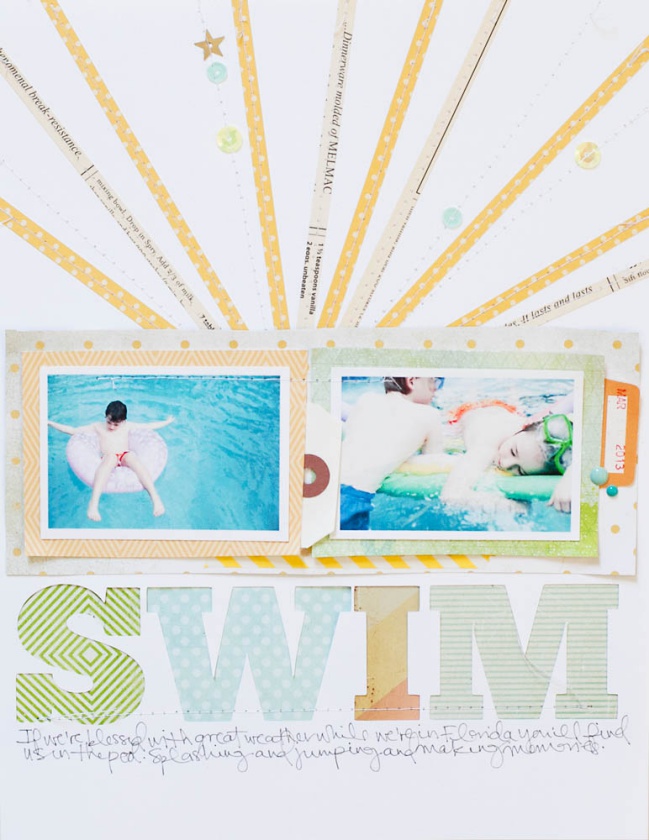
Sunbursts were always challenging for me to put together… mainly because as I added strips and adjusted them things got moved around pushed aside. But using a stapler to anchor them I’m free to adjust to my heart’s content and not always find myself back at square one.
Anything to make things a little easier.
| Marcy is a self-proclaimed simple girl. She is married to her high school sweetheart and they have three kids. For the last 12 years they’ve been living on the family farm, homeschooling two of their three kids and renovating a 120 year old farmhouse in Canada. Yes. Still renovating! She’s a major homebody so country life is a great fit for her! Back in the day she earned her Bachelor of Education degree, but an artistic life has always been calling her name. She’s always busy doing something creative, photography (sometimes shooting others, but enjoying shooting her own family the most), scrapbooking, decorating… you name it! She loves that scrapbooking combines so many of her hobbies into one! It’s the perfect fit. You can find Marcy at her blog, Hello Forever , and hanging out on Twitter and Instagram. She also design for Studio Calico and is a Garden Girl over at Two Peas in a Bucket. |  |
![]() Read more about:
Read more about:
Next post: Using that Inspiration:: A Scrapbook Tutorial by Paige Evans
Previous post: Scrapbooking your Wedding Photos


