Five Fun Ways to Stitch on your Layout by Marie-Pierre Capistran
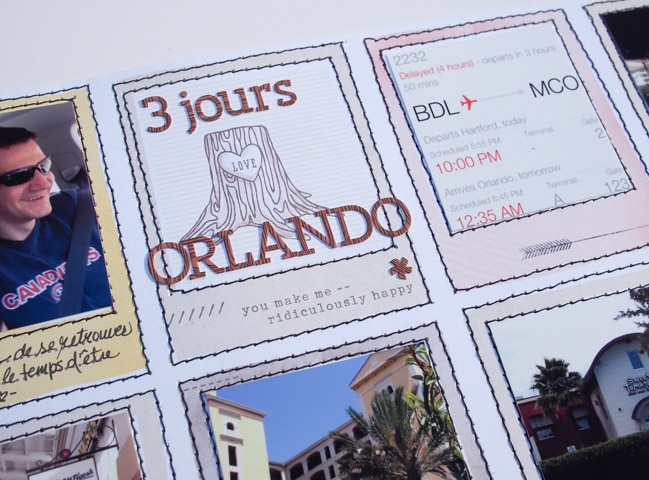
Stitching is really trendy right now in the world of scrapbooking. It’s a very nice and easy way to add some color and texture to a page. I keep my sewing machine out and accessible in my scrap room and I do stitch on every single layout I make! Let me show you 5 ways I like to add stitching to my pages.
Making lines on which I can write my Journaling
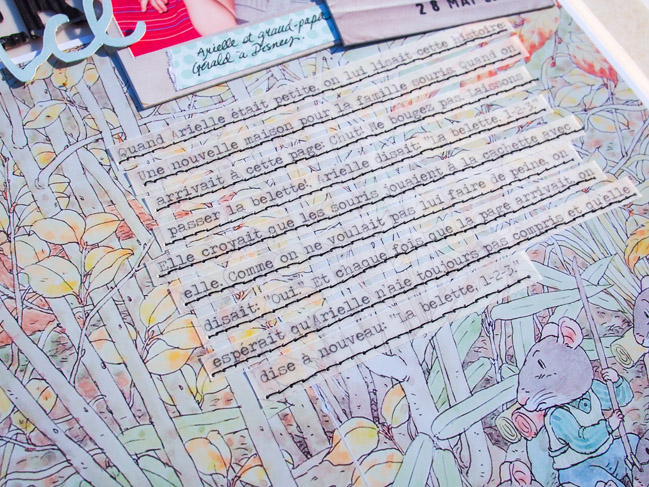
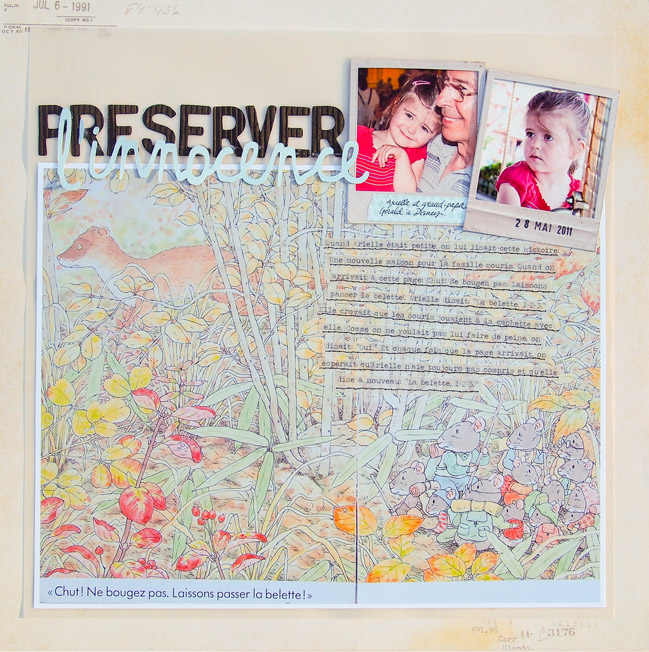
Usually I will stitch some lines and then hand write my journaling on the lines I have just created like I did here but on this layout I ended up wanting to type my journaling on vellum, instead of handwriting directly on the photo, so that it would be easier to read, so I stitched every strip of text one by one. The stitching is still working as lines for the text, guiding the eye through the block of words.
Adhering Elements such as Embellishments, Titles, Chipboard Elements to my Pages
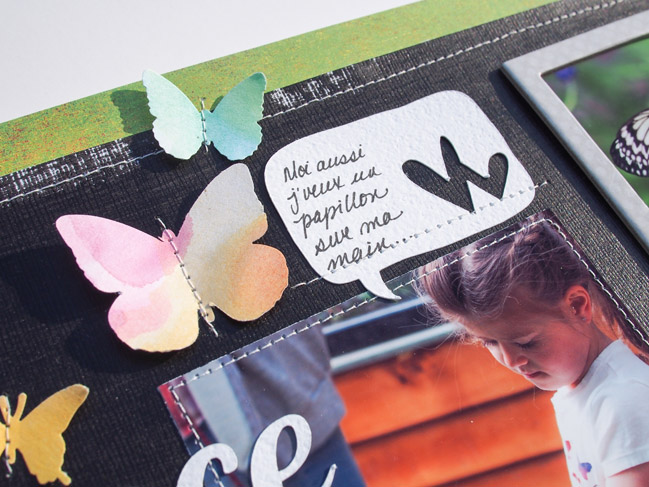
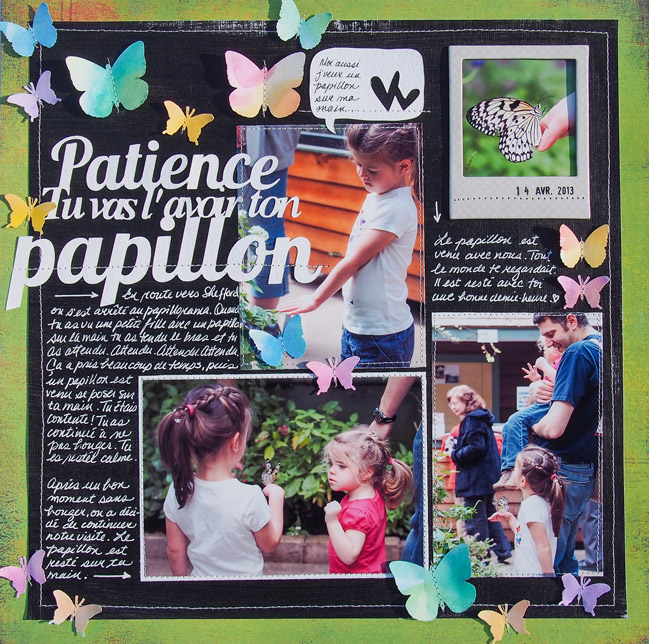
You can add any kind of embellishments by stitching them to your page. Here I stitched through one word of my title and in the middle of every butterfly, lifting the wings a little to give extra dimension. I even stitched through the chipboard frame as it was the only effective way of having it adhere properly to the chalkboard painted background. I love stitching in the middle of butterflies. Sometimes I let the thread loose at the end where the head is to mimic antennas just like I did on this page .
Making Elements on the Patterned Paper Stand Out and Creating Texture
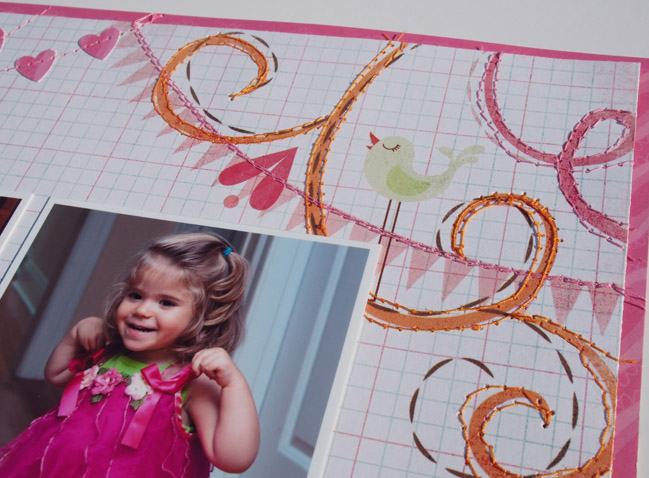
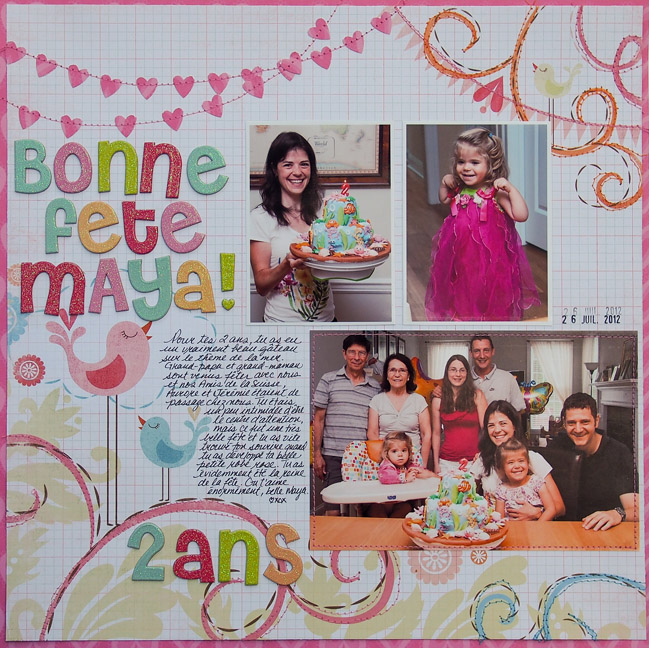
Another great way of embellishing a page with your sewing machine is by stitching along the lines of the elements that are already on the patterned paper. Here I followed the swirls on my background paper. I have been intentionally not very careful and the stitching ended up way off the lines and that gives a little more movement and interest to the background. I also stitched on the top of the banner under the orange swirls and added another (hearts) banner to the page. On this layout I used thread in the same color than the lines, but using another color of thread could also be interesting. This technique could also work great with embroidery thread like I did here .

Adding a Frame around my Pictures and/or my Page
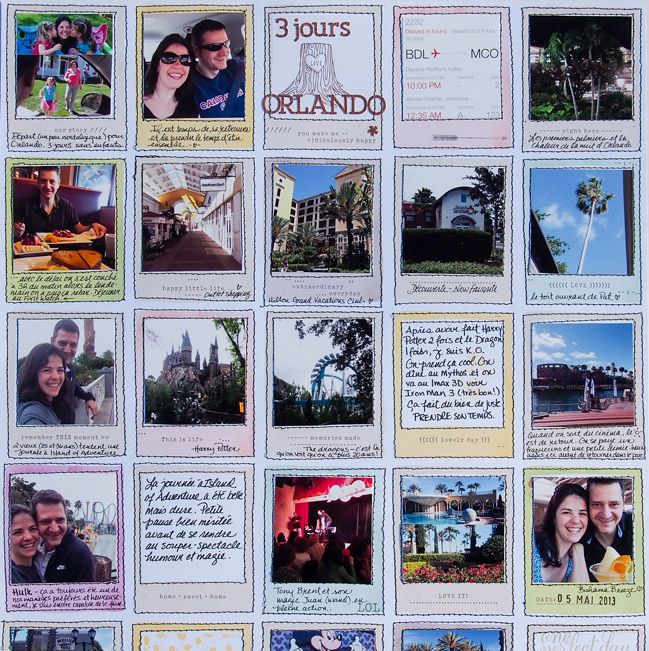
On almost every page I make, I sew around my page or my photos so that the thread act like a frame. Here though, I did something different: I used a patterned paper with frames on it and I stitched all around the frames. I then placed my picture in the frames, being careful not to adhere the photos over the stitched lines.
Sewing Ribbons and Banners to Create a Border
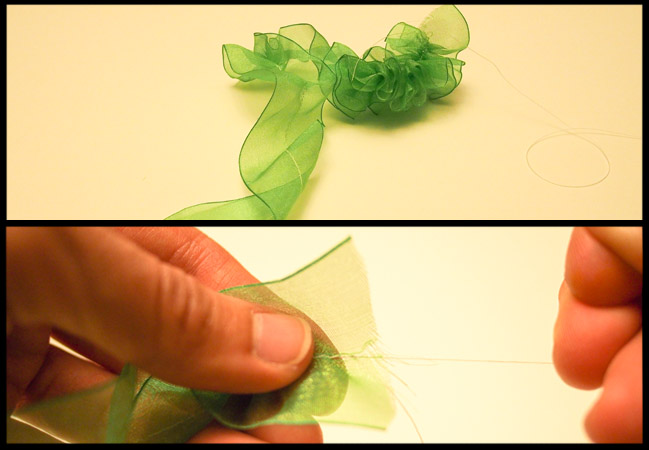
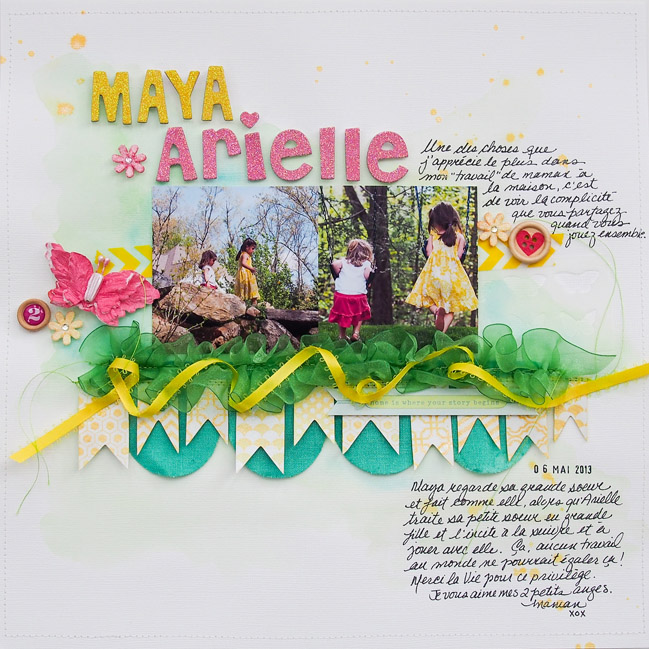
I love to layer ribbons and different kind of banners and trims to create a very dimensional border full of different textures. Here I first stitched a Pink Paislee muslin scallop ribbon that I had sprayed with Heidi Swapp’s Color Shine and I then added a cardstock banner that I also sprayed with some Color Shine. I toped that with a very broad ribbon that I ruffled. To achieve this look, sew on your ribbon once without adhering it to the page and then pull on one of the thread that is hanging at the end of the ribbon, as shown in the pictures. I finished my border with a ribbon that I loosely adhered with some hot glue.
You could also use stitching to create borders between patterned paper, or to draw some elements like sunrays or garlands .The possibilities are infinite and if your sewing machine is out and ready, it will be fun to add sewing everywhere! I hope that you are going to give it a try.
| Marie-Pierre is a French-Canadian who has lived 12 years in Switzerland before moving to Connecticut, 2.5 years ago. Although she’s a French teacher, she’s currently staying home with her two little girls ages 3 and 5. Marie is an artist at heart and has been crafting for years, trying her hand at different crafts like watercolor, paper cutting and calligraphy before she fell in love with memory keeping. Scrapbooking is now her biggest passion alongside photography and writing. She is on her second year on the creative team for Get It Scrapped . You can find her on her blog on Instagram and on Pinterest . |  |
![]() Read more about:
Read more about:
Next post: Sketch to Scrapbook Page :: Mixing 'proper' photos and phone photos
Previous post: Sketch to Scrapbook Page :: A Corner Gathering


