Five Ways to Show off those Special Moments by Naomi Atkins
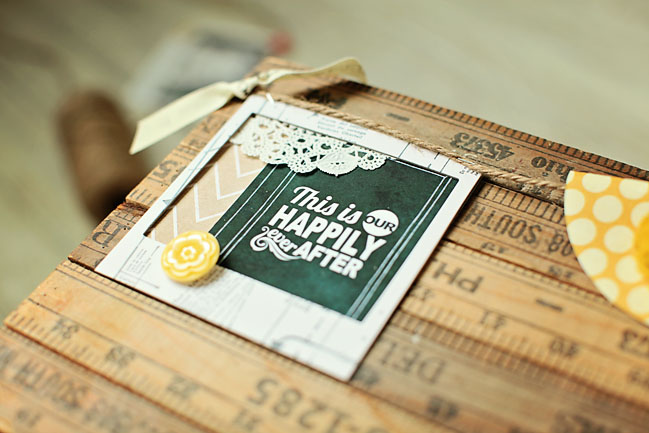
Today we are going to be talking about five ways to use those great little polaroid frames that are so trendy right now in your projects! I’m a photographer, so I have an extra special soft spot for these frames. And anyone who scrapbooks or makes projects loves pictures, right? These little frames are so versatile and plan to show you some fun ways to use them! I have two home décor projects that use the frames in a variety of ways as well as a scrapbook layout to share with you. There are several types of frames on the market right not. Some companies, such as Crate paper, have added them to their paper lines in a variety of colors and styles. They can be chipboard, die-cut and flat, or even canvas. Many manufacturers are also making them for sale as die-cuts for your silhouette or other cutting machine and they often have fun wording and styles. You can also pick up plain white ones that are made of a very sturdy cardboard but not quite as thick as chipboard from craft stores. I will be using several of these as well because they can be easily altered!
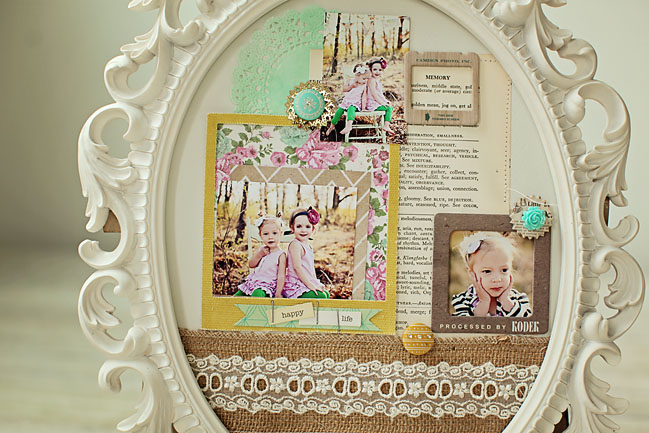
Canvas Frame backed with Patterned Paper and a Photo.
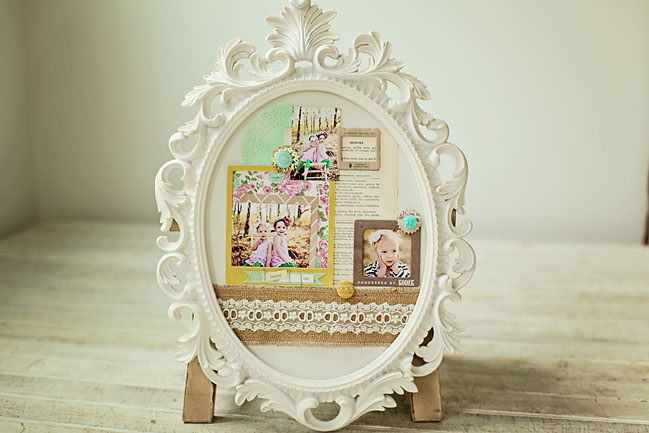
First, I made a home décor project out of a scatter frame I picked up from Hobby Lobby. I had three small photos. I cut a sturdy piece of cardboard to fit the size of the frame, and then a piece of cream card stock to cover it for the background. I misted a doily and added it to the above left. I also added small picture to the back of a chipboard frame. Both of these are from Crate paper. I added a piece of Burlap and lace ribbon that I got from Hobby Lobby as well to the bottom of the design and stitched it.
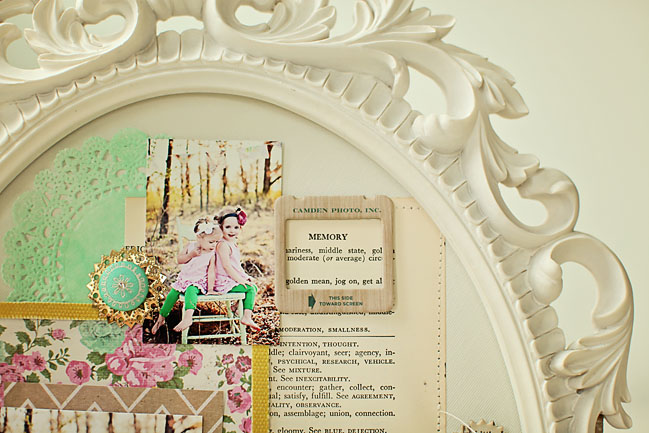
Chipboard Frame Used to Highlight Words.
I love old dictionary paper. I have several old dictionaries that I love to use on my projects and layouts. I like to find a page where the heading is a word that I want to use to describe my layout. The word I wanted to highlight was “memory”. I simply added the Crate chipboard frame to surround the word at the top of the paper and stitched around it for extra emphasis. I also like to use things in patterns of 3 for visual emphasis. This project just wouldn’t be the same without the frames and I love the dimension they add.
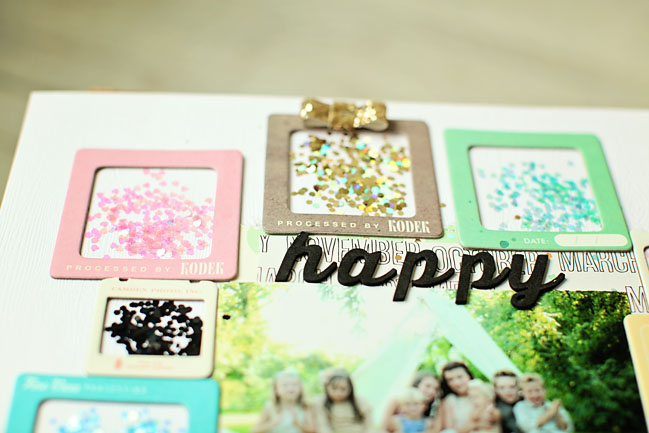
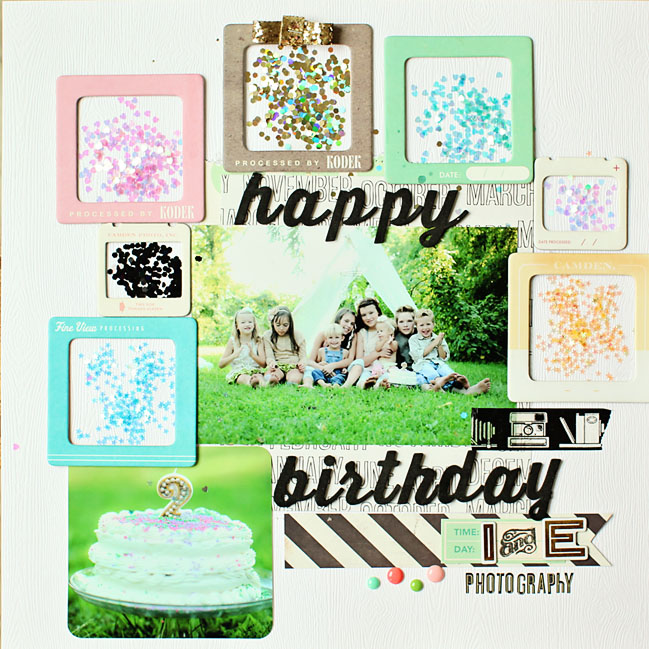
Filling Chipboard Frames with Glitter on a Layout.
I really wanted this layout to be colorful and convey a celebration. My business partner and I were celebrating our 2 year anniversary and we did a photo shoot with all of our children and a cake smash to celebrate. I bought a pack of variety iridescent sequins and glitter from Martha Stewart. I loved all of the colors and they matched all of the colorful sprinkles on our cake. I simply modge podged the frames around my photo in various colors, modge-podged the insides and sprinkled a thin layer of the glittery sequins. I was really happy with the result and it made for a fun layout! These chipboard frames are also from Crate paper and they are some of my favorite ones. I simply added some Thickers for the title and my page was complete!
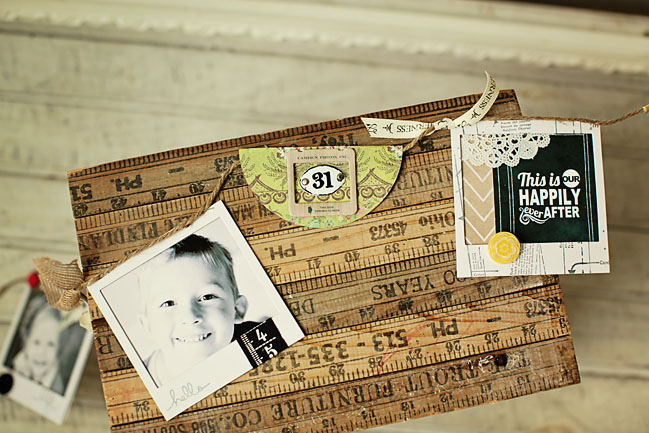
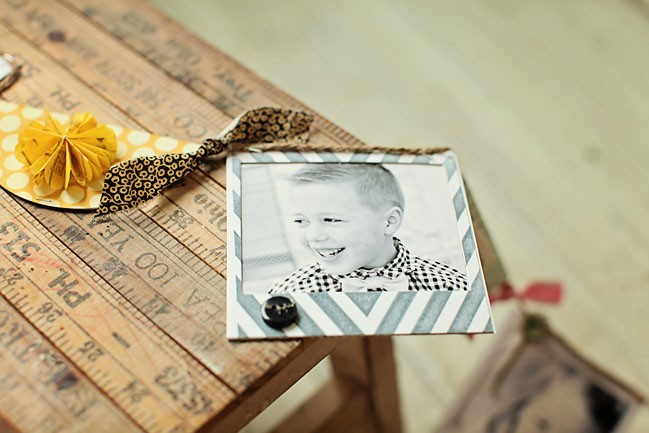
Stamping Plain Chipboard Frames and Adding Photos for a DIY banner!
I had so much fun stamping these plain white frames for my banner. I made this banner for my living room as a home décor project. I knew I wanted to add something to the frames besides the photos and I have several large wooden stamps. I simply inked the whole stamp and stamped over the frame which made a cool masked effect. Some of the frames I did not want to add as much to, so I used some small Ali Edwards stamps from Technique Tuesday to add words to the bottom of my polaroid frames. I then inserted the photos into all of my frames and added extra embellishments such as buttons and die-cuts.
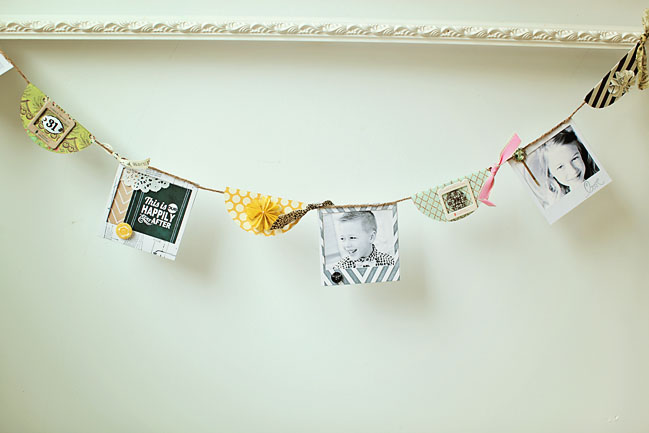
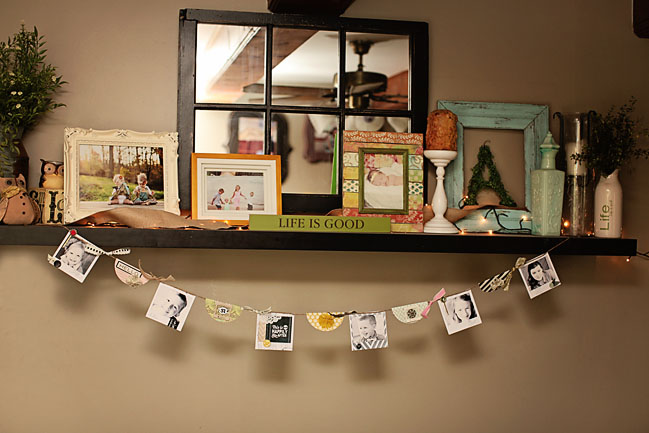
Backing Polaroid Frames with Quotes and Paper for DIY Banners.
I knew I wanted to add some more to my banner besides the frames filled with the photos, so I decided to add a few frames with quotes (a “chalk it up” journaling card) and patterned paper. I put these in between my photo frames for something extra. I also cut circles from patterned paper, folded them in half and added some embellishments to them. I used Studio Calico tissue paper flowers for a few of my circles and I love the dimension it added. I then added ribbons and some more buttons in between my frames and I was done!
I honestly use these frames in almost every project lately. My gallery at Two Peas showcases several more layouts where I have used these frames in different ways (housing titles, embellishments and more) at Two Peas in Bucket.
| Naomi is a wife to Jonathan, mama to five, and co-owner of Inspired and Enchanted Photography. She loves scrapbooking, quilting, baking and DIY projects!! She currently designs for Crate paper, Freckled Fawn, Kerri Bradford Studios and Gossamer Blue Kit Club. She has been published many times in Scrapbook Trends, and you can follow her on Facebook at Inspired and Enchanted Photography or on her blog at inspiredandenchantedphotography. |  |
![]() Read more about:
Read more about:
Next post: Sketch to Scrapbook Page :: Adding an angle
Previous post: Making The Most of Your Digital Product:: A Scrapbook Tutorial by Lea Lawson


