NSD 2013 :: How I Used My NSD Sale Scrapbooking Kit
Over National Scrapbooking Day weekend, Two Peas offered a huge sale to celebrate and I put together a special sale kit with the idea that you might have some of these items in your stash already or if you were planning to shop, you could consider these items to take advantage of the great discounts. The slightly confusing bit is that when older items reach the end of their inventory at Two Peas and will not be restocked, they disappear from the shopping list and the store, so while you can still see the shopping list for the kit now, it is a bit depleted from its original state as a result of sold out items. Never fear: you are more than welcome to assemble something similar from what you have on hand, or to just take a bit of inspiration here or there and ignore the entire idea of starting from a kit.
If you remember the video I did for NSD 2012, you might expect that I’m on a mission to use every single scrap of the kit, but this year’s adventure is a little different. This time I set out not only to stick to just to sale items, but also to see how much I could make without adding any other products to the kit supplies. I haven’t added gems or plain cardstock or too many tools. I wasn’t super strict, and I did include some mist, sewing thread, and a favourite punch or two, but my goal was to stick to the kit alone as much as possible. The result is five finished pages from a kit that cost less than $25, and I’m pretty happy with that.
This is a long video – almost an hour! So you may want to watch in smaller segments. The first nine minutes take you through supplies and my process for dividing the kit into different potential pages, so the first layout starts around nine minutes, the second layout at eighteen, the third at twenty-seven, the fourth at thirty-five and the fifth at forty-four. So you can fast forward or stop and start as needed, but everything is there in one place so you don’t need to track down multiple videos. I hope that’s a good compromise!
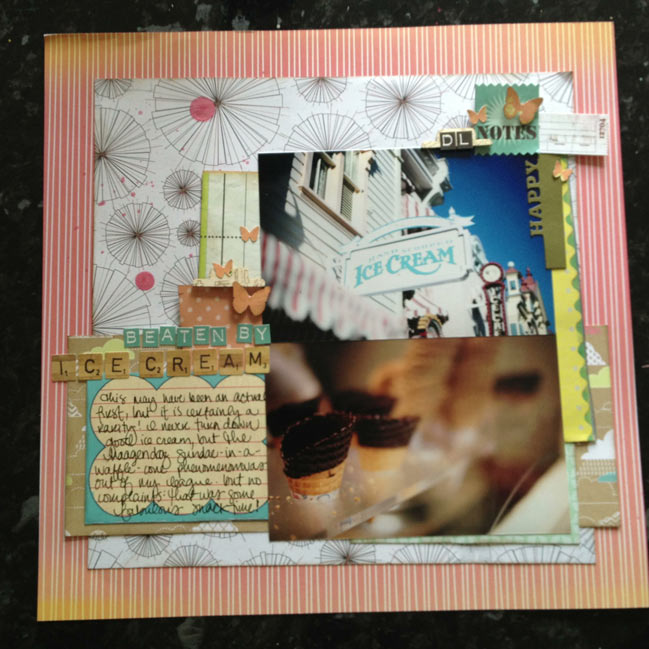
There are a few things that surprised me as I got to the finished state of these pages, like how I didn’t use any of those die-cut frames to actually frame a photo. Because I hadn’t pulled out square photos nor anything I particularly wanted to crop smaller, they just didn’t work that way for me on these pages. But once I had accepted that, it was quite freeing to use them as embellishments only, and not be afraid to remove the square frame element at times, like on this page.
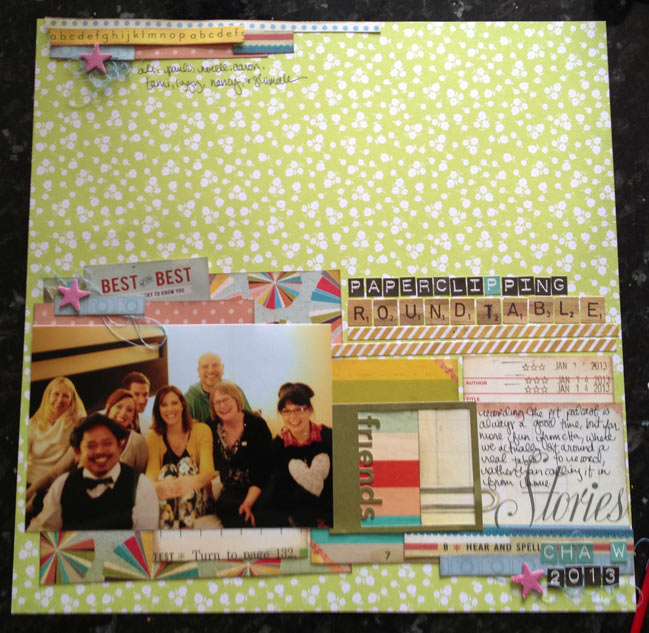
I wonder how many of you will be slightly bothered by the single turquoise letter sticker in that first line of the title. I didn’t have a choice really, and I did tie in the turquoise letters again at the bottom of the page, but I know it’s a little unexpected. It has grown on me and now I like it quite a bit, but it wasn’t instant love. If that makes you feel better! (The rainbow striped card in the middle of the page with the frame over the top? That was instant love, and I can’t put into words how much I like that look!)
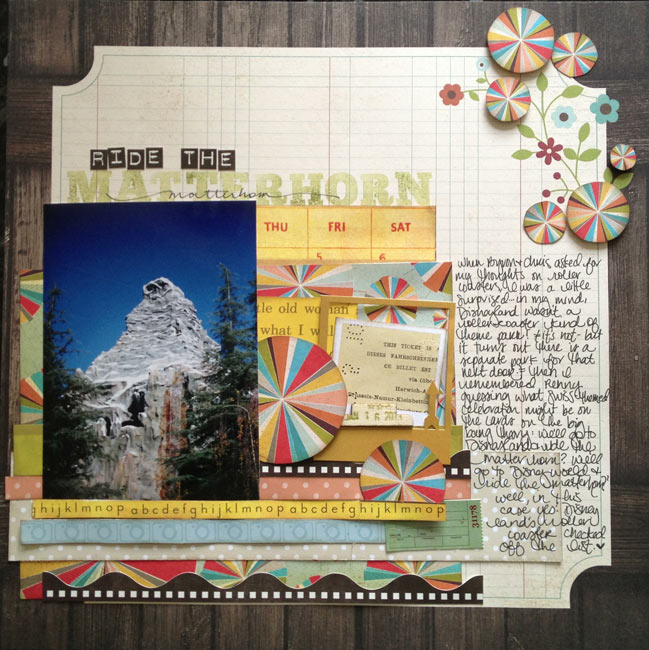
I know there are many of you who feel covering up part of a corner design is cheating, but I really do prefer how it works with just one corner printed instead of two. And this makes me want to experiment with other types of embellishments that replace flower shapes with pie-chart motifs – I think there’s more potential in this.
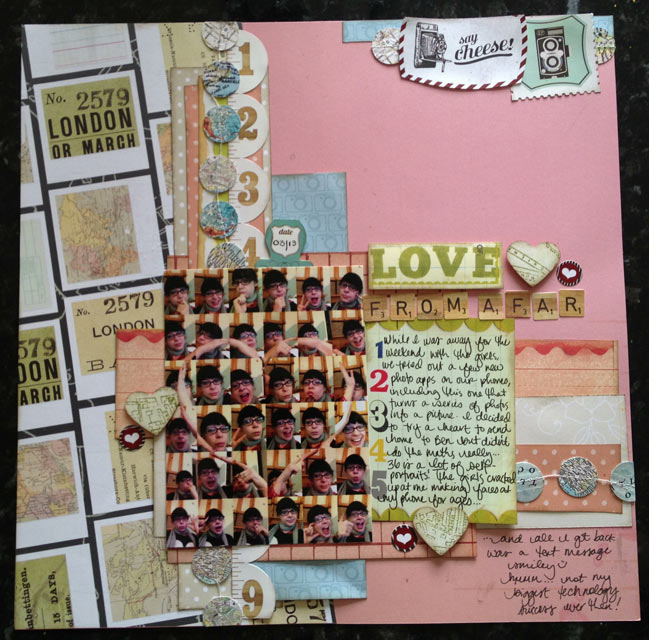
The app for making shapes within photos is called Body Symbol, by the way. Which I never would have guessed by searching in the App Store, but there you go. Now you too can be free to look silly taking thirty-six self-portraits to get the heart (or some other shape) in the middle of the image. Modern technology does wonderful things, right?
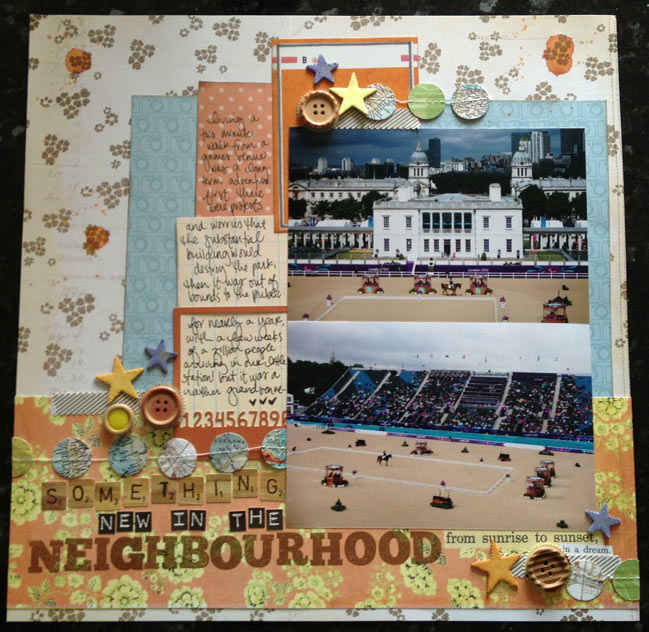
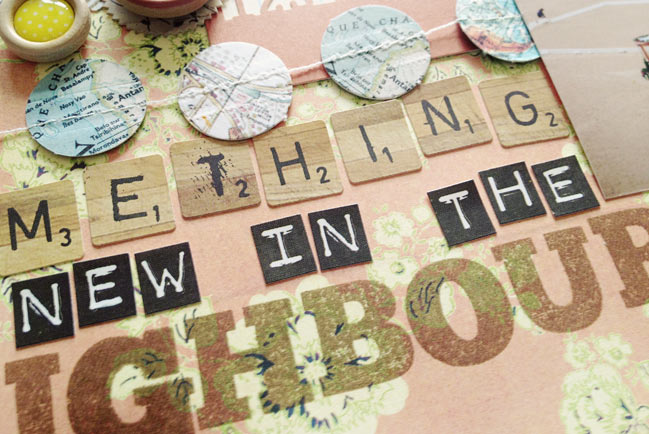
Oh dear. This photo makes me twitch a bit, as I’m not a fan of unstitched buttons! They have been stitched now, if that helps anyone similarly afflicted relax their shoulders. I also know I have recently scrapped very similar photos from this same day, but there was a different story I wanted to tell that was still a good match to these pictures. They aren’t the exact same photos, but rather I took plenty of pictures that day so I have far more than I would use to document simply that I went to see this event at the Paralympic games. In this case, it worked out well to have additional prints to hand so I had something to illustrate this other angle I wanted to include, about the long-term story of how our neighbourhood changed before, during, and after the games.
This was an interesting challenge myself to stick so strictly to the kit and it wasn’t easy! I really wanted to add a few bits here or there – and I do still have quite a few scraps left, although not enough to make another page unless I add in a sheet of background cardstock or a divided page protector. Perhaps I’ll give that a try next and see what the leftovers come together to make! This week I’ll also be sharing the remaining pages from my April Best of Both Worlds kit and starting in on the projects with the May product picks!
![]() Read more about: best-of-both-worlds-kit scrapbooking-videos
Read more about: best-of-both-worlds-kit scrapbooking-videos
Next post: Five Things to do with Wood Veneer by Wilna Furstenberg
Previous post: Scrapbooking the milestones of life


