5 Ways to Finish Raw Chipboard by Michelle Hernandez
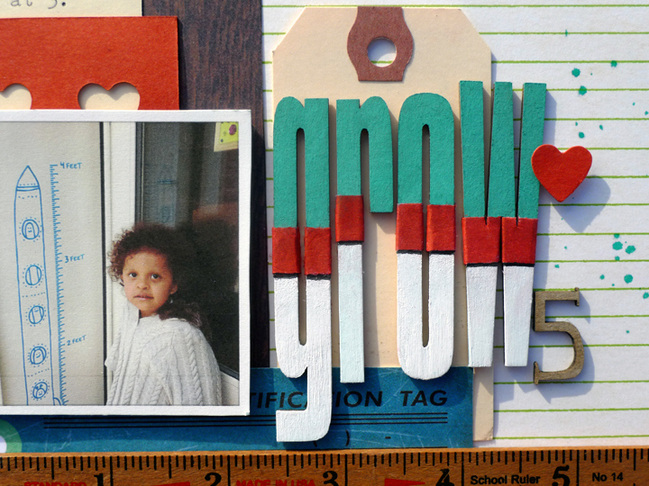
Hello! Over the years my scrap style has changed from romantic and detailed to clean and modern and back again. One thing has stayed constant – I love unfinished chipboard.
My favorite manufacturers have always been Scrap FX (Australia), Maya Road and American Crafts. I am lucky to be part of the scrap FX design team and will now show you some of my favorite ways to incorporate chipboard into my scrapping.
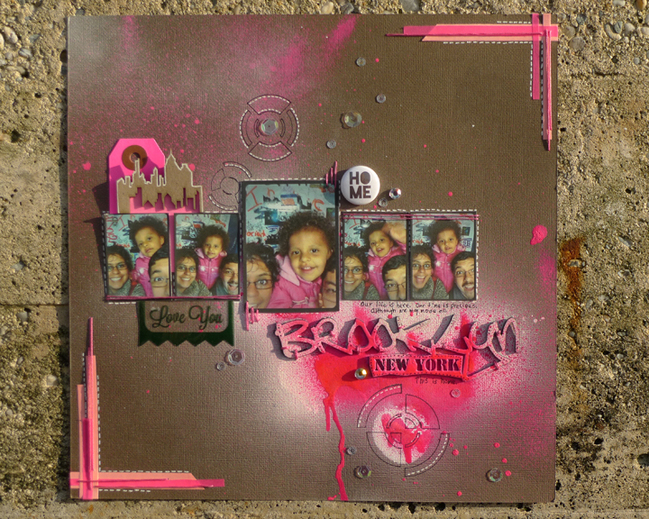
Spray Paint
The biggest complaint about using unfinished chipboard is that it adds extra steps to the scrap process. As the Mom of a three year old I understand the need optimize your time by using pre-printed materials but I also love the funky look of hand finished embellishments and I like that they make my projects unique. When I don’t have a lot of time I reach for my Liquitex spray paint- it goes on crazy fast and leaves a smooth surface I don’t have to alter further. The colors are amazing- I used Magenta in this project.
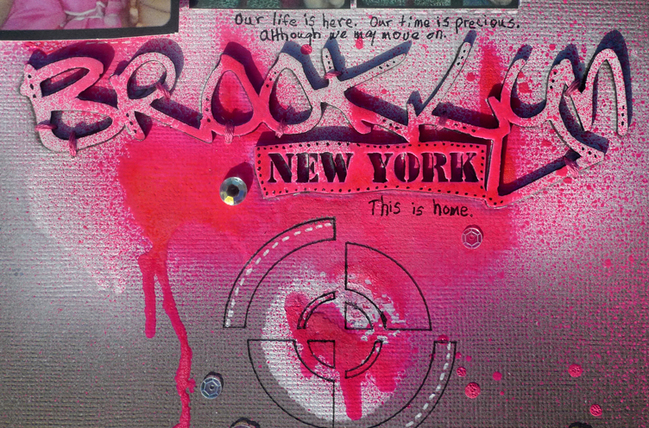
Gesso and Acrylic Paints
Gesso is basically white (or black) paint with a thickening agent such as chalk, used to prepare canvas, wood, or in my case- chipboard- for other finishes. I am a super messy scrapper so I use my fingers or an old ID card to slather the paint on. I use an old piece of paper to clean paint off edges and give the piece about half an hour to dry. More time is recommended but that’s the limit of my patience. I don’t recommend you point the heat tool at the drying gesso as that can lead to cracks. That’s fine if you like that look- I really don’t.
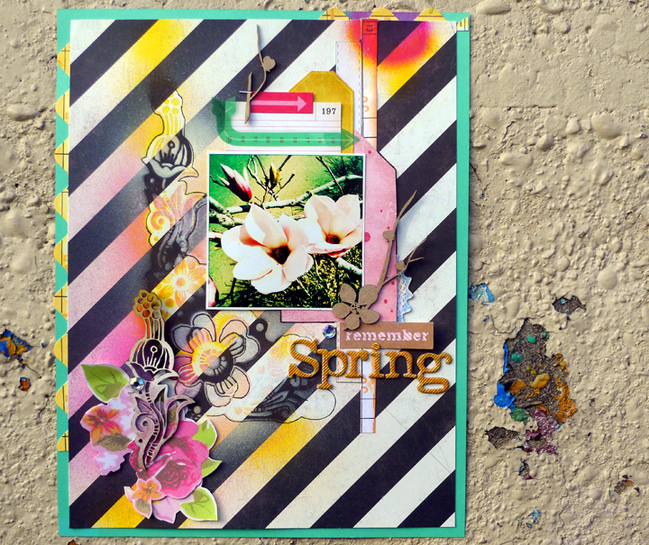
Spray Gesso
I recently started using spray gesso on my chipboard. Application is fast and the finish much smoother than gesso in a jar. I keep my chipboard in place with super tacky tape, place it in an old box and spray away to my heart’s content.
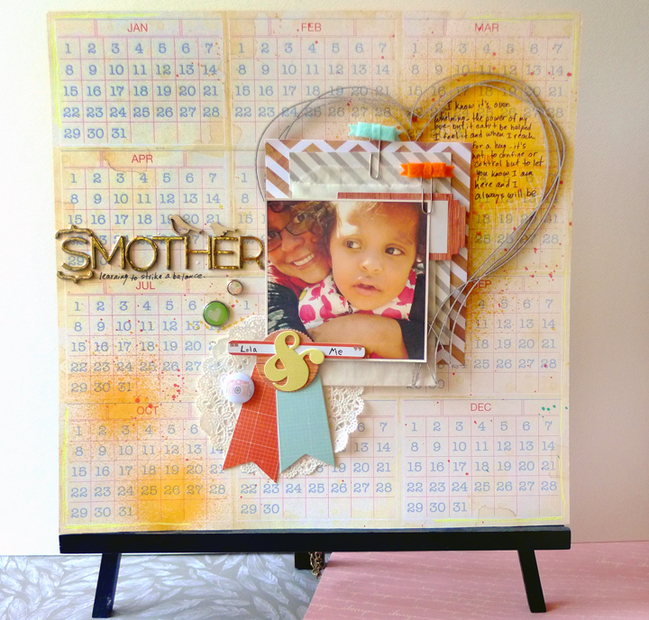
Easel Thickers
If you are lazy (like me) you avoid the “finishing” step entirely and just use the chipboard naked. Chipboard colors are usually neutral grey (Maya Road), brown (Scrap FX) or even black like the old chipboard packs from Cosmo Cricket (which I HOARD like the lunatic I am). If I want to add color I just pick my favorite thread and either machine sew or hand stitch the piece onto the page- believe it or not- this is faster than trying to paint the chipboard!
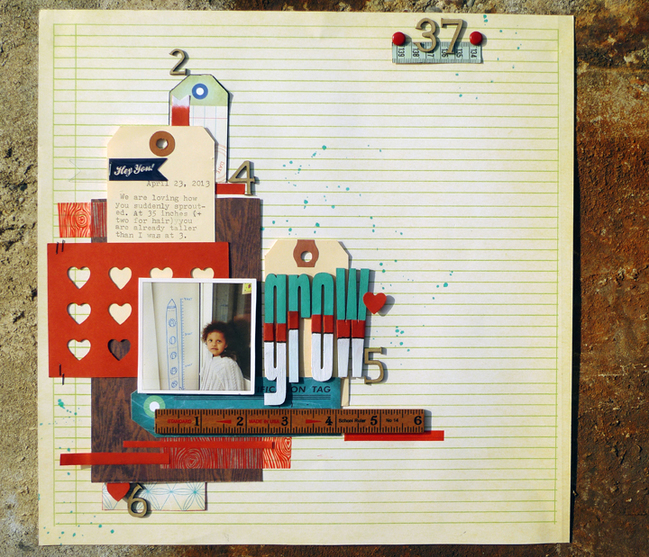
Washi tape and Stamps
I tend to use smaller chipboard designs so I don’t often stamp on them but washi tape can be cut into small pieces and added to your chipboard. In this previously seen Project Life pocket insert, I’ve used Glitz Bokeh print washi tape to cover two chipboard birthday balloons. Washi is thinner and more flexible than scrapbook paper and goes over the chipboard edge cleanly. I use scissors or my trusty old ID card to burnish the edges of my chipboard and get sharp well covered corners.
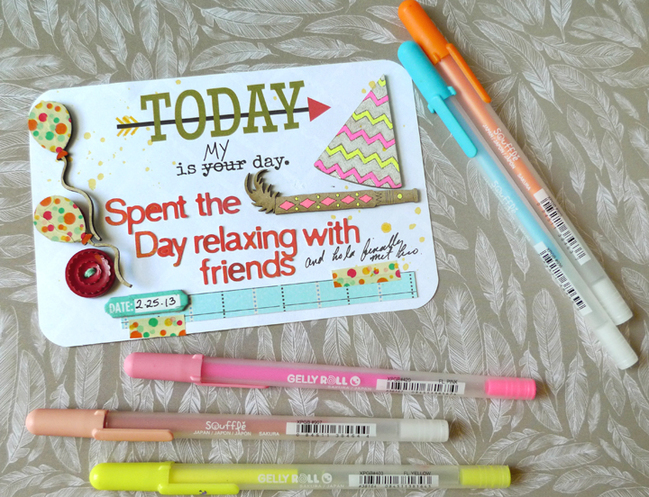
Gel Pens
Sakura Souffle gel pens are a great way to quickly add color to chipboard. The ink goes on like any other pen but gets lighter as it dries and the resulting color really stands out against the neutral background. Bonus? This gel ink dries fairly slowly so you can hit it with embossing powder and really make it pop.
Michelle Hernandez has been scrapbooking since 2009 when her first daughter, Lola, was born. Her favorite things are writing for her blog My Analog Life, taking photos, visiting museums, reading Terry Pratchett novels, riding her bike and finding new pizza spots. She’s been fortunate to be published in Scrapbook Trends and Scrap 365 Magazines. Michelle’s currently in the design teams for Scrap Fx Australia, A Flair For Buttons, Inspiration Elevator and True Xoxo Scrapbooking. |  |
![]() Read more about:
Read more about:
Next post: Scrapbooking with 4x6 photos
Previous post: Simple Sunburst:: A Scrapbook Tutorial by Michelle Deleon


