Layering with a Photo:: A Scrapbook Tutorial by Janna Werner

Hello there, my name is Janna. I am going to show you how to create a multi-layered scrapbooking page. I am a huge fan of layers as it is very easy to create a 3-dimensional look with this technique. Furthermore it lets the layout appear light and happy.
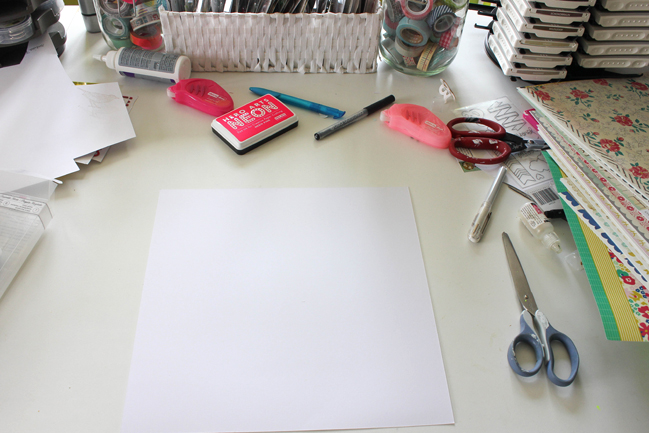
This layout has two backgrounds: the white cardstock on which the photo will be arranged and a patterned paper, that will be adhered behind the cardstock and frame the center part.
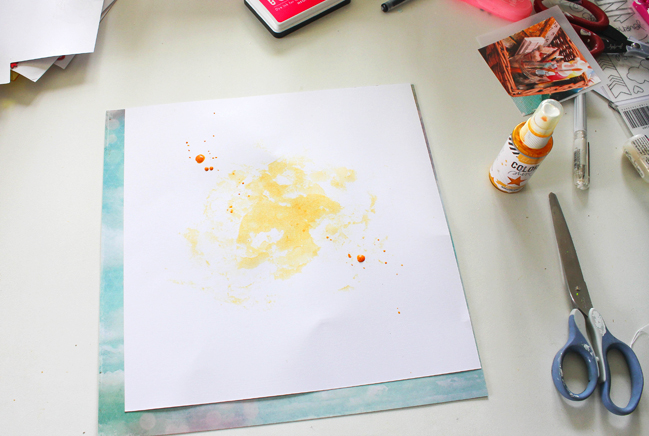
Take a piece of foil, spray onto it and press it onto the cardstock. Use a paint brush to add more splatters. Let the spray dry or use a paper towel/heat gun. After the spray layer is completely dry, take your scissors and distress the edges of the cardstock. Mount the cardstock on top of the patterned paper and fix it with a sewing machine.
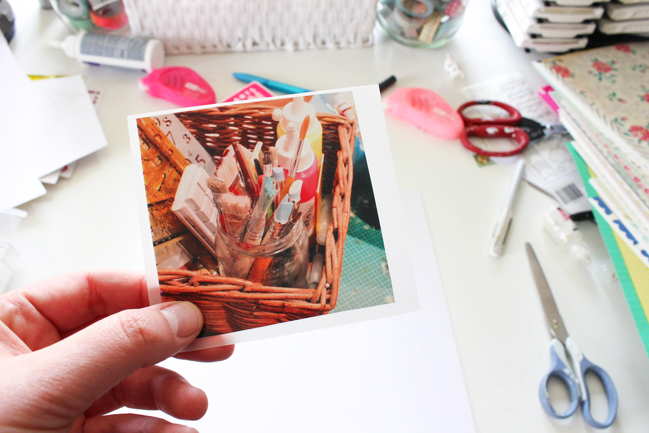
The photo I used had no white frame. To let it pop out of the page, I adhered a piece of vellum behind the photo. The vellum is rather subtile and not as intense as white cardstock, for example. The advantage of vellum is that you can still see the layers behind it as it is transparent.
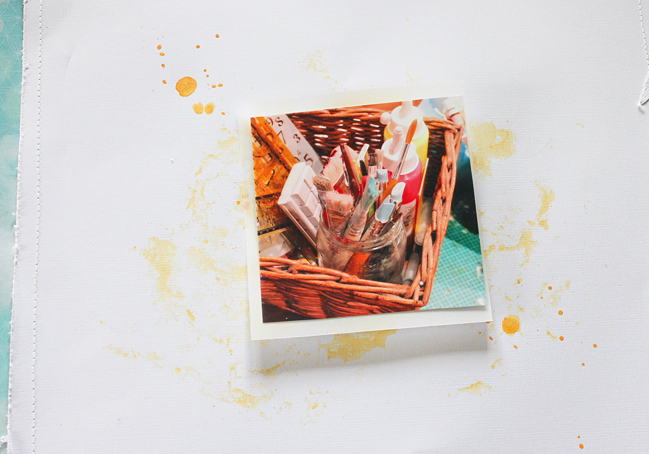
Put the photo in the centre of the cardstock and layer several pieces of paper in different shapes and colors beneath it. It´s a great way of using scraps. After creating layers with patterned paper, use 3-dimensional dots to adhere the photo on top.
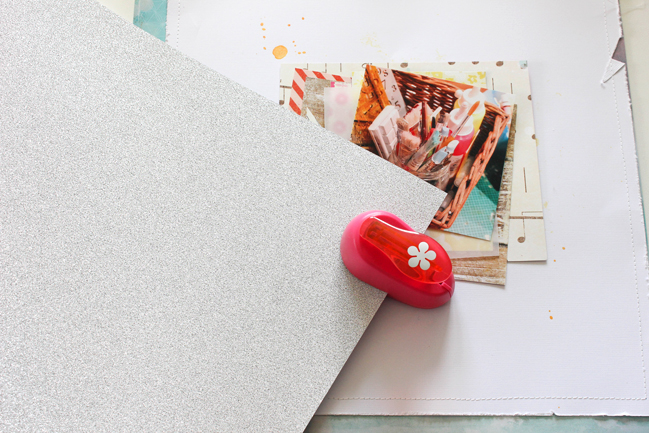
The page already includes lots of layers, now it’s time to use embellishments for even more layers and accents. I started with punching out a few shapes, for example.

Rub-Ons are also great for layering. Although they do not add a lot of depth to a page.
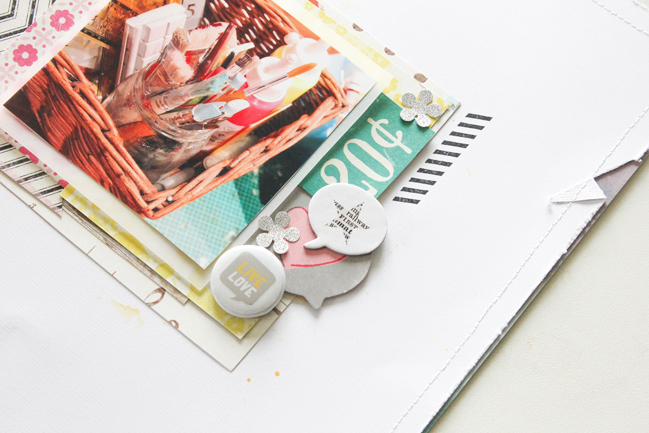
Every time I start embellishing a page, I will browse my embellishment basket. I take out nearly each package and place the elements on top of my scrapbooking page. If it fits, I let it lie on the layout, otherwise I put it back in the basket. Wait with gluing the single elements down until the very end. Like this the elements can be moved around and re-arranged, if needed.
The close-up shows the different layers this page includes: the background patterned paper, the white cardstock, the patterned papers behind the photo, the mounted photo, stamps, punched out elements, a badge, speech bubbles and die-cuts. All of them lie on top of each other. The last step is adding journaling.
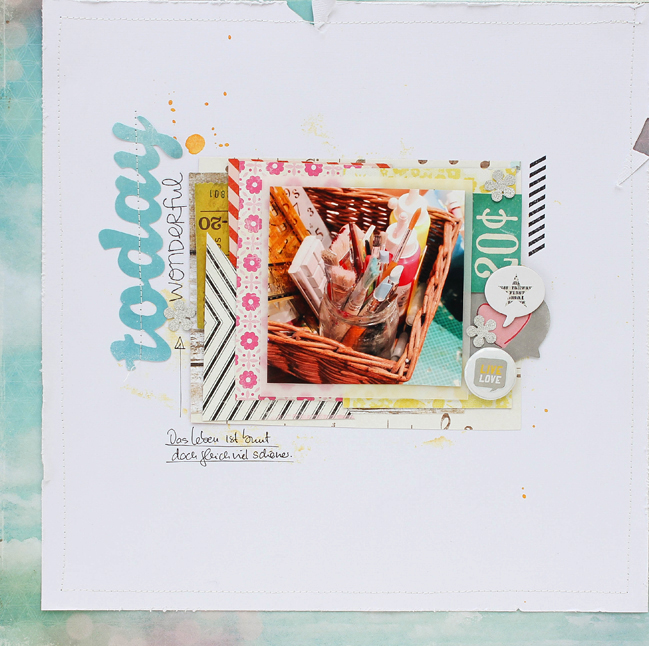
Layering is not as tricky as it might sound. To create a fluffy look, the papers should not be glued down entirely. Put a bit of glue in the middle section of each paper, like this you can still bend the edges. This gives more depth and lets the page appear lighter.
This technique can also be used on other crafty projects, like mini albums, art journals or mixed media canvases.
I would love to know what you like (or not like) about layering. Do you use this technique often? Please leave a link in this post and share your layered projects – I would love seeing it.
| Janna Werner is an artist, freelance writer and teacher. She lives in North Germany, together with her husband of nearly 3 years. Janna´s love for papercrafts and mixed media art evolved in 2010 when a friend introduced her to scrapbooking. Since then she has been working together with well-known papercrafting companies, magazines and international artists. She is currently doing design work for Crate Paper, Glitz Design, entreArtistes magazine, Sizzix and Two Peas in a Bucket You can also find Janna on her Blog , Instagram , Twitter , Pinterest , Facebook , Youtube & flickr |  |
![]() Read more about:
Read more about:
Next post: Washi Tape Frames: taking scrapbooking inspiration from Wendy's tutorial
Previous post: Five Ideas for Using Tags with Meghann Andrew


