Customizing your Projects: A Scrapbook Tutorial by Melissa Mann
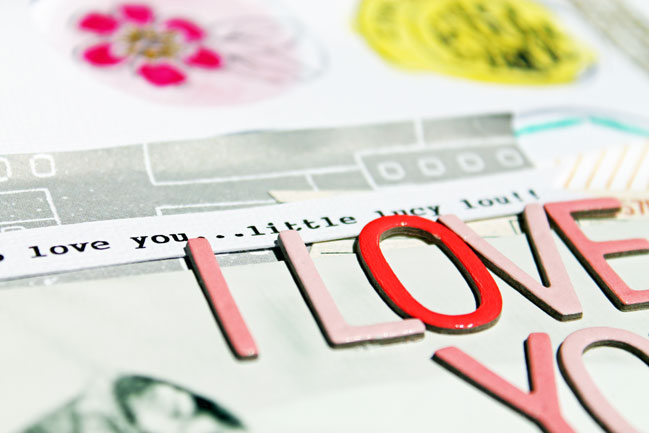
I love customizing and making my own embellishments for my scrapbook projects. On this particular project, I decided to step it up a notch and customize my entire background for my layout! This gives you a chance to really make your layout your own and allows you to use some mediums that maybe you wouldn’t necessarily use in your customary scrapbook projects. I used watercolors, stamping, rub-ons, and stitching on my background!
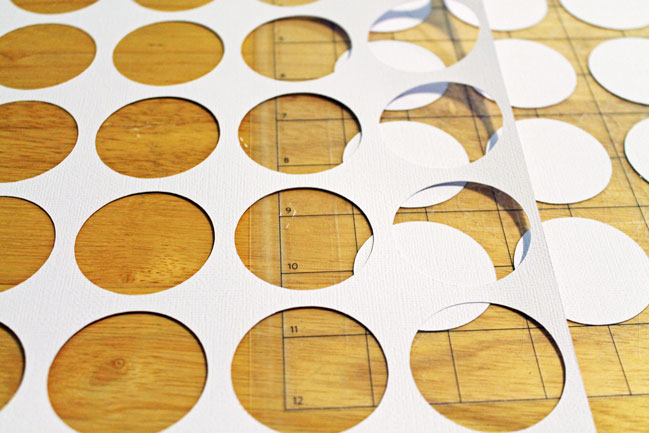
Cut a repeating pattern from your Silhouette Cameo. If you do not have a cameo, a simple shape such as a circle, which I used, or a star or heart are things that could be easily cut out using a craft knife.
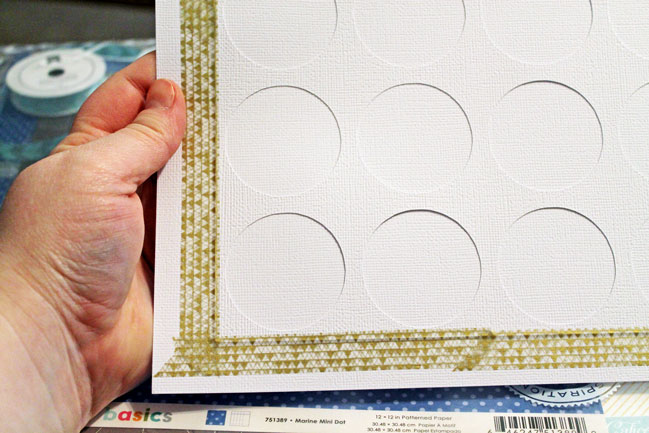
Lay the card stock with the shapes cut into it against another block of card stock. I used white on white for my layout. I did this because I really wanted the watercolors I planned on using to stand out on the white card stock. Using washi tape, tape around the entire outside frame of the smaller block of card stock & stitch this down using your sewing machine.
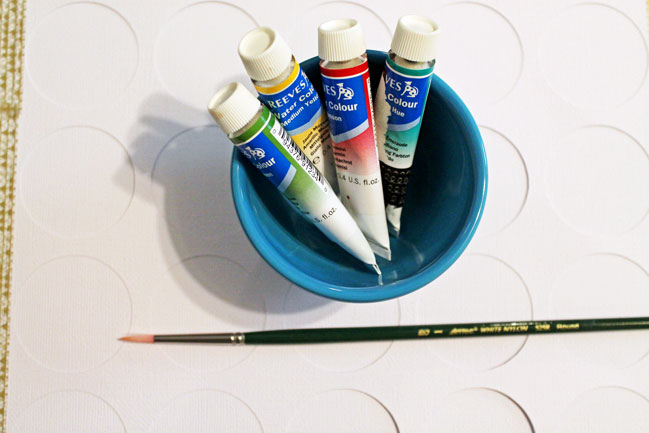
Choose your watercolors. Make sure to choose a color scheme that works together. I chose some of my favorite colors: yellow, blue, green, & pink. You do not want to use colors that clash such as blue and orange and red. Choose colors that compliment each other; you could even choose the pattern papers you are going to use on your layout and pull some colors from the papers.
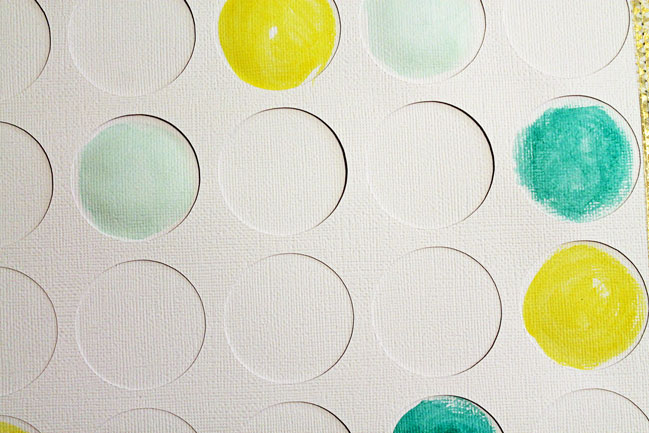
Paint in random circles using various colors. I put a dab of watercolor paint and diluted it with water to get various shades of the same color. This also gives it a soft pretty look.
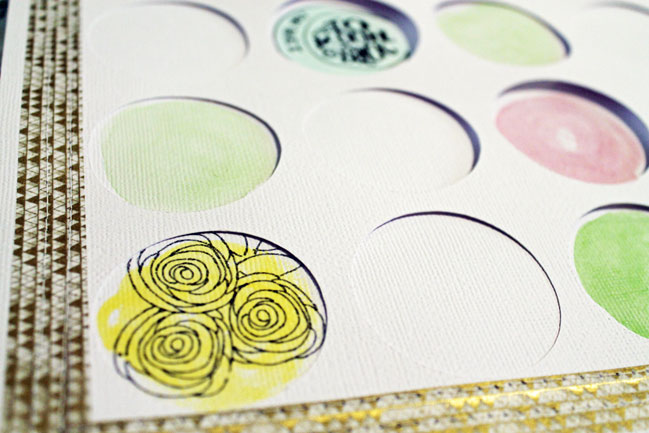
Once the watercolors have dried, stamp an image in the middles of the circles that you painted. Choose some rub-ons and apply them to some unpainted circles.
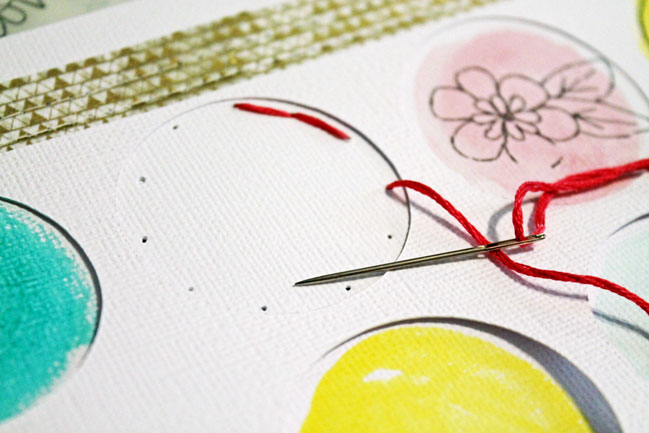
Use a big needle or a paper piercer and poke holes around the shape. Use floss to stitch around the shape.
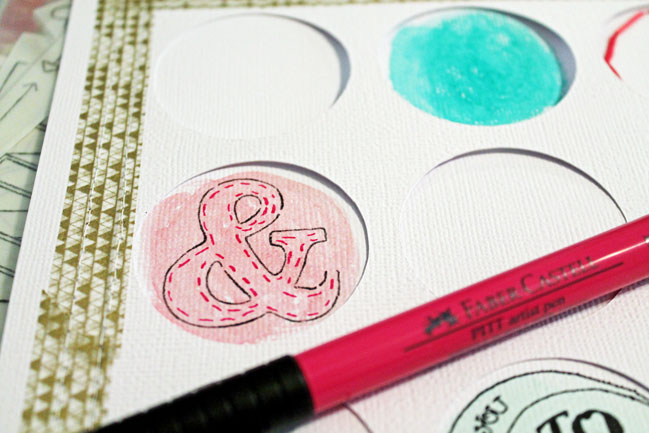
On the circles that have a rub-on in them, use colored pens or markers and doodle around the shapes and/or color them in.
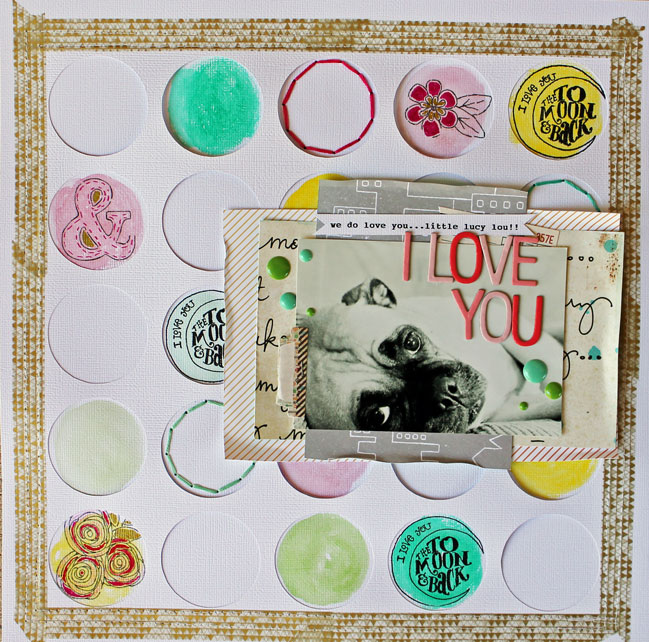
Layer your pattern papers and photo off to the right hand side in the middle of your layout; place your title in the negative space of your photo and add a strip of typed journaling. I also sprinkled a few little epoxy dots on both sides of my photo.
I hope you will try this technique out! You will surely have some one-of-a-kind layouts in your scrapbook album! If you are scared of trying this on a big scale item such as a layout, you can always practice on tags or cards. These would be great things to have put aside that are available at a moment’s notice! Plus, it allows you to get a little more crafty and adventurous in your memory keeping adventures :-)
| Melissa Mann has always had a love for paper and stickers. As a child, she collected piles and piles of Lisa Frank stickers and stationery. The infatuation hasn’t changed much these days! She found her start in the scrapbooking world in 2005 when she and her husband made a move from Maryland to Florida. The hobby quickly took over their spare bedroom and these days she is honored to design for American Crafts, Lawn Fawn, and Scrapjacked. Her projects have been published in Cards, Create, and Scrapbook Trends magazines. Melissa lives in the beautiful panhandle of Florida along the Gulf of Mexico. She is married to a terrific guy named Troy and they have a lab named Samantha, a pug named Lucy, and a cat named Daisy aka Ms. Kitty. You can keep up with Melissa on her blog , facebook , or Pinterest . She also has galleries at Studio Calico and Two Peas in a Bucket |  |
![]() Read more about:
Read more about:
Next post: Five Ways to Make Your Own Lettering by Kirsty Neale
Previous post: Best of Both Worlds :: My scrapbooking product picks for April 2013


2 April 2013, 13:23
Great idea! Thanks!
2 April 2013, 18:47
Wow, this is so striking! I love the colours and the techniques used. Thank you for sharing!
2 April 2013, 19:14
VERY creative and clever idea!
3 April 2013, 10:24
Love this idea! Fantastic layout!
3 April 2013, 11:17
Heya i am for the first time here. I came across this TUTORIAL and I find It truly useful & it helped me out much.
3 April 2013, 22:07
Love this idea!
3 April 2013, 22:10
Great layout and technique. I find it very doable, since it’s kind of a “formula” not just “paint all over your page to make a background” (I’m not that artistic and it never comes out the way I imagined!) And how funny to find a fellow FL Panhandle person on Shimelle’s blog!
3 April 2013, 22:45
ooooo love this layout! such awesome and fun techniques! thanks for sharing, Melissa! i always love your work!
B
4 April 2013, 01:14
Thanks your share,for beginners would be a good tutorial.
4 April 2013, 20:38
wow! Love this idea so much. It’s one you could use again and again and it would never look the same.
5 April 2013, 09:54
When I saw this idea, I knew I needed to do it. I went to my scrapbook room right away and did it. I will post the results soon on my blog. I didn’t feel like using paint so I punched circles from scraps of paper I had from the paper pack I was using. I am sooo happy with the results. Thank you for the inspiration!!!
14 April 2013, 18:14
What a fantastic idea! Thank you so much for sharing! :)