5 Ways a Paper Scrapper Can Use a Digital Kit by Betsy Sammarco
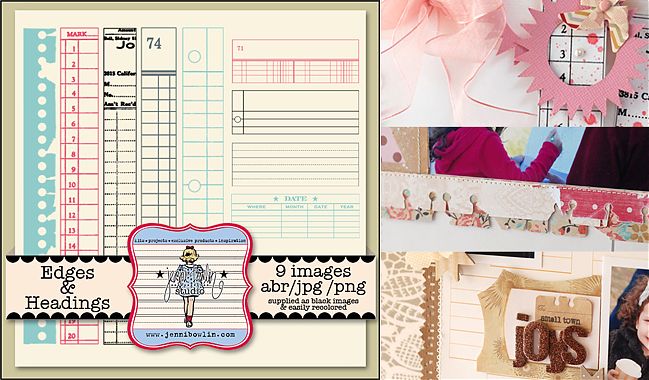
Please welcome Betsy Sammarco to the blog today! She’s an expert at hybrid scrapbooking – that whole idea of taking something a bit computerish and making it into something papery. She has five gorgeous examples to share with you that just might inspire you to look at all things digital in a new way.
I think of my computer as another scrapbooking tool that I can use in many different ways to compliment my paper projects. If you haven’t tried using digital kits along with your paper, don’t be intimidated. The projects I’ll show you here were done using Microsoft Word, a program many are familiar with.
I took one newly released digital kit Edges & Headings from Jenni Bowlin Studio and used it in 5 unique ways. These ideas could translate easily with other digital kits too.
Use jpg files as embellishments
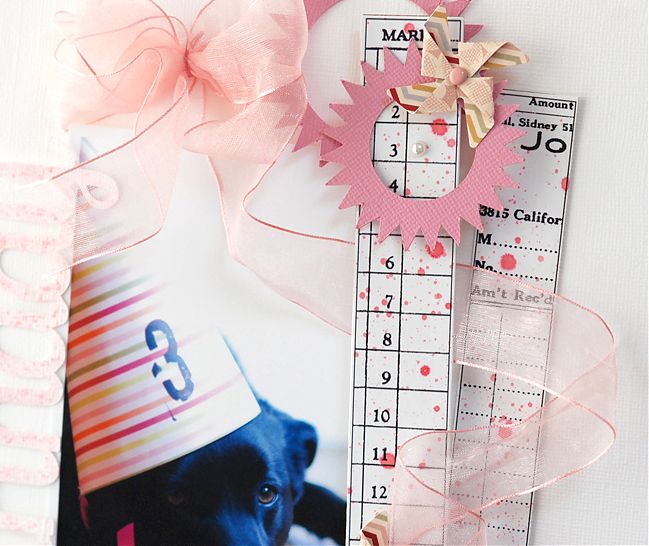
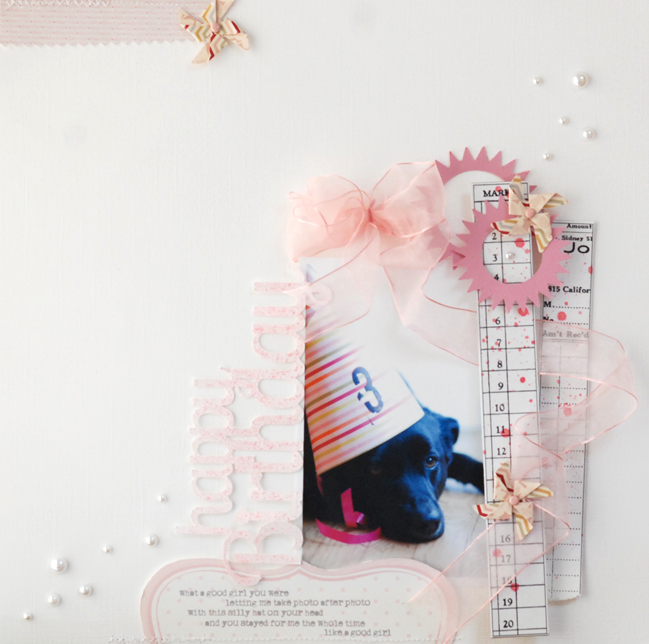
Digital jpg files can opened in any word processing program, printed, cut out, and used as embellishments on page. You can alter the size of the jpg and even change the colors jpg files in Word also. In my example I printed out two of the edge images and splattered them with pink ink. The numbers down the side of one embellishment was perfect for noting the age of my sweet dog. The cute little pinwheels were created using this Jenni Bowlin Studio patterned paper and JBS Pinwheel punch from Fiskars.
Use PNG files with your Silhouette
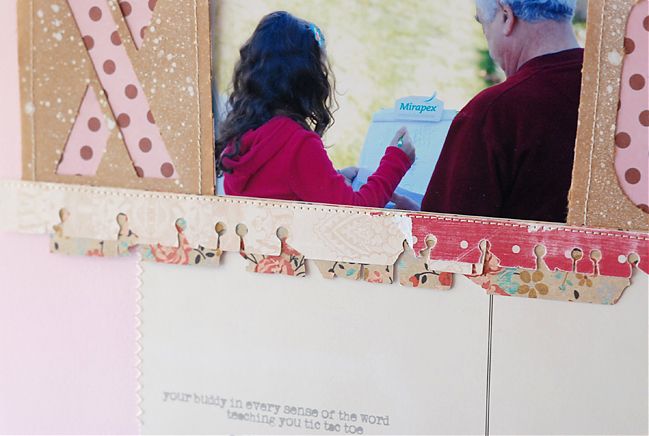
If you open a PNG file in your Silhouette, you can use the trace function to allow the machine the cut the file shape. This opens up a whole new supply of digital images that can be used with your Silhouette. In my layout, I used the torn paper edge png file, traced it in the Silhouette software and cut the shape out of multiple pieces of patterned paper from Jenni Bowlin Studio, Basic Grey, and Webster’s Pages.
Custom design your own background paper
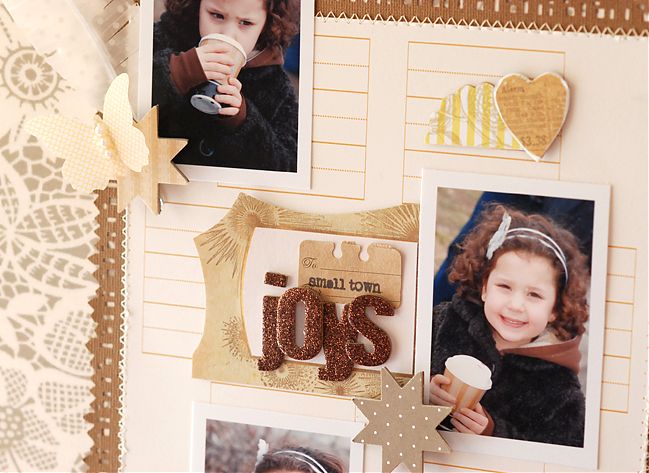
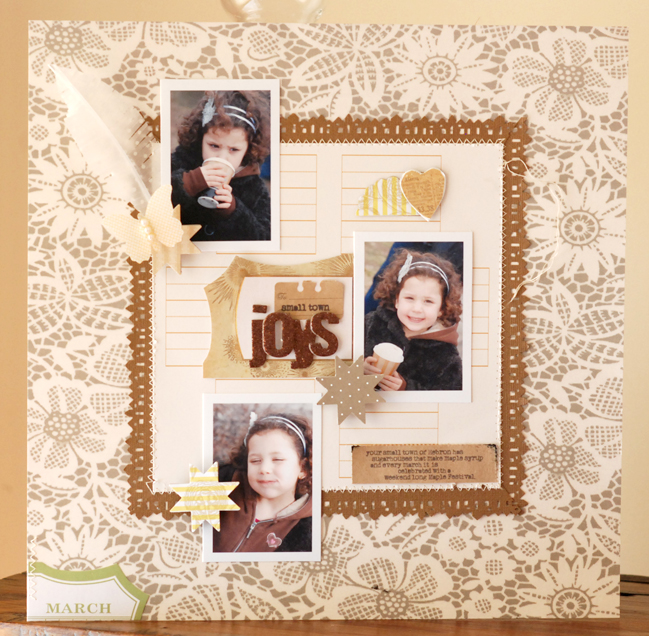
You can use .png and .jpg files to create your own background paper. You simply open the images in your word processor and arrange them as you’d like for your background.
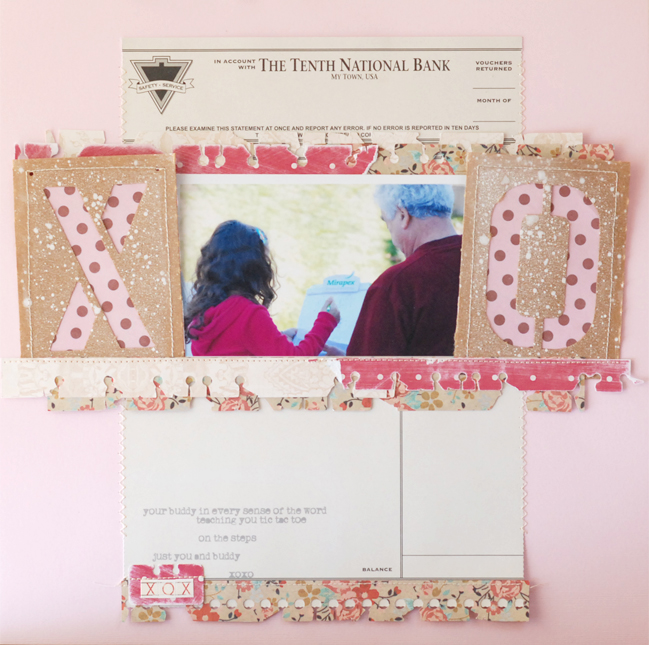
In my example, I used the notebook image from the kit, altered the size in Word, changed its color to light brown, and arranged the images in a grid to aid placement of the photos and embellishments on my page. You don’t need a 12×12 printer to create your own backgrounds. I printed my background on a 8-1/2 × 11 cardstock, cut it square, and sewed it to a punched border I made using the Fiskars/JB Main Street punch and piece of JBS 12×12 bird patterned paper. The result is a custom made 12×12 background!
Use digital elements off the page
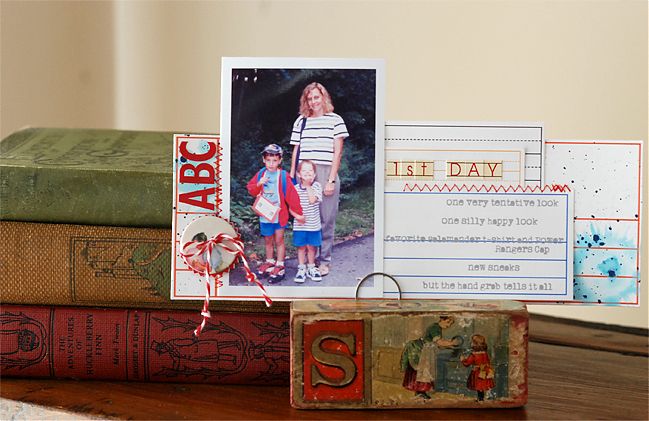
Digital files can be printed, cut out, and used as the base for a 3D project. In my example, the various heading images were printed in different colors and further embellished with paint, stickers, and stitching to serve as the base of this display celebrating the first day of school. The vintage block is from Jenni Bowlin Studio Flea Market.
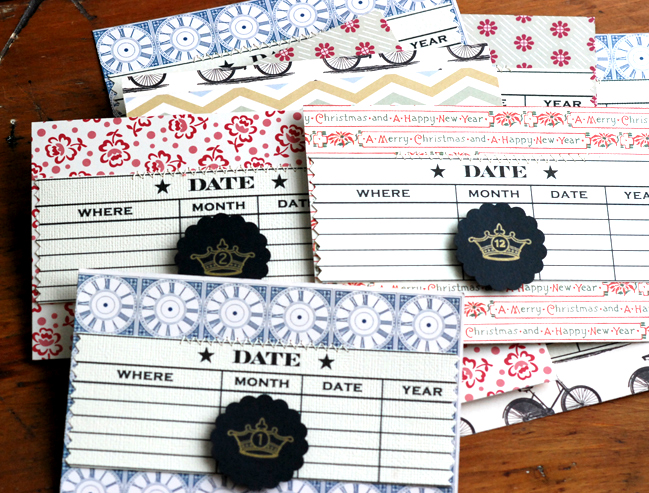
Use digital elements to make divided page protector inserts
When working with digital elements it is very easy to create in large numbers or batches. This comes in handy if you work in divided page protectors as you can create many journaling cards and inserts at once. I opened the date heading image and sized it to about six inches wide. I fit four of these on my Word document and printed off three sheets to give me twelve headings, one for each month. I stitched them to JBS patterned paper in an assembly line style and embellished them. They are now ready to go in my pocketed photo album.
I hope these ideas inspire you to look at digital kits in a different way. Paper scrappers can indeed use digital kits! I often share ideas for using digital elements in paper projects, and you can find them bookmarked on the Pretty Pixels page on my blog, for easy reference. Please stop by and say hi!
| Betsy Sammarco lives in Connecticut with her husband, her two college-aged boys, 2 pet ducks, and her dog. When she’s not working part time as a pharmacist, you’ll find her creating for her favorite company, Jenni Bowlin Studio. She loves sharing with others online. You can find Betsy on her blog Just a Pharm Girl. |
 |
![]() Read more about:
Read more about:
Next post: A weekend of sketches and scrapbooking
Previous post: Five ways to Use Mists on a Scrapbook Layout By Corrie Jones


