Five Ways of Getting Stitchy on your Scrapbook Pages by Mandy Koeppen
Today I’m thrilled to welcome Mandy Koeppen to the blog to share five beautiful ideas for sewing on your scrapbook pages. I love the looks Mandy has created to share with us, and hope you find some inspiration for a project of your own! -Shimelle
I love to stitch on my projects: it gives that added personal touch. I hope one day when my great-grandchildren rub their hands over the page, they’ll feel the love and time that went into documenting our memories. I know hand-stitching time consuming and it might be easier for you to run your project through the sewing machine, but after you see what I’m going to share with you I think you might change your mind and give the old needle and thread another look. I’m going to share five different ways to create beautiful hand stitched details on your projects. Let’s get started.
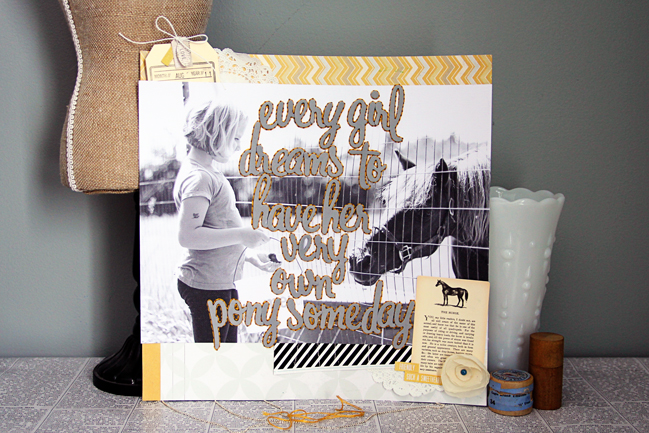
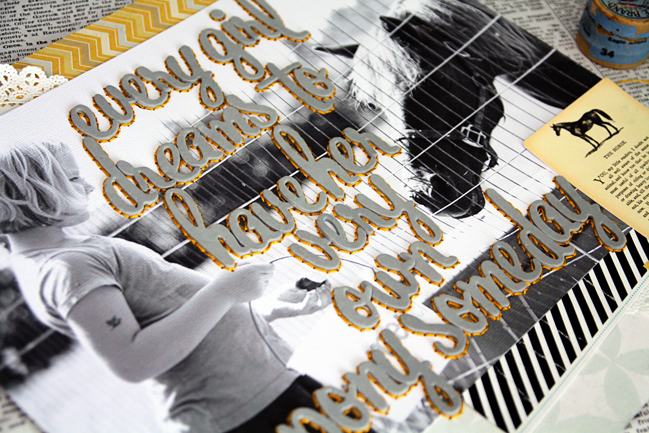
Making Your Title Pop
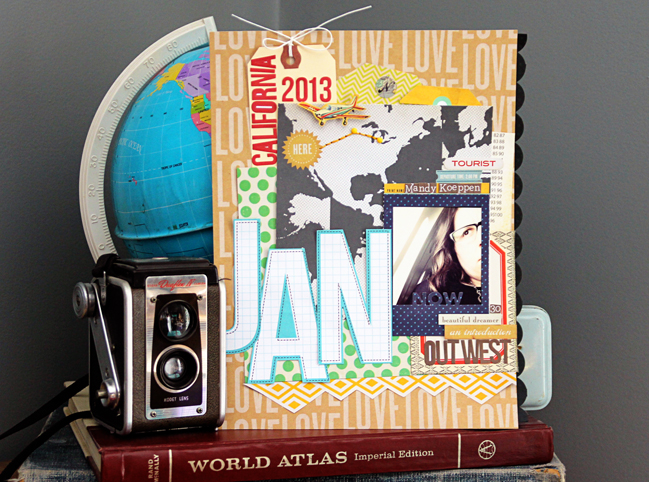
If you know my style, you’ll know that I am into enlarged photos and long titles. I think they make a big statement and are eye-catching in galleries. Sometimes the color of the letters used on my projects look like they need a little something more, so one day while creating it hit me: stitch around the Thickers in another color to make them pop. For those who don’t have patience, this might not be a good one for you to try unless it’s a one word title. This technique admittedly takes a long time, but it’s truly beautiful when finished.
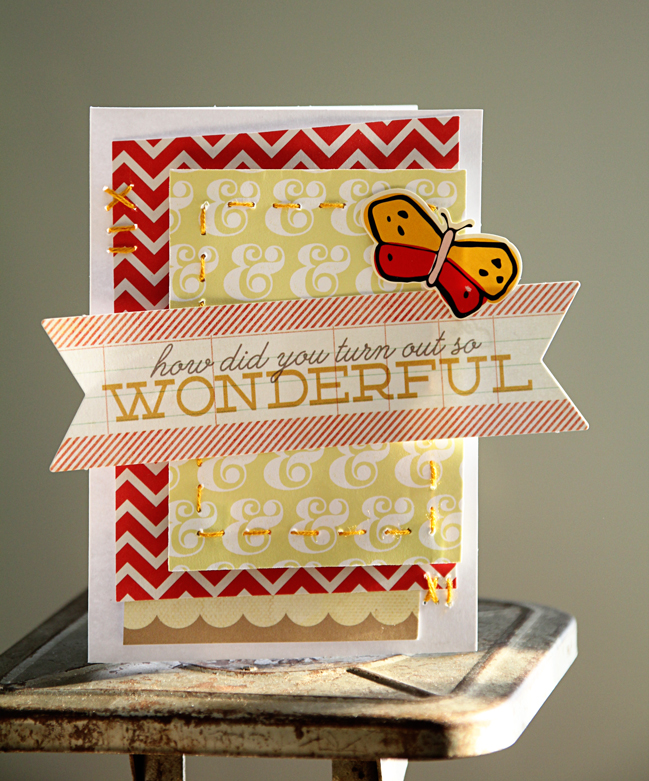
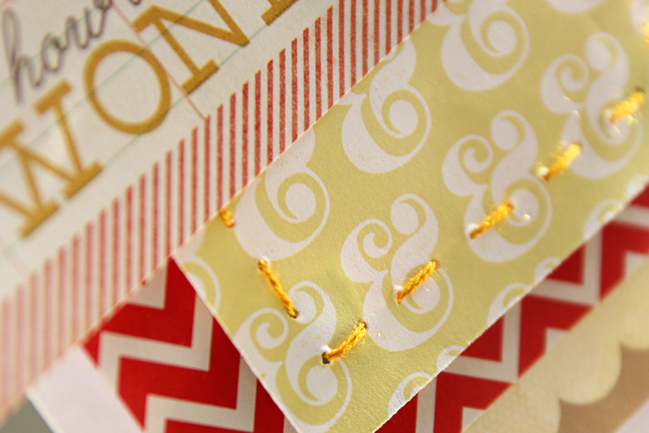
Borders
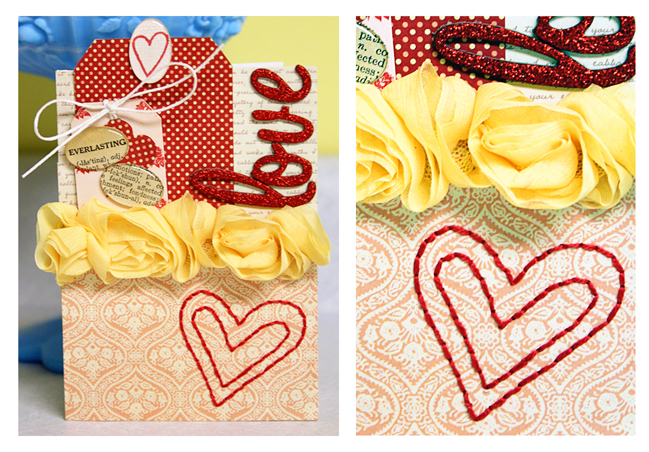
This is an easy and fun way to mix up your stitching. Yes, it’s faster through the sewing machine, but I love that chunkier look the hand-stitching gives and the different stitches you can use without changing settings because you’re using your hands. For example, this card has a straight stitch that you only see every other stitch but I could have added the cross stitch, swirly stitches, and more to the border. You could mix colors and stitches for another look too.
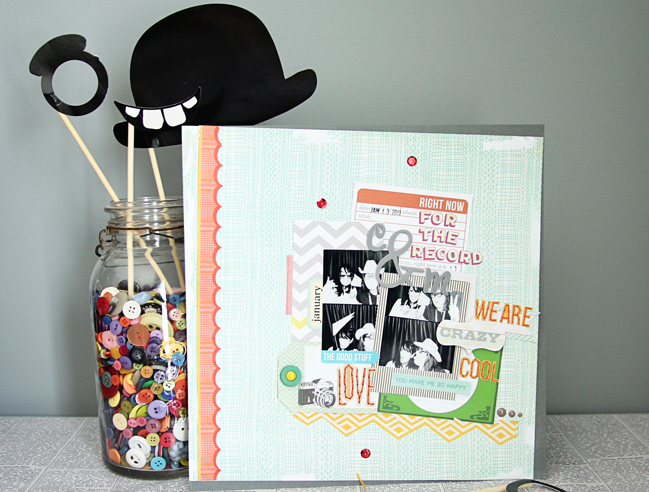
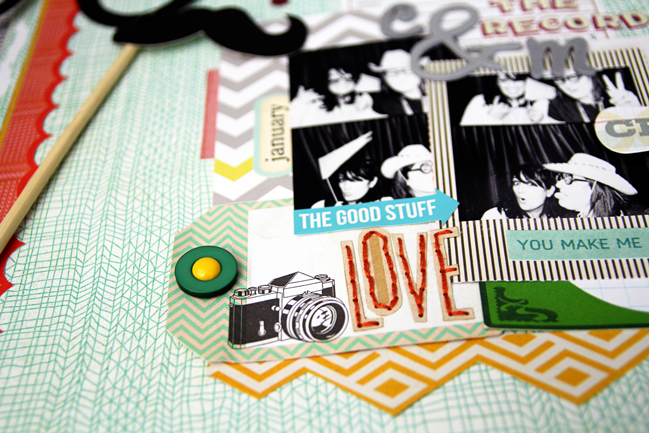
Holding Those Pesky Letters Down
I know we have all had this sort of problem: you open a package of letter stickers or Thickers and they don’t stick or you have moved them around on your page so much they loose their stick. Guess what I do when that happens? You got it: I stitch across the letters to keep them in place on my projects. This doesn’t have to be just for stickers either. The ‘LOVE’ on this layout was cut from patterned paper, so to hold it down and give it a pop of color I stitched the letters to the page.
Shapes
With hand-stitching, the sky’s the limit to the shapes you can stitch. You can make your own templates or Miss Amy Tan has released a fab new set of templates to make it easier (I saw these at CHA and they will be in stores soon). Stitching around cut shapes gives your project added dimension, and following the design of the patterned paper makes all sorts of shapes easy to stitch.
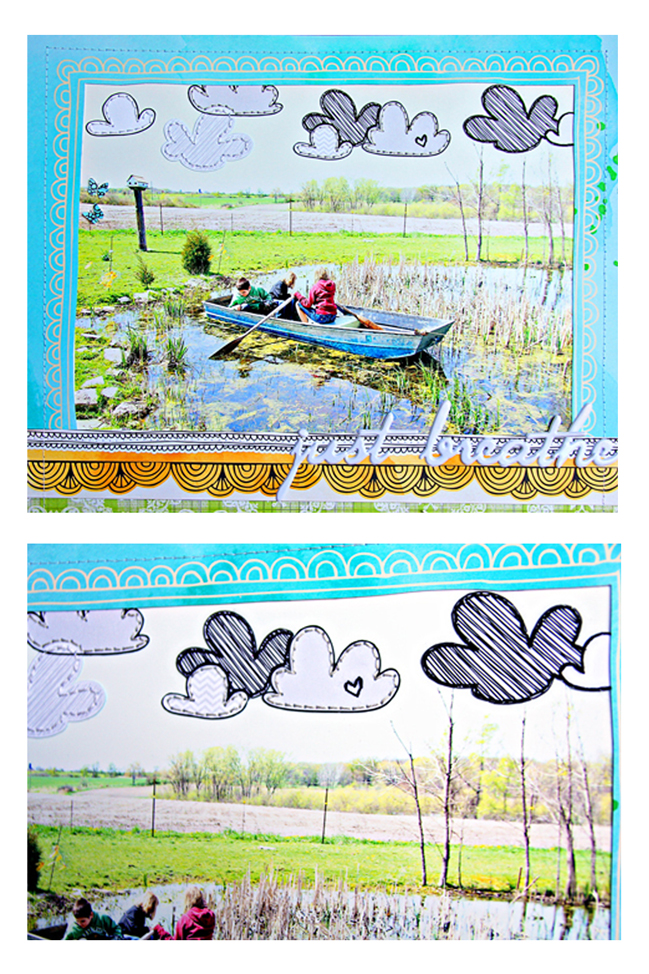
TIP using your own template: before you start putting holes in you project, print, draw, or cut out your shape on cardstock, then punch your stitching holes with a paper piercer into the cardstock. Once you have the look you want, place your template on your project and re-pierce the holes through the template onto your project. That way you can make a rough draft before punching any holes in your almost-finished project.
Stitch Anywhere on Your Projects
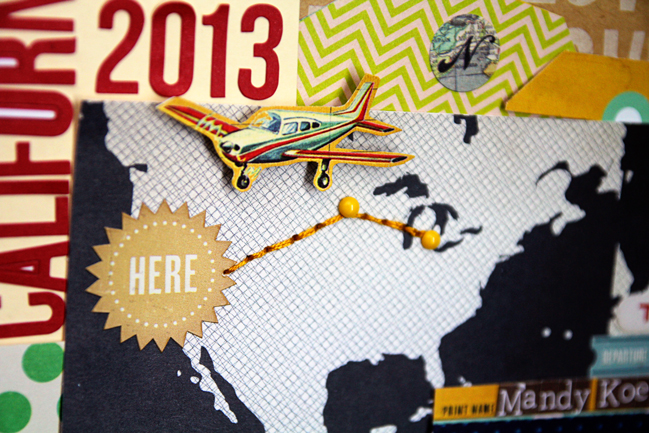
Hand-stitching gives the option to stitch and create anywhere on your projects, unlike your traditional sewing machine that you have a set amount of space you can get to with the needle. On this layout I was able to hand-stitch the flight pattern on the map. With my sewing machine, I wouldn’t have been able to do this (some of you could – I just haven’t mastered the machine so this is easier for me). This little detail only takes a few minutes!
I love how hand-stitching has so many options: colors of threads, thickness of stitches, patterns, tools, where you want to create on your project. You can do a little or a lot! Hand-stitching shows the love and hard work that went into creating the project.
A few tips before I say goodbye:
…A paper piercer is a great tool but you can substitute a push pin if needed.
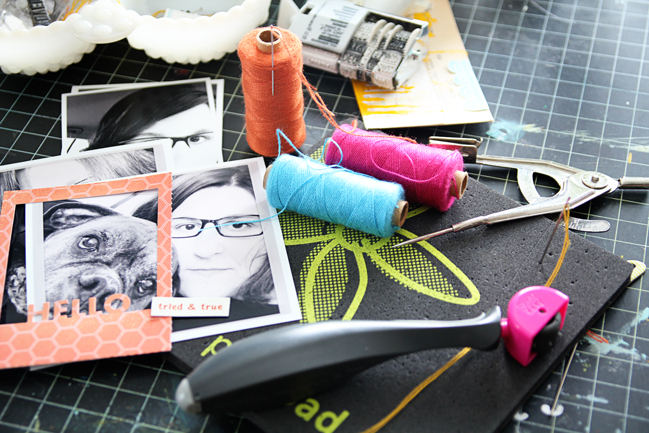
…Pushpads are awesome – they make piercing your holes much easier, especially on lots of layers. A mouse pad will work too.
…There are so many sizes of needles. Try different ones and see which you like best.
…Threads? Oh my goodness! There are so many varieties and colors that again you will try different ones and find your faves. I have a enamel pan full of threads that my grandma gave me from her punch needle & crocheting days.
…Templates are so easy you don’t have to buy them. Make your own or just stitch freehand on your project. It’s easy and fun!
Good luck with your all your stitching projects!
| Mandy Koeppen is a 30 something mom of 3 who juggles many job titles in her everyday life from chauffeuring family accountant to zoo-keeping therapist. She lives a small town, country girl life in Michigan with her Mr. K, raising their three children Teagan, Mavrick, and Avery. When she has time, Mandy loves to get creative with paper, browse her local antique shops, raise autism awareness for sweet Mav, and have fun with family & friends. Mandy’s work has been published in Creating Keepsakes, Scrapbook Trends, Scrapbooks Etc, and Somerset Memories. Mandy currently designs for Cocoa Daisy Kits. To see more of Mandy’s work or to get to know her better you can visit her blog or follow her on Twitter or Instagram. |
 |
![]() Read more about:
Read more about:
Next post: One Last Look :: Using the very last pieces of a scrapbooking kit
Previous post: Gardeners' Digest scrapbooking blog hop (January 2013)


