Decorate a Christmas Window :: Craft Tutorial by Corrie Jones

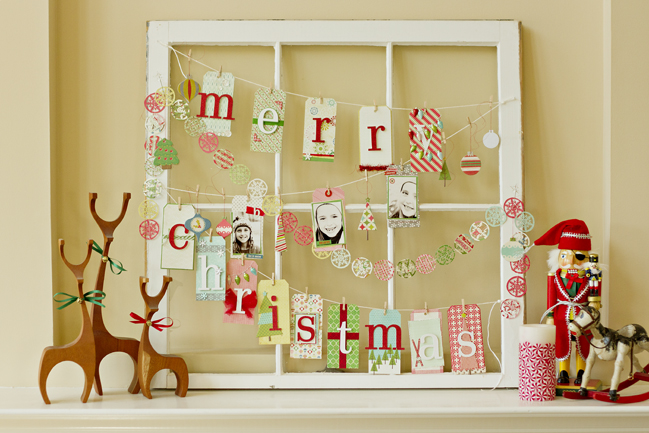
Next up, I’m excited to share this gorgeous project from Corrie Jones! I’ll let Corrie show you how to make something like this, step by step! Enjoy.
I bought this window forever ago with the intent of decorating it for my studio. I was going to create a window for myself in that windowless room. Well, it sat and sat until now, when I decided that it would be the perfect canvas for a Christmas decor project for right in my family room. Of course, this really is a garland project, and that very tag garland can be used to decorate just about anything, it definitely does not have to be an old window.
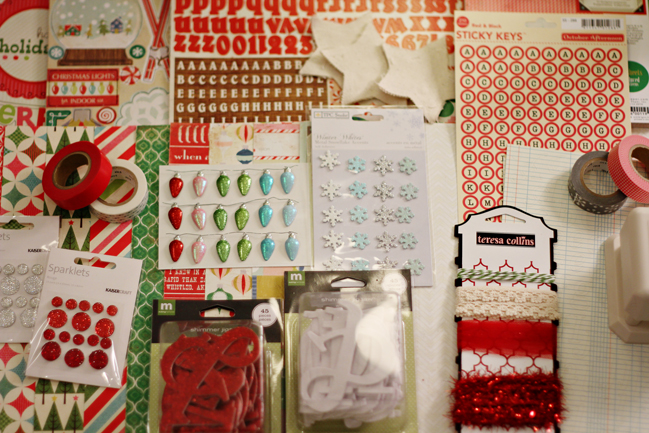
I used a bunch of Christmas supplies I had here.
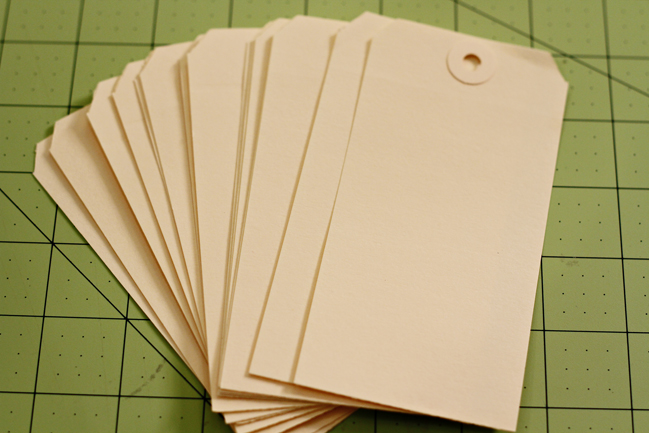
Gather a bunch of shipping tags of a size you like that will work in your space.
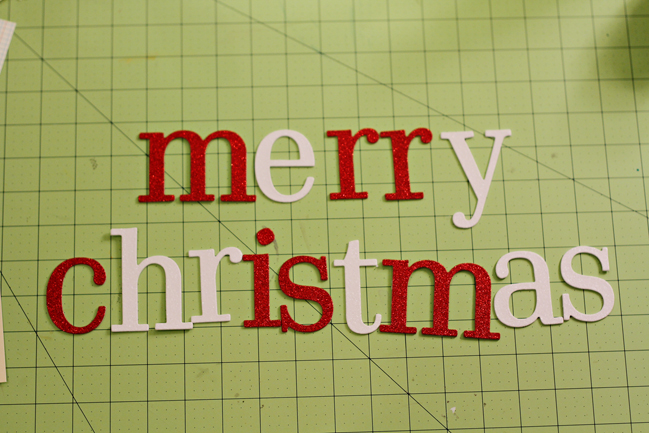
Spell out your holiday message.
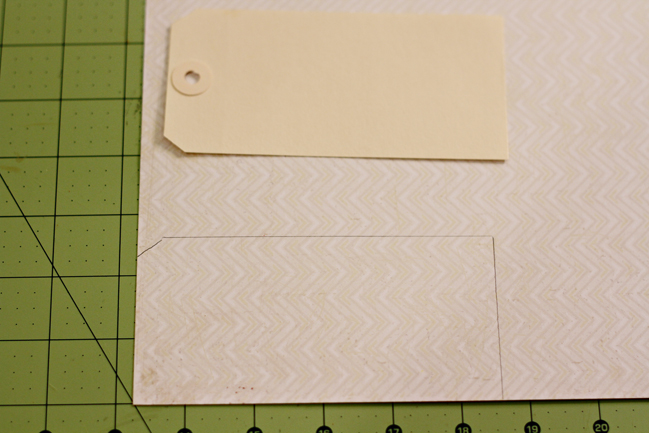
Use your tag as a template to cut out patterned paper the correct size to cover your tag.
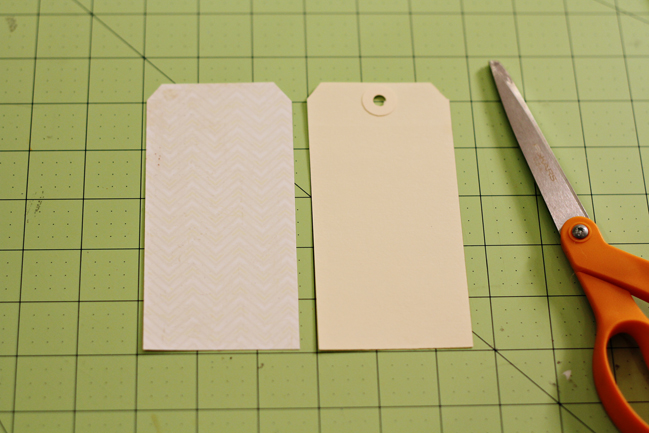
Cut out your patterned paper.
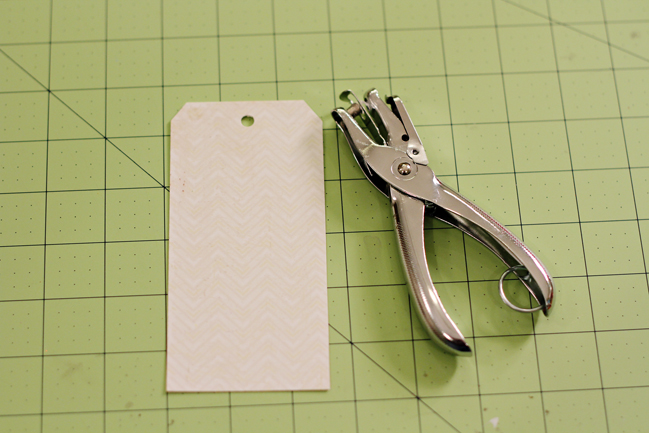
Cover your tag and punch a hole.
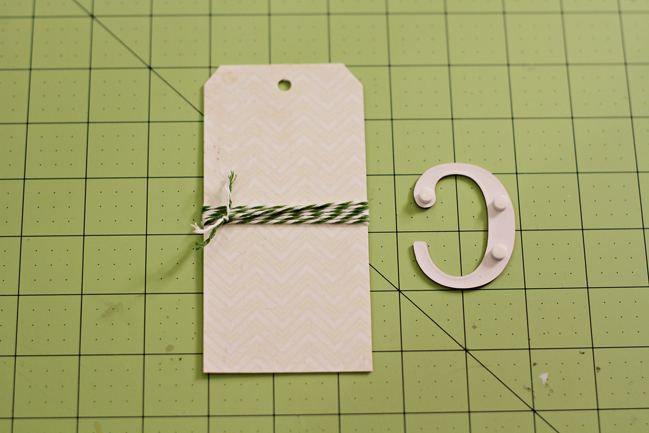
Here is the fun part. Decorate your tag. Add the first letter using pop dots. Have fun!!
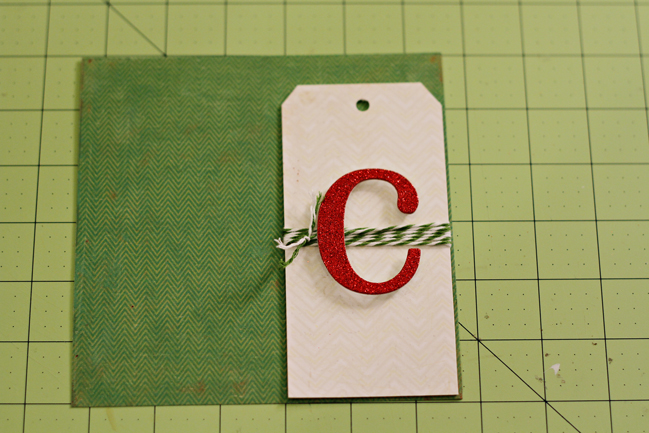
Add a bit of darker patterned paper for some depth.
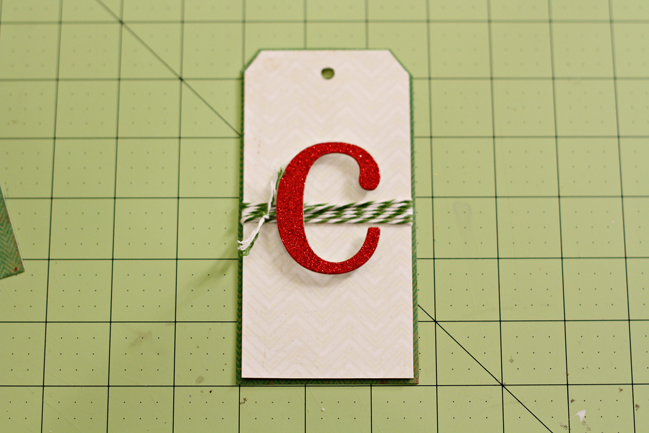
Step back and be happy with your small creation. And move on to the next one.
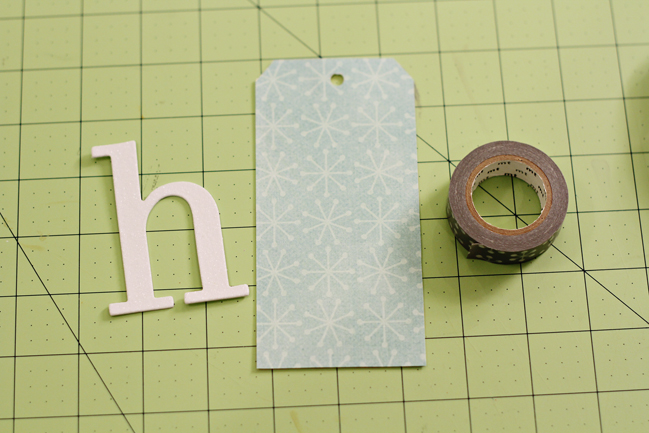
I like my tags all to be different, so here is the next one. Cover with patterned paper and use some washi tape as an accent.
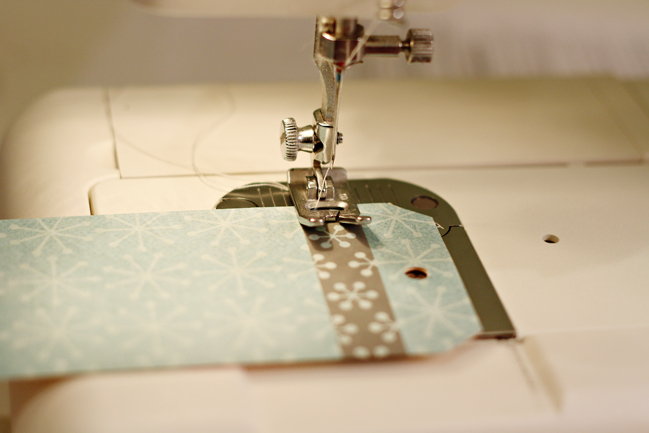
Use a sewing machine to add some stitching.
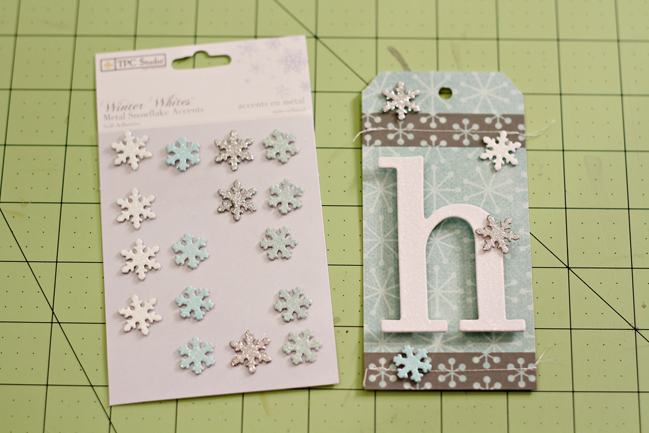
Add some metal snowflakes. (These are just ideas to get you started. Create away! One tag for each letter!)
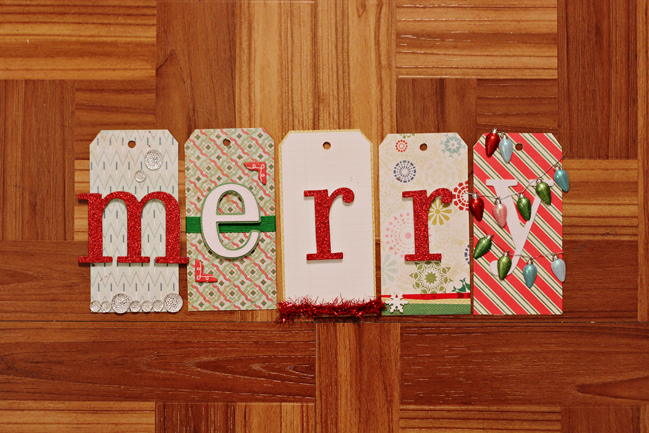
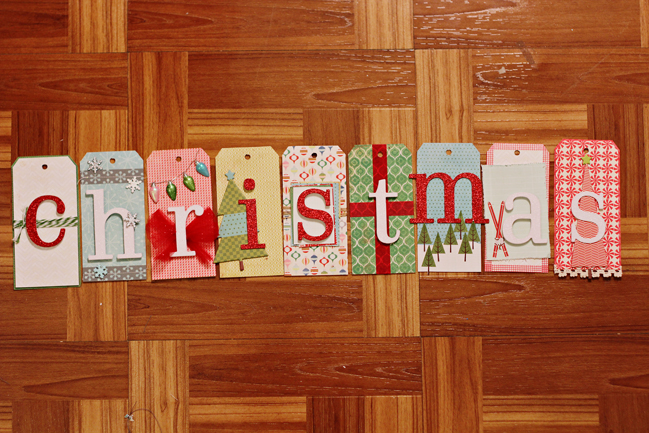
Here are all of them.
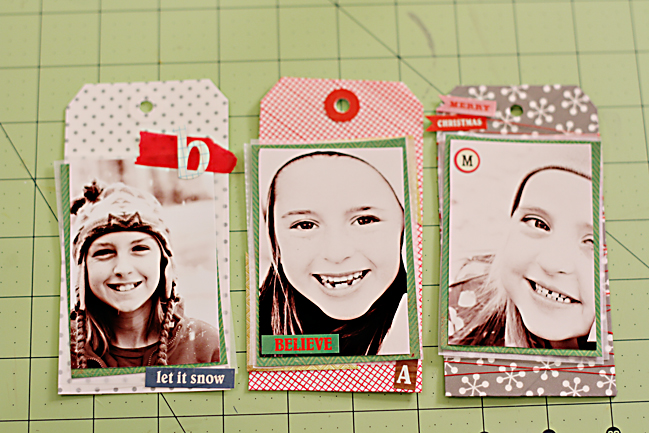
And what would a project using scrapbook paper be without some photos??
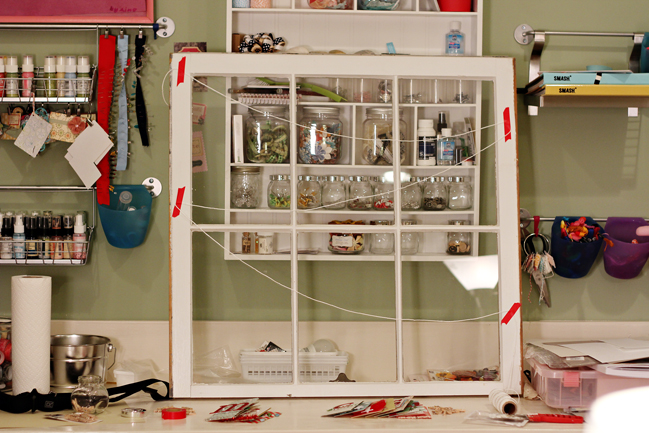
I now prepped my frame. I used my string and some tape to position where I wanted it all to be connected.

Sweetly ask someone who is good with a hammer to gentle add nails in your marked places and add your string. Knotting the string helps keep your lines in place even when the weight of the layers is different.
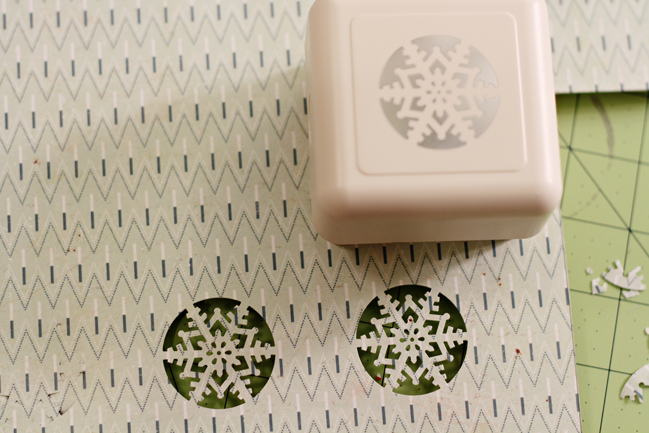
Now to make some snowflake garland. Punch out snowflake circles from various patterned papers.
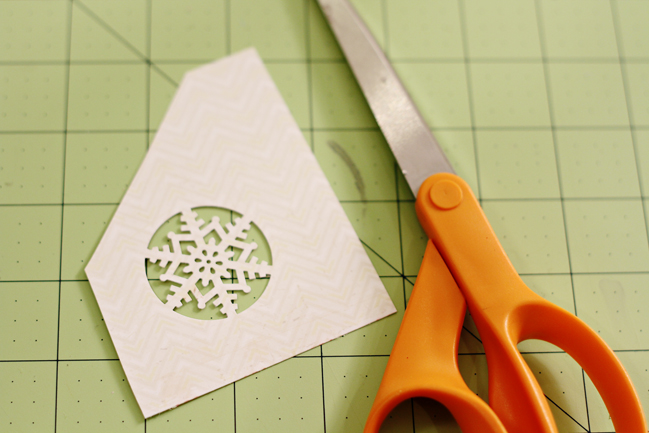
Cut out around your snowflake.
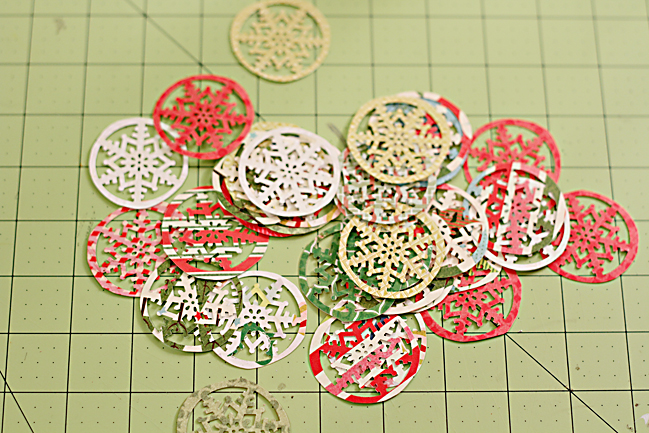
Once you have a bunch of circles, you are ready.

Feed the snowflake circles through your sewing machine one after another.
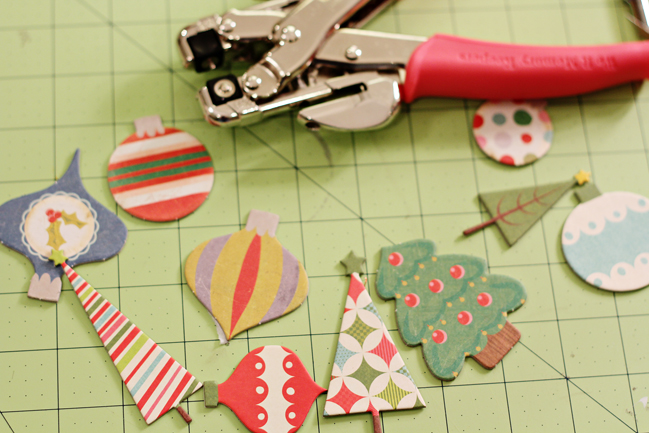
Make ornaments our of the larger chipboard shapes. Leave the backing on the adhesive. Punch holes using a crop-a-dile.

Tie the string.
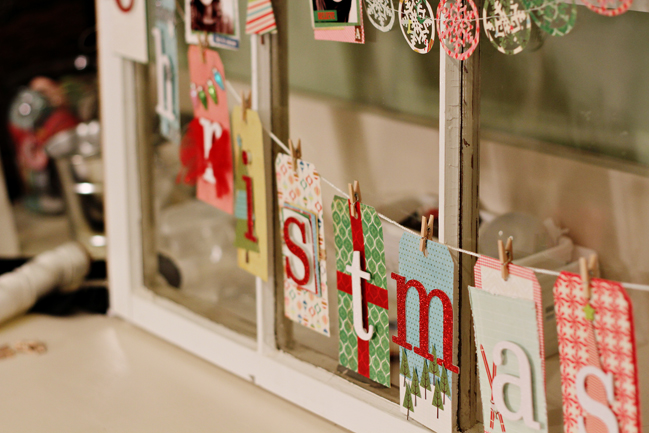
Now is the fun part. Decorating!!!
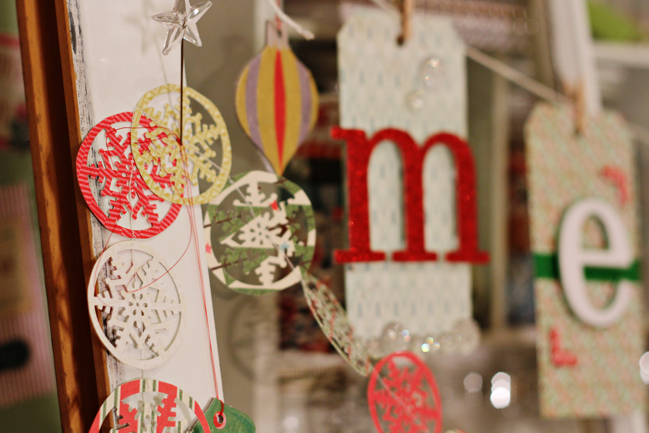
Be creative and have a fun time.
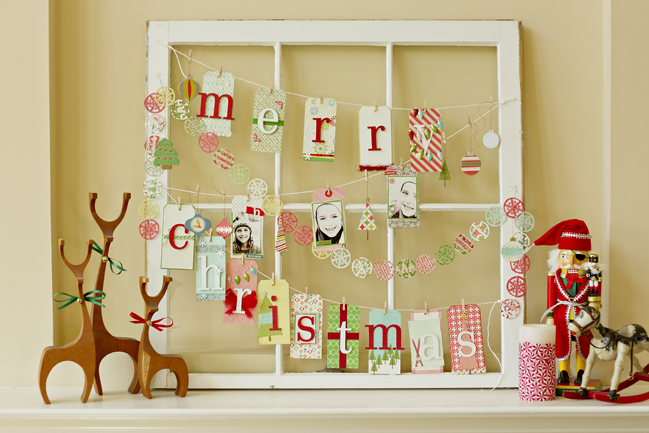
Your challenge: Get creative with tags! Big tags, small tags, plain tags, shopping tags…whatever you choose! Make something big, something small. Time to tag it up! Whatever you make, take a picture and upload it to your blog or a scrapbook page gallery. Leave a link to enter. Entries close at the end of Sunday the 20th of November. One lucky entry will be randomly chosen to win a $10 gift certificate to go shopping!
About Corrie…
I am Corrie Jones. I happily design for American Crafts and Sketchy Thursdays. You can find me at my blog, or at American Crafts and Sketchy Thursdays.
![]() Read more about: online-scrapbooking-weekend
Read more about: online-scrapbooking-weekend
Next post: Scrapbooking Embellishments :: Journal your Christmas Page Numbers part one
Previous post: 3 ways to add pockets to scrapbook pages


