






pretty paper. true stories. {and scrapbooking classes with cupcakes.}

lovely to meet you Twitter Facebook Pinterest YouTube

Take a Scrapbooking Class

online scrapbooking classes

Shop Shimelle Products

scrapbook.com simon says stamp shimelle scrapbooking products @ amazon.com shimelle scrapbooking products @ amazon.co.uk

Reading Material

travel

Scrapbook a nature walk with Go Now Go

Scrapbook a nature walk with Go Now Go // scrapbook page by Meghann Andrew

The seasons are a-changing. One of my intentions when designing Go Now Go was that it could be used for autumn adventures, even if they were close to home, as well as travels further afield. Today contributing designer Meghann Andrew shares how she put Go Now Go to work. She has a little trick up her sleeve for this week’s paint challenge too, so don’t forget to join in if you’re inspired!

Although we live in the height of suburbia, we try to get out in nature as much as possible. Sometimes with little ones, this just means a paved walk through the woods, like the occasion that I’m documenting today.

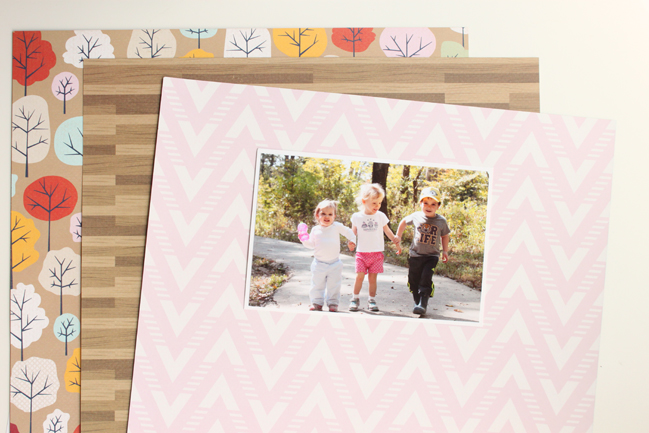
I started this layout by selecting a few patterned papers from the new Go Now Go collection. Since this layout records a walk in the woods, I couldn’t stay away from the beautiful woodgrain pattern, and I knew immediately that I wanted tocut the trees from the Park pattern to use as embellishments.

Scrapbook a nature walk with Go Now Go // scrapbook page by Meghann Andrew

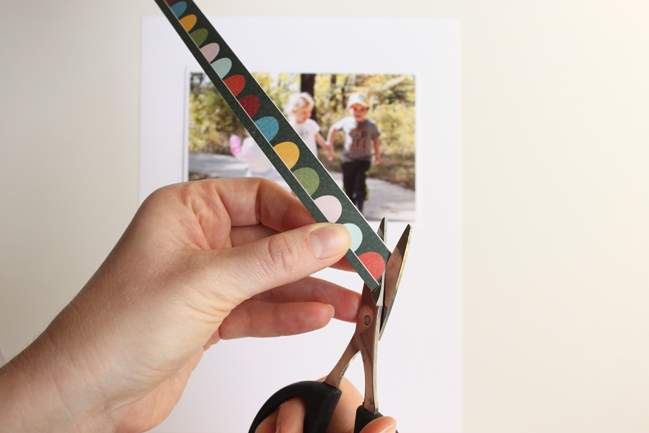
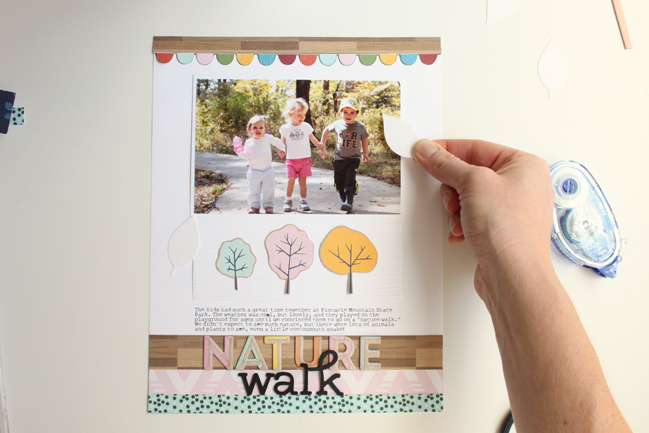
I was immediately drawn to the bright and cheerful scalloped edge strip on the Race patterned paper, but since the dark background behind the scallops seemed to heavy for the top of my layout, I cut each of the scallops from the background and topped this piece with a thin strip of the Pond woodgrain.

Scrapbook a nature walk with Go Now Go // scrapbook page by Meghann Andrew

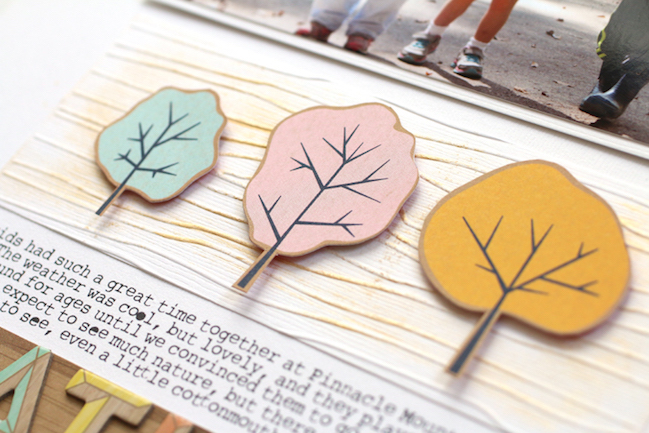
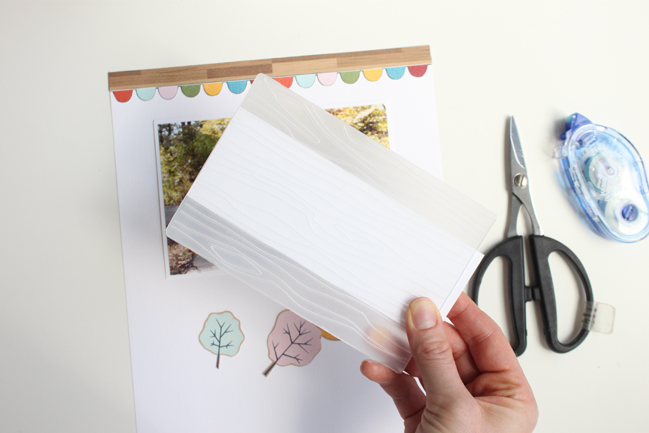
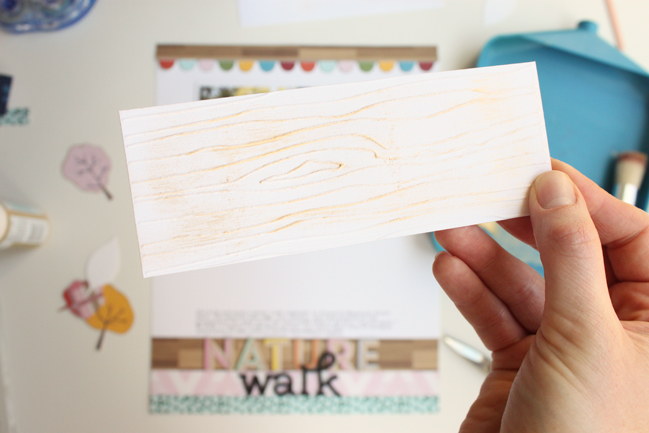
Next, I detail cut my little trees, using the same colors that the children in my photo were wearing. I wanted to place them below my photo, but they seemed to just “float” on the page, so I decided to adhere them to another strip of white cardstock to give them a home. However, I wanted this piece of cardstock to stand out from my white background, so I decided to use the Shimelle woodgrain embossing folder to give it some texture.

Scrapbook a nature walk with Go Now Go // scrapbook page by Meghann Andrew

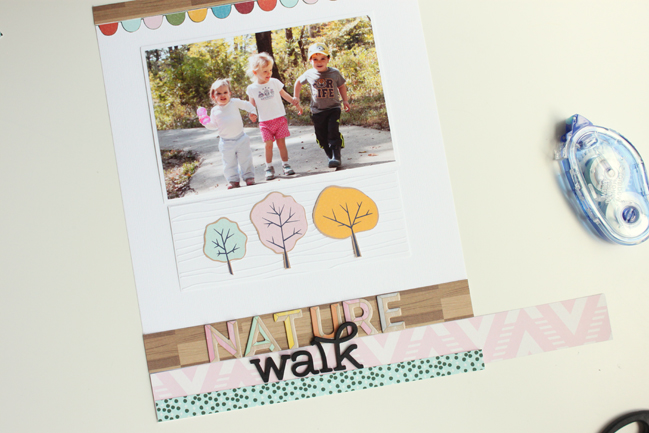
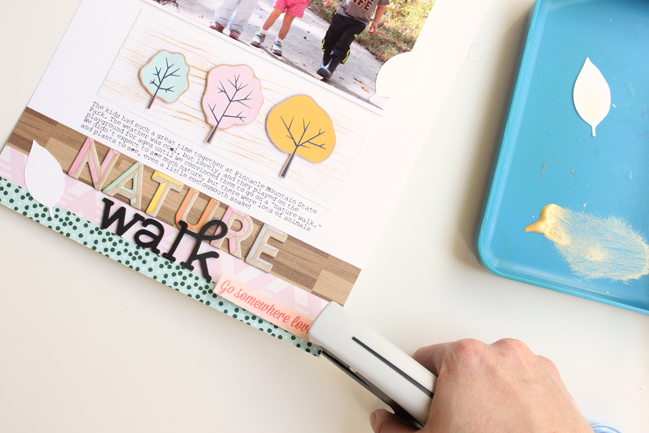
At the bottom of my layout, I added another, wider strip of the Pond woodgrain patterned paper, along with the Botanical pink chevron and teal and green manufacturer’s strip from the Race paper. It was on this block of patterned paper that I decided to add my title, using two different types of Thickers.

Scrapbook a nature walk with Go Now Go // scrapbook page by Meghann Andrew

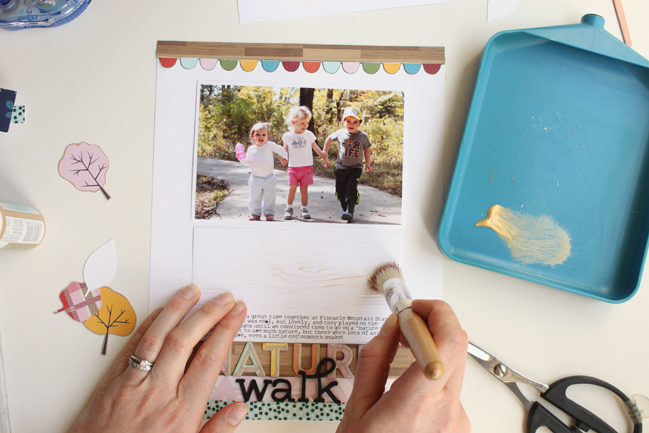
After embossing, the woodgrain texture still wasn’t very apparent, so I used a stiff brush and gold acrylic paint to drybrush the raised grain on the paper. By applying just a tiny amount of paint, I still kept the white background and made the woodgrain stand out with a metallic sheen.

Scrapbook a nature walk with Go Now Go // scrapbook page by Meghann Andrew

Scrapbook a nature walk with Go Now Go // scrapbook page by Meghann Andrew

Since I already had quite a few colors and patterns on my page, I decided to add a few die-cut white cardstock leaves around the page. I love the dimension of tone-on-tone shapes.

Scrapbook a nature walk with Go Now Go // scrapbook page by Meghann Andrew

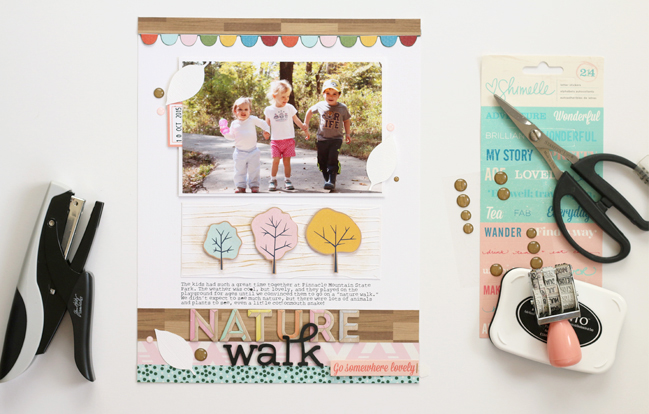
Because my page was already well balanced, I only added the “go somewhere lovely” sticker to the bottom right corner, offsetting it with the date tab at the top left corner of my photo. I also added a few enamel dots around my leaves for good measure.

Scrapbook a nature walk with Go Now Go // scrapbook page by Meghann Andrew

I love that our time outdoors has been documented in such a fun and colorful way on this layout!

Scrapbook a nature walk with Go Now Go // scrapbook page by Meghann Andrew

Scrapbooking with Watercolours

Scrapbooking with Watercolours // scrapbook page by Shimelle Laine

Be honest with me: have you put some sort of paint on your desk this week yet? Acrylic paint, watercolour, a bottle of mist? Anything? Today we have two more ways to splash paint on your page, and we promise it isn’t really that scary at all!

Lately I’m using paint for lettering more and more. It’s something that started when I was working on The Scrapbook Process and it showed up in my Olympic album there in particular. Then it kept appearing while I worked on The 20 Project and I think it’s here to stay for a while now. I love that this feels like a full circle for me. I fell into scrapbooking because a group of us wanted to make a book about a particular event (without knowing that ‘scrapbooking’ was a word) and was given the project because I liked doodling words and writing things with pretty pens. I fell for the hobby when I picked up my first Lindsay Ostrom book of letters and doodles. In my early days of working with Creating Keepsakes and Paperkuts magazine, I was hand lettering so many of my page titles, and we often talked in the assignment process about how this was really catering for the part of the scrapbooking audience who weren’t able to spend constant cash on letter stickers and didn’t want to use lots of computer-generated lettering on their pages. But then handmade titles went a bit out of fashion in print and of course I fell in love with Thickers, so I didn’t really miss the lettering on my pages so much as I was having fun with something different. Now I’m not giving up my Thickers in the slightest, but I am just enjoying the freedom of mixing in painted titles that can be just the right size and colour for the space available. And while accepting your own handwriting is its own creative challenge, this isn’t a scary technique because I always paint the title on another sheet of paper and cut it out to put it on the page. I have zero worry that I will mess up the rest of the layout since I’m not working directly there and I can write the same word three or twenty times until I get one I really like. Not scary!

using watercolours on your scrapbook page // scrapbook page by Shimelle Laine

(By the way, I really hope you’ll embrace the fun of Go Now Go for things close to home as well as far away. I find it funny how many of the same phrases apply to life on the road or life at home with a toddler. It’s definitely down to perspective when we classify what’s an adventure!)

using watercolours on your scrapbook page // scrapbook page by Valerie Bishop

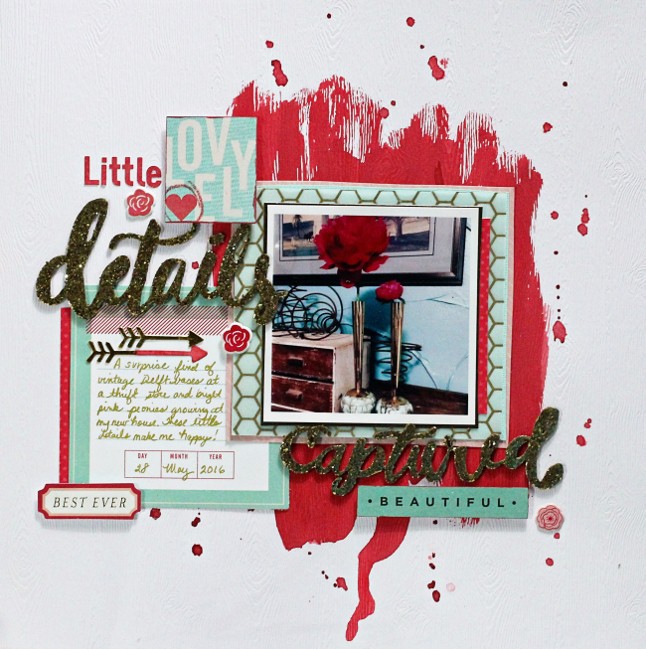
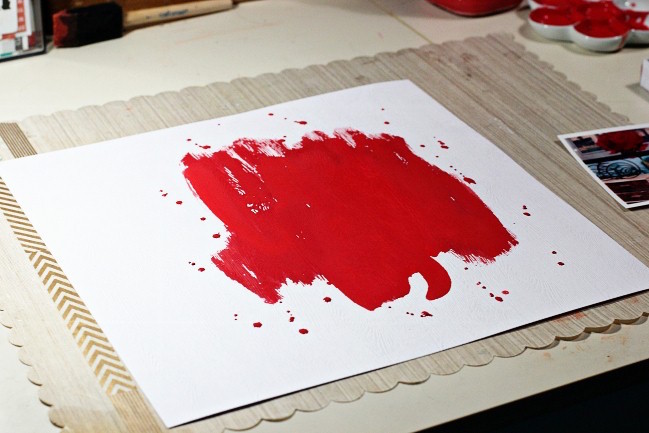
Now, if you do want paint on the background but you still want to veer far from the scary, guest artist Valerie Bishop is here to help! Her beautiful page was made by doing the painting first, so there’s no worry about spilling paint on your favourite pack of embellishments… provided you keep your desk relatively tidy. Though where is the fun in that?

using watercolours on your scrapbook page // scrapbook page by Valerie Bishop

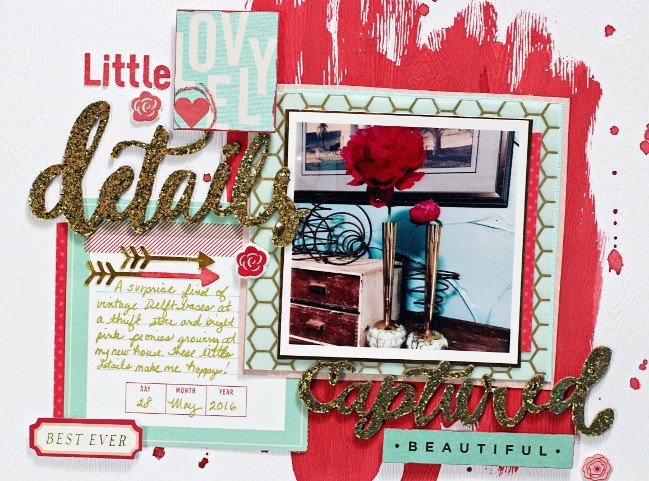
I love using watercolors because I can create a background color that matches my photo if I can’t find any patterned paper that will match it! I used a heavy weight cardstock as my base of this layout to keep it from buckling from the watercolor. I simply estimated where I wanted my to photo to be on the layout and swiped some watercolor that I mixed to highlight the flower in my photo across my cardstock.

using watercolours on your scrapbook page // scrapbook page by Valerie Bishop

After it was dry, I used complementary colors of embellishments and papers to layer under my photo and around my page. I also used the watercolor paint to change the color of one of the arrow shapes and to edge a couple of the Shimelle die cut cardstock shapes the I used to embellish my layout.

I used embellishments and patterned papers from Shimelle’s first collection as well as items from American Crafts, Elle’s Studio, We R Memory Keepers, and Chickaniddy.

Today’s Guest Artist: Valerie Bishop loves making memories with her family, bicycling, and creating layouts about both activities. You can find more from Valerie on Instagram, Twitter, and her blog.

Stamping with Watercolours

Stamping with Watercolours // scrapbook page by Emma Callagher

With even more ideas for this week’s paint challenge, please welcome guest artist Emma Callagher, here to encourage you to get your stamps in on the painted action!

Stamping with Watercolours // scrapbook page by Emma Callagher

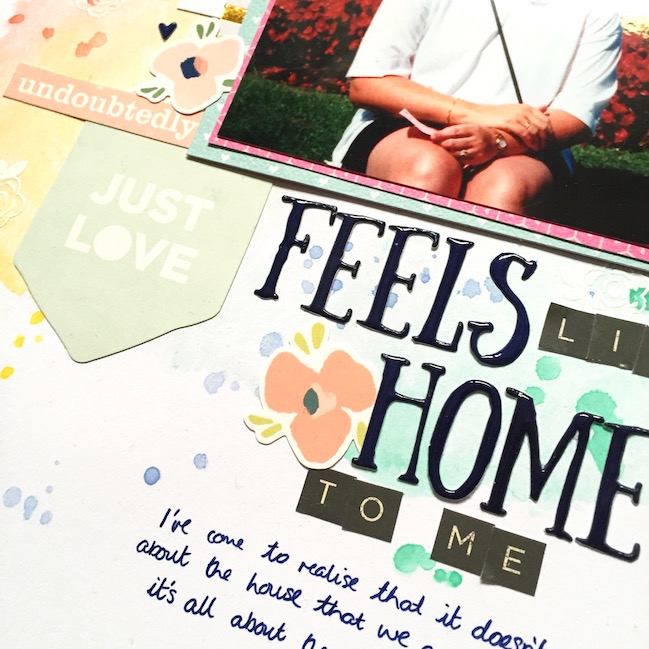
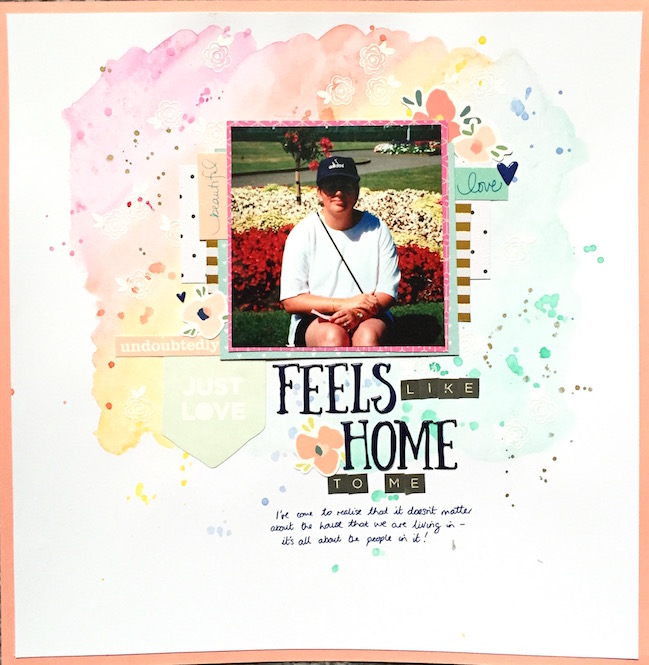
ome is where the heart is”, they say. Whoever they are, I totally agree. I think it’s important to remind yourself every now and then, that the most important things in life are not usually physical possessions but rather, the people you share your life with. For me, wherever my lovely mum is feels like home. Mums have that way about them don’t they? I love this photo of my mum. It was taken when I was about four or five and I love the flowers and the colours all around her.

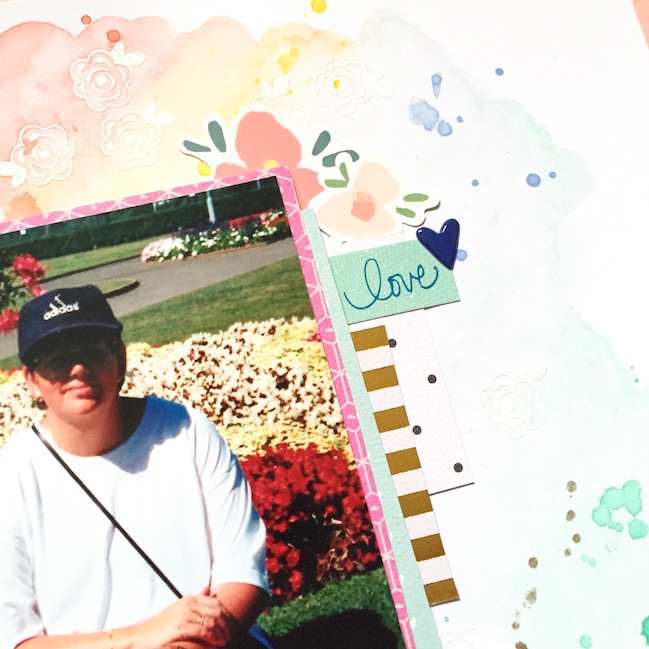
To highlight this, I pulled out the small flower stamp from the Shimelle Starshine stamp set and stamped in Versamark ink so I could white heat emboss for a resist technique. I used Kuretake Gansai watercolours over the top so the flowers stood out and I thought the colours worked really well with the photo. I think stamping gives awesome texture to a layout. I then embellished the layout using word stickers from the Starshine collection as well as other elements from my stash including stickers from the Dear Lizzy Saturday collection.

Stamping with Watercolours // scrapbook page by Emma Callagher

Today’s Guest Artist: Emma Callagher loves reading, crafting, and playing with paint. You can find more from Emma on Instagram, YouTube, and her blog.

Using Paint to Highlight a Photo

using paint to highlight a photo // scrapbook page by Gina Lideros

Need more inspiration for this week’s paint challenge No problem! Contributing designer Gina Lideros shares her steps for using paint to highlight the photo on your next scrapbook page.

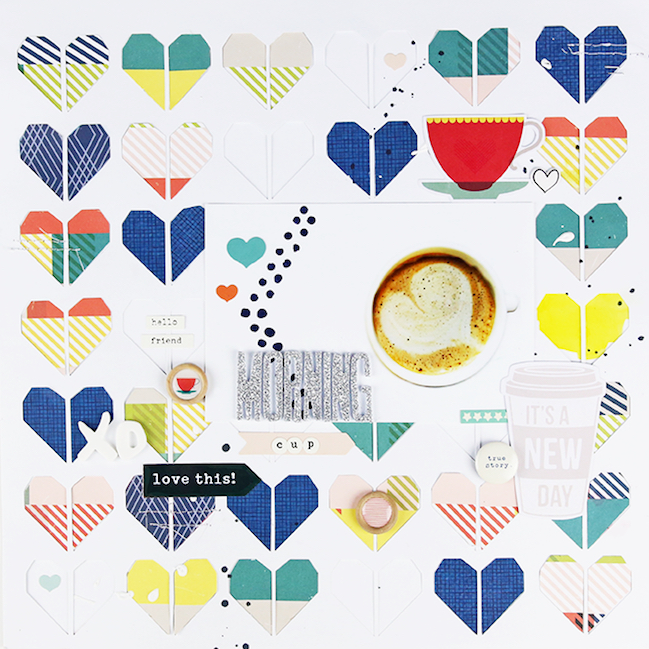
My routine every morning is to get up early and enjoy a nice cup of coffee before the rest of the house awakes. There is something about having that quiet time each day that sets the tone for the rest of the day. It’s kind of like a meditation of sorts to me, plus caffeine.  The best of both worlds!  I chose to document my morning routine for this week’s post.  

using paint to highlight a photo // scrapbook page by Gina Lideros

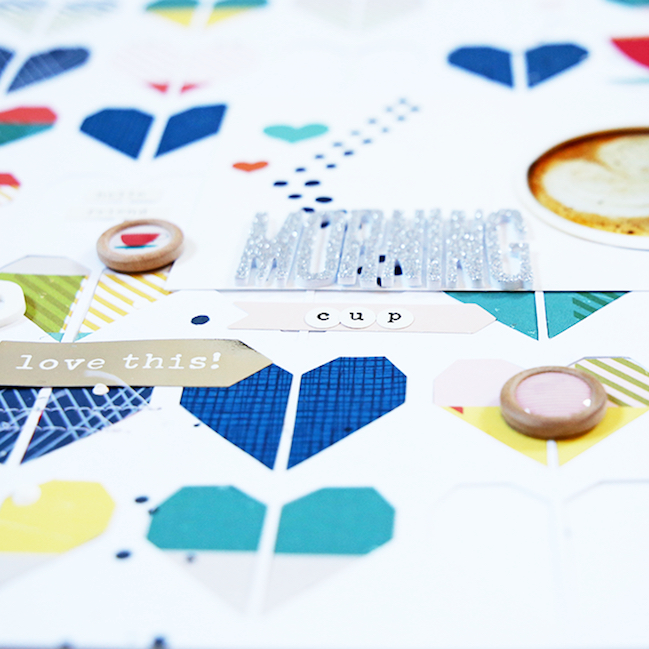
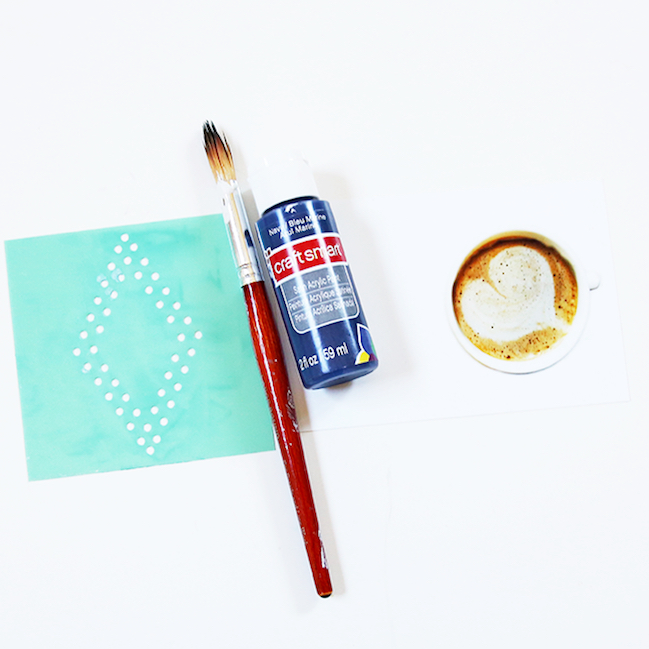
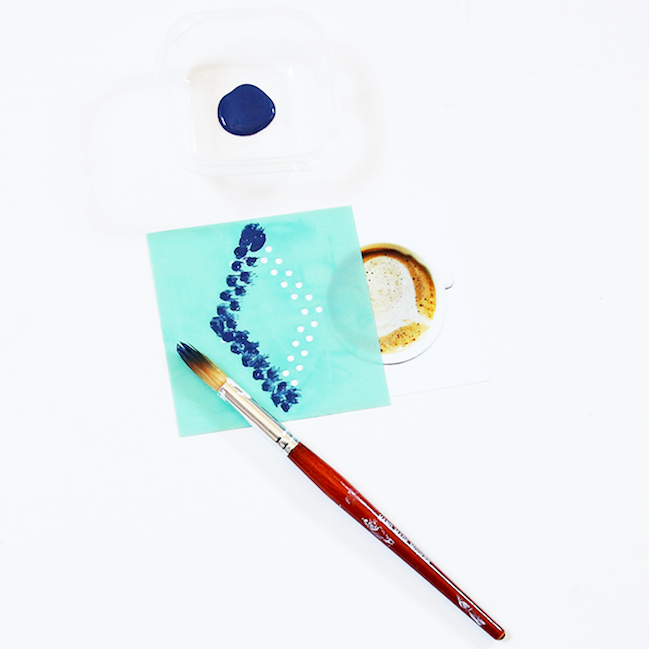
To get started, I chose a favorite photo, a stencil from Heidi Swapp and Craft Smart Navy blue acrylic paint. I specifically chose a photo that had a lot of negative space. I placed my stencil over the left side of my photo.  I carefully applied my paint to the left side of the stencil, leaving the right side open.  By only painting one side of the diamond shape, my design became a chevron. After applying paint I was careful to lift my stencil up in slow motion (to not smear the design).  Next, I used a heat gun over my design to speed up the drying process.  

using paint to highlight a photo // scrapbook page by Gina Lideros

While my photo was drying, I created my background for my layout.  I used the Half Hearted cut file from The Cut Shoppe to cut my background out of white cardstock paper.  I then chose a selection of favorite patterned papers from Shimelle’s True Stories and Starshine collections.  

using paint to highlight a photo // scrapbook page by Gina Lideros

Lots of fun embellishments such as buttons, stickers, Thickers, and stickers helped finish up my page.  I even added some paint splatters and machine stitching for a more homemade feel.

Weekly Challenge :: Paint the Edge of the Page

weekly challenge: paint the edge of the page // scrapbook page by shimelle laine

I love colour on my scrapbook pages. So much. And usually I go to patterned papers for the start of all that colour, but then a page like this comes along and reminds me the colour can always start somewhere else, like paint:

weekly challenge: paint your scrapbook page // layout by corrie jones

It’s a page Corrie Jones shared here in an article about scrapbooking with paint absolutely ages ago, but it’s one that pops into my mind often and I always find something on that beautiful page to inspire me.

This week, I challenge you this week to paint your scrapbook page. If more specifics help you, paint the edge of your page. It’s an easy way to introduce paint of any kind without feeling you need to be Matisse or have special brushes or absolutely anything complicated. Watercolour, acrylic, or mist can all be painted on with either a brush or a sponge, and going around the edge can be bold or subtle depending on how much paint you use and what colour you pick. Everything else is completely up to you, so you can take your inspiration in any direction you like! To get you started on this week’s challenge, take a look at these examples from contributing designer Sheena Rowlands and guest artist Jeanna Cata.

weekly challenge: paint the edge of the page // scrapbook page by Sheena Rowlands

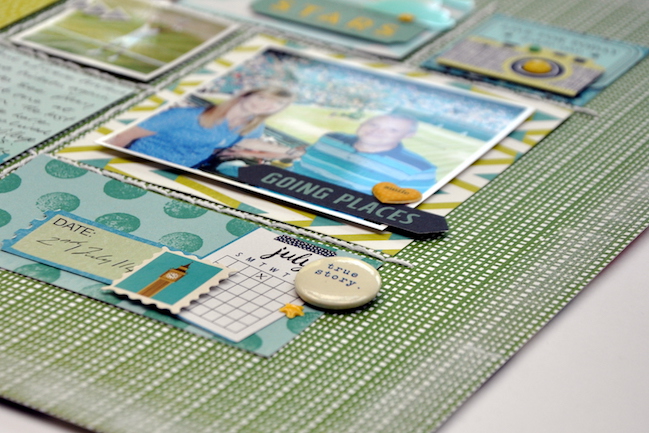
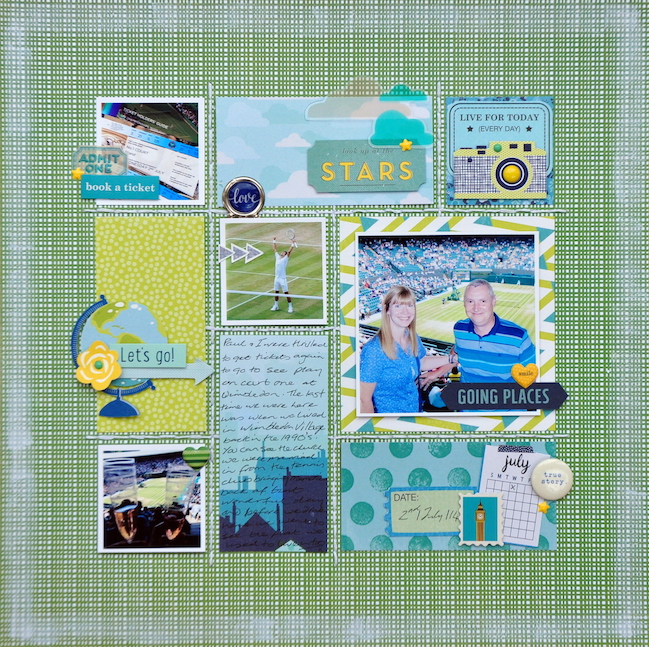
I love it when a challenge gets me scrapping something I’d not got around to documenting up to now. When I saw the challenge was sport I was reminded of a visit my husband and I made to the Wimbledon Tennis Tournament a couple of years ago. This trip was made even more special as we used to live there many years ago and actually got married there too and we could see the church from the Tennis Club, which got us reminising together.

weekly challenge: paint the edge of the page // scrapbook page by Sheena Rowlands

As my photos from the day aren’t that great I’ve printed them small and incorporated four into this grid design. To emphasise the tennis feel I’ve stitched white lines through the grid and dry brushed a white paint border around the edge. All my supplies are from the Go Now Go and Starshine ranges and they coordinate together beautifully.
- Sheena

weekly challenge: paint the edge of the page // scrapbook page by Jeanna Cata

weekly challenge: paint the edge of the page // scrapbook page by Jeanna Cata

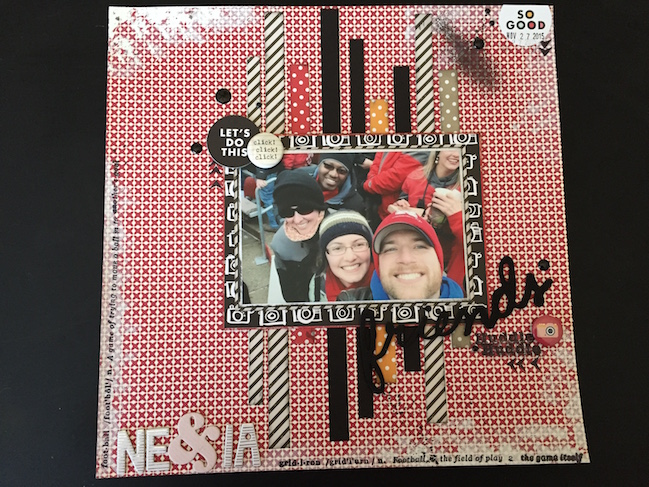
I’m always up for a challenge, and with this week’s project I explored new techniques and stepped a bit out of my comfort zone. I’m only just now exploring mixed media, so had some acrylic paint on hand; however, I hadn’t ever considered painting the edges of my page with it. The thought was a bit terrifying once I realized that I only had one page of Pathfinder from Shimelle’s Starshine line on hand. Eek!

weekly challenge: challenge title here // scrapbook page by Jeanna Cata

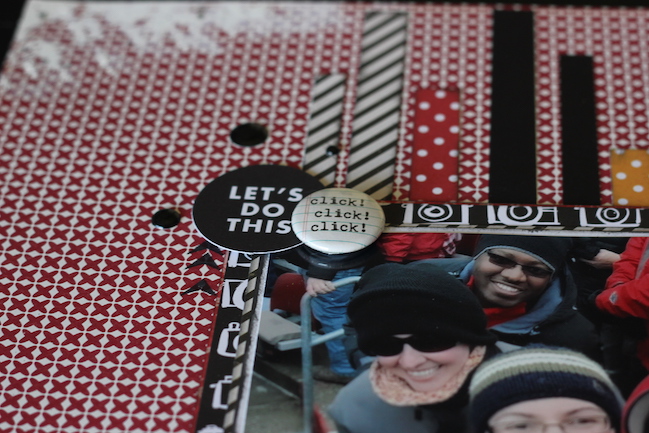
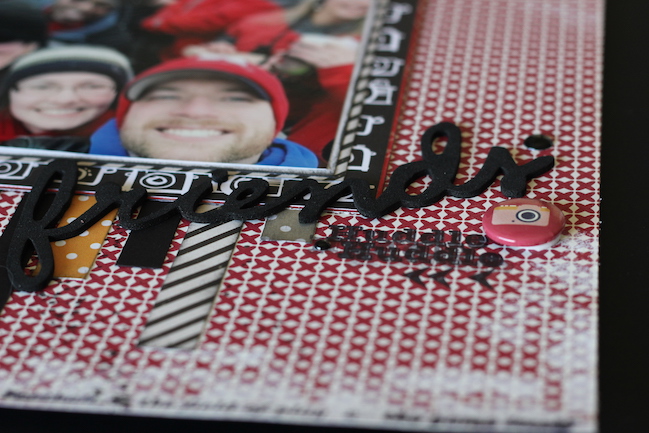
Since I decided to record our trip to Lincoln to watch Nebraska football play last fall, I wanted to stick to a very specific color palette and I’m grateful that the various American Craft lines, those of Shimelle and Amy Tangerine, included so much red, white and black, and that they were complimentary. Of course, the final project wasn’t what I had first envisioned, but I like how it turned out. My story can be found on the backside.
- Jeanna


You have a week to complete the challenge and share a link – but of course you’re welcome to set your own time schedule. Whatever keeps you happy and creative!

I’ll see you tomorrow to share how I took on this challenge!

Today’s Guest Artist: Jeanna Cata loves to travel, read, and laugh. You can find more from Jeanna on Instagram, Pinterest, and her blog.

Weekly Challenge :: Embellish with leaf motifs

weekly challenge: embellish with leaf motifs @ shimelle.com

It wouldn’t be September without a leaf challenge, right? Southern hemisphere friends, please tell me you can take some leafy inspiration for springtime and use an entirely different colour scheme than we are up here, okay? Leaves, leaves aplenty!

This week I challenge you this week to scrapbook with leaves. It is that simple! Use a leaf-printed paper or stamp some leaves or punch them or put some stickers to work, or all of the above. Leaves it is, and everything else is completely up to you, so you can take your inspiration in any direction you like! You might find this tutorial or this video from the archives inspiring for this challenge too, but to get you started on this week’s challenge, take a look at these examples from contributing designer Leigh Ann Odynski and guest artist Ingunn Mankiewicz.

weekly challenge: embellish with leaf motifs // scrapbook page by Leigh Ann Odynski

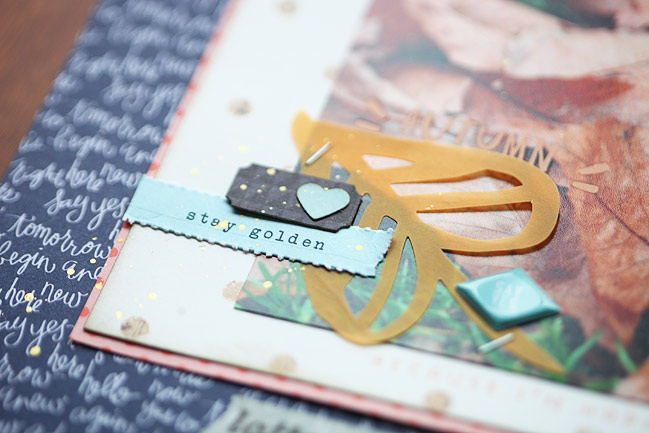
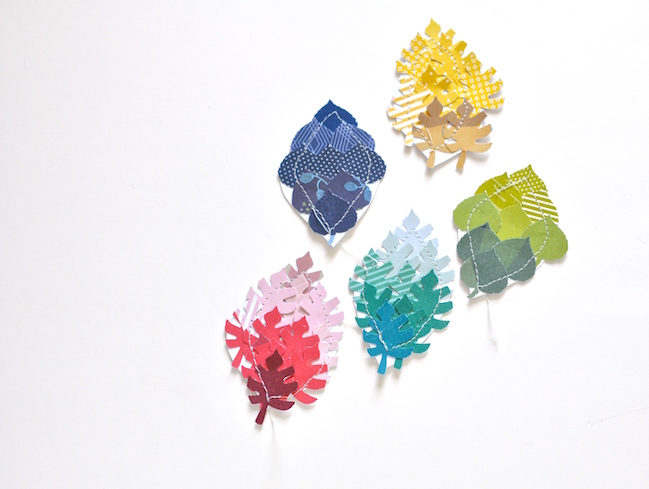
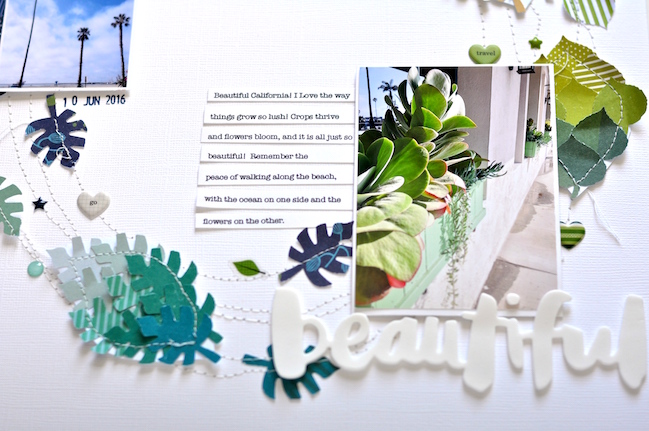
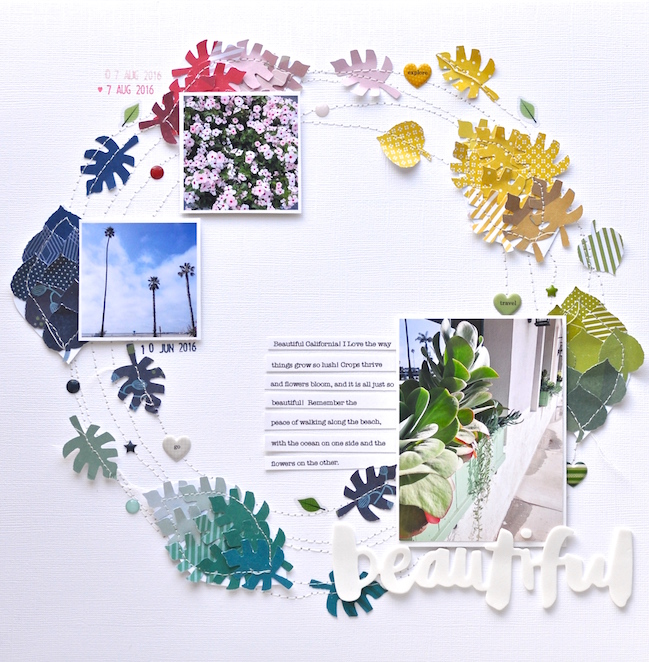
This week’s challenge is such a great starting point to tell the story of a morning nature walk along the ocean. To enhance the organic feel of the layout, I chose to punch a couple different leaf shapes from lots of different patterns. You can create an ombre look by punching lighter tints to darker shades of the same color. Layer and glue them to a simple hand cut leaf shape, then stitch around each one. Have fun punching away, and see how many different patterns you can use! (I used patterns from True Stories, Starshine, and the new Go Now Go collections.)

weekly challenge: embellish with leaf motifs // scrapbook page by Leigh Ann Odynski

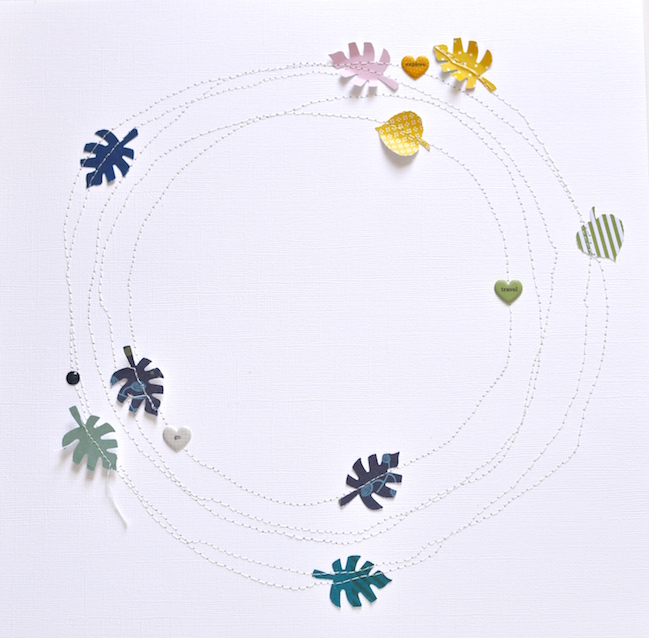
Decide how to position your leaf shapes without adhesive first, then glue smaller single leaves around the page. I then machine stitched around the page in a loose circle about five times.

weekly challenge: embellish with leaf motifs // scrapbook page by Leigh Ann Odynski

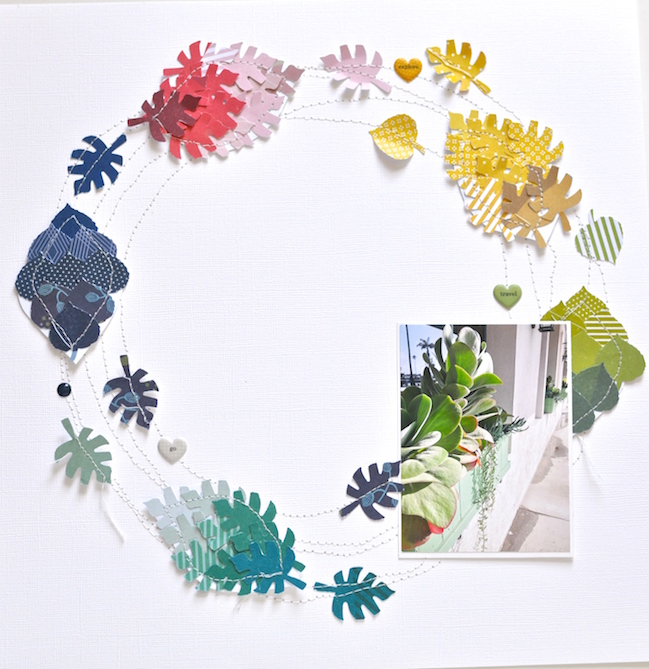
Now add your ombre leaves, and some new Go Now Go puffy Heart Stickers and enamel shapes.

weekly challenge: embellish with leaf motifs // scrapbook page by Leigh Ann Odynski

weekly challenge: embellish with leaf motifs // scrapbook page by Leigh Ann Odynski

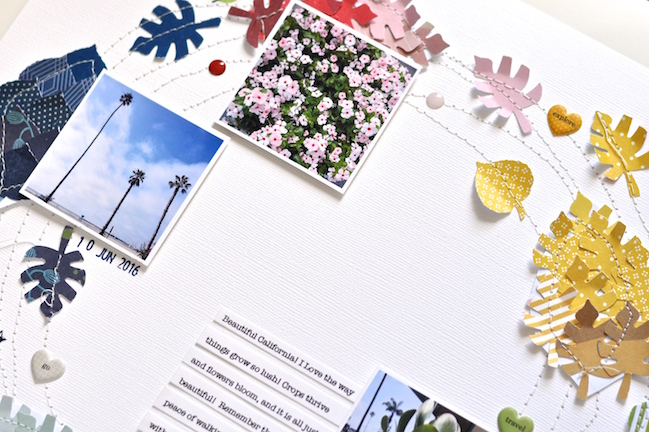
I think the stitched wonky circles continue the organic lines in the photos, and the punched leaves. I added three photos from this peaceful walk along the shore, and attached them according to the colors in each photo.

weekly challenge: embellish with leaf motifs // scrapbook page by Leigh Ann Odynski

Now you can simply add your journaling and title, and your favorite Go Now Go stickers and enamel shapes to fill in any empty spots around the circle! I really love these challenges, as they always get me thinking more about the story I want to share and how to connect it with the supplies!

Thank you for stopping by today, and I can’t wait to see what you create for this leaf motif challenge!
- Leigh Ann

weekly challenge: embellish with leaf motifs // scrapbook page by Ingunn Mankiewicz

weekly challenge: embellish with leaf motifs // scrapbook page by Ingunn Mankiewicz

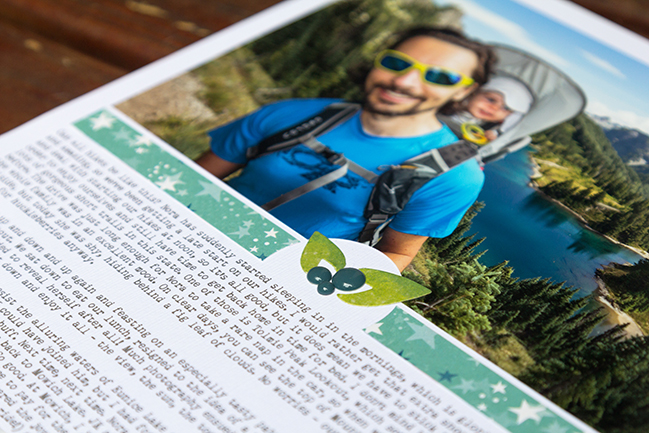
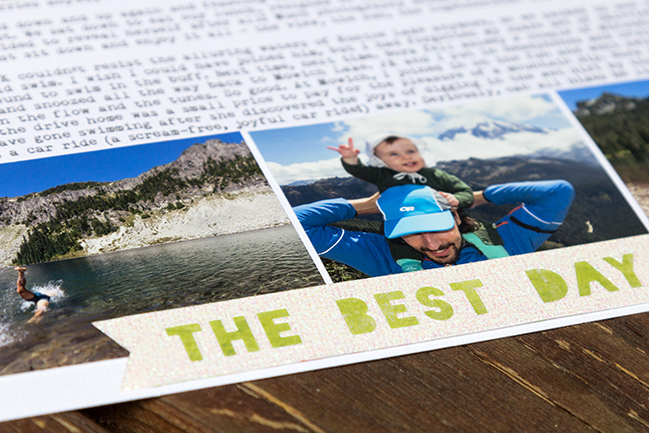
One of the things I remember most vividly from this hike was how amazingly delicious the huckleberries were, and I keep going on about them in my journaling. Unfortunately I somehow failed to get a photo of those tasty little trailside snacks, so I wanted to at least honor them in embellishment form.

weekly challenge: embellish with leaf motifs // scrapbook page by Ingunn Mankiewicz

I had limited space due to squeezing in as many photos and words as possible, but I opened up a little half circle for them in the main photo. I cut out a couple of leaves and colored them with two shades of green ink (while congratulating myself, an incorrigible clean & simple scrapbooker, on my extreme artsiness) and used enamel dots as berries. I used the same inks for my title background to repeat the pop of green color.
- Ingunn


You have a week to complete the challenge and share a link – but of course you’re welcome to set your own time schedule. Whatever keeps you happy and creative!

I’ll see you tomorrow to share how I took on this challenge!

Today’s Guest Artist: Ingunn Markiewicz loves hiking, scrapbooking, and eating plants (not just huckleberries). You can find more from Ingunn on Instagram and her blog.

Scrapbooking Back to School with comparison photos

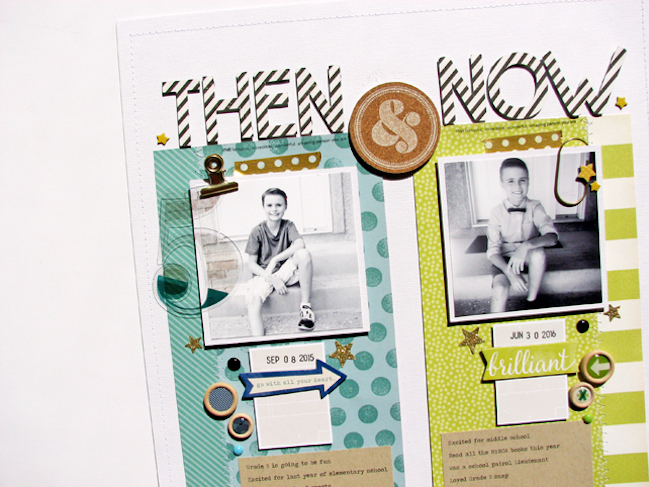
Scrapbooking Back to School with comparison photos // scrapbook page by Nicole Nowosad

It’s not just back to school time for many of us, it’s also back to school scrapping time! Contributing designer Nicole Nowosad is here to share a fabulous idea for just that!

It’s that time of year where all the kids are heading back to school, if not already there! Like alot of other parents, I like to take back to school photos each year. They sure pile up year after year! It’s about time that I get some of them scrapped.

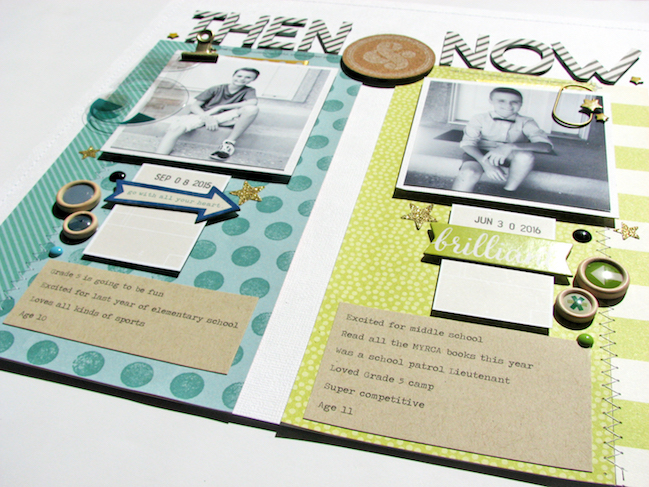
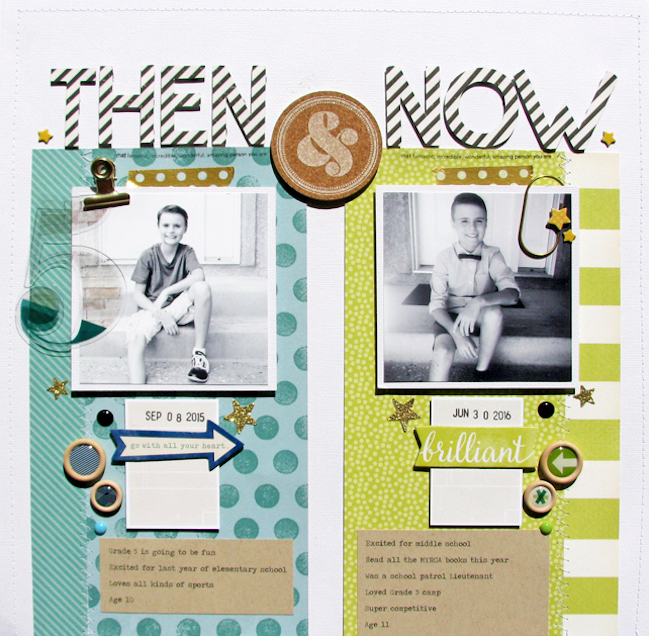
This past year in particular was an exciting one for my middle son – he started (& finished) his last year of elementary school. I thought it would be great to follow suit of many by taking a first and last day of school photo of him in this big year for him.

Scrapbooking Back to School with comparison photos // scrapbook page by Nicole Nowosad

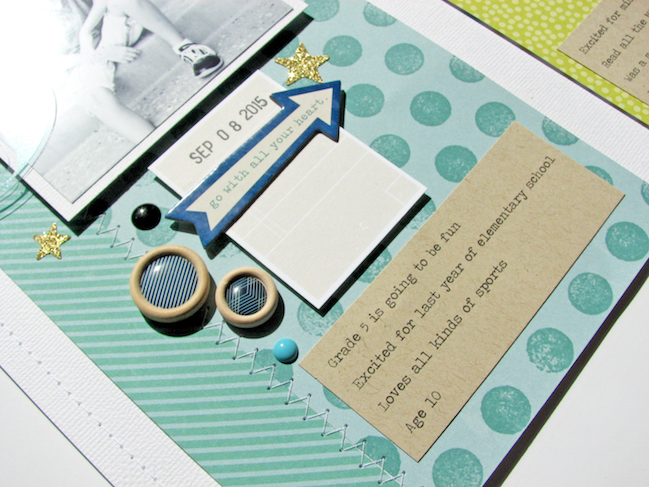
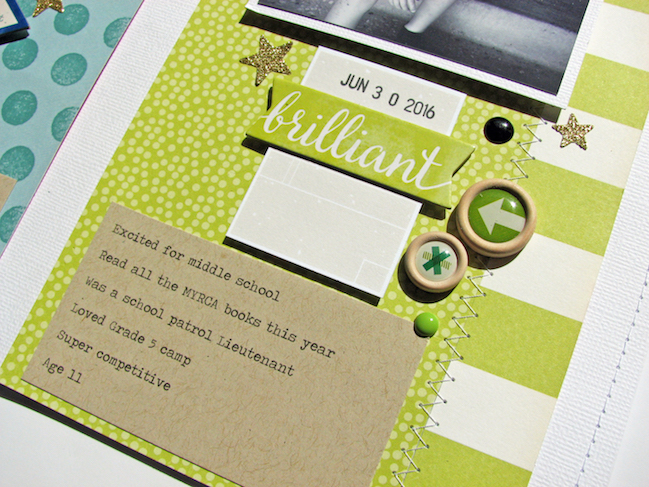
You can really see in the two different photos how he has grown up a little in his own way over the 10 month school year. It’s fun to look back and see the progression of your child in the short time span. It is also important to document some of those fun things that happen throughout the year at the same time. I kept both the photos black and white, so that the focus is on the photos themselves, and not so much what color he was wearing those particular days.

Scrapbooking Back to School with comparison photos // scrapbook page by Nicole Nowosad

I chose to use before and after approach to my page for this – dividing up my project into two similar halves. I really tried to keep things quite monochromatic on each side of the layout, and mimicked the embellishments on both sides as well. It’s great to have a similar approach to each photo on the page, that you can really see each of the photos side by side and see those little physical changes.

Scrapbooking Back to School with comparison photos // scrapbook page by Nicole Nowosad

I asked my son about his school year and typed up those items and added simple journaling under each photo. It would have been great to have it in his handwriting, but he didn’t want me to use his writing on the page. Preteen drama!

Scrapbooking Back to School with comparison photos // scrapbook page by Nicole Nowosad

Weekly Challenge :: Use floral motifs

weekly challenge: include a flower motif // double page scrapbook layout by shimelle laine

It was so lovely to see all your paper layering in last week’s challenge! Today I write from a window with a gloomy, grey sky, and plenty of raindrops. Is this the end of summer and the start of all things autumnal? Well, let’s have at least one more challenge with something filled with summer blossoms.

This week, I challenge you this week to scrapbook with floral motifs. It can be something quite minimal, like the single flower tucked into each embellishment cluster in the double page above, or it can be something completely filled to bursting with blossoms! Everything else is completely up to you, so you can take your inspiration in any direction you like! To get you started on this week’s challenge, take a look at these examples from contributing designer Meghann Andrew and guest artist Diana Rivera Torres.

weekly challenge: use floral motifs // scrapbook page by Diana Rivera Torres

One of the things I remember most about my wedding day was the morning of rain, and the feeling of dread I had before walking out in the downpour wearing a silk wedding dress. I guess that’s what you get when you get married in Scotland, right? Our wedding photographer captured several photos of the wedding party arriving at the church under umbrellas, which I had not yet documented, and it was about time to do that.

weekly challenge: use floral motifs // scrapbook page by Diana Rivera Torres

Instead of using raindrops, I decided to create a shower of flowers on my 8-1/2” 11” layout!

weekly challenge: use floral motifs // scrapbook page by Diana Rivera Torres

To create a lot of contrast from the brightly colored die-cut umbrella and fussy-cut flowers, I used black and white photos and a clean, white background.

The dreary, rainy morning turned into a beautiful, warm sunny day for our wedding reception, and this layout definitely looks on the bright and sunny side of the day!
- Meghann

weekly challenge: use floral motifs // scrapbook page by Diana Rivera Torres

Scrapbooking is the perfect way to express my feelings about these pictures. I love to challenge myself to give a whole new way to use paper collections that are supposed to be used for other topics or experiment with materials like heat transfer in paper.

weekly challenge: use floral motifs // scrapbook page by Diana Rivera Torres

Because of a mistake I don’t have many pictures of my wedding, but this is one of my favourites, and I always tell a different story or feeling about it each time I work with it. I love the flowers of Shimelle’s Starshine Collection because they remind me of the bold colors of my bridal bouquet. I made the title with Silhouette heat transfer and adhesive vinyl.
- Diana


You have a week to complete the challenge and share a link – but of course you’re welcome to set your own time schedule. Whatever keeps you happy and creative!

Today’s Guest Artist: Diana Rivera Torres loves writing, music and stories. You can find more from Diana on Instagram, YouTube, and her blog.