pretty paper. true stories. {and scrapbooking classes with cupcakes.}

lovely to meet you Twitter Facebook Pinterest YouTube

Take a Scrapbooking Class

online scrapbooking classes

Shop Shimelle Products

scrapbook.com simon says stamp shimelle scrapbooking products @ amazon.com shimelle scrapbooking products @ amazon.co.uk

Reading Material

travel

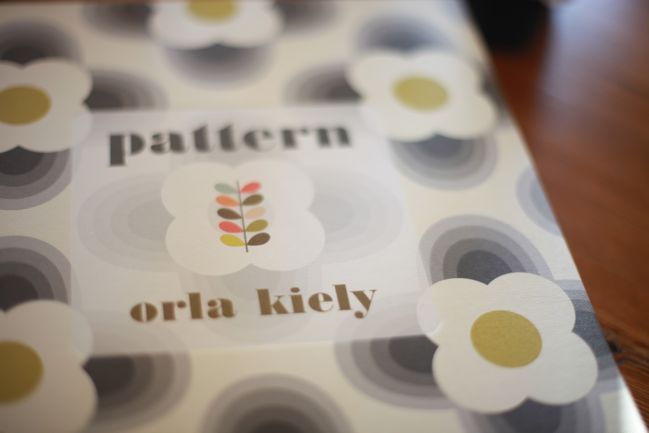
scrapbooking inspiration :: orla kiely pattern

inspiration :: orla kiely
getting scrapbooking inspiration from orla kiely + pattern

On Friday, Katherine and I braved the snow and cold for a night at the V&A to listen to a discussion with the amazing Orla Kiely. She spoke about her work process, her training, how she got started with her own label after working as a designer for brands like Espirit and about how she stays inspired, along with a bit about her new book, Pattern. The time went so quickly – I could listen to her speak all day I think! The presentation ended with this short played on the big screen, made to promote the spring/summer collection and shot throughout London by Gia Coppola.

“From London with Love” – Orla Kiely Spring/Summer 2011 from gia coppola on Vimeo.

I absolutely love it. Party because of the style in which it is shot and edited, and partly because these are places I see often and it makes me a bit sentimental. I think there is much inspiration here for still shots as well as video. The only drawback is that it does make me wish my legs were at least another foot longer, for tall mod girls always scream 60s London and a small part of me wishes I could do that! But short little me will forgive this.

scrapbook page
©twopeasinabucket.com Click for layout.

I’m not hugely into named designers but I love Orla Kiely’s designs – I have even scrapbooked my love for her bags (and her sample sales!) and I have long wanted to turn one of her notebooks into some sort of scrapbooking mini, though I have never moved further than the idea stage. One interesting thing she discussed was how it feels to see other designs which are a copy or largely inspired by her work, like the iconic leaves on a stem. She said she never minds, for it must be flattery, but she never likes the designs and can usually identify some element ‘they got wrong’, which I found sweet. What seems to some like leaves in a line to her obviously has very exact rules. I find simplicity intriguing when it comes to creativity: what makes some designers make ten different things makes others, like Orla Kiely, design ten variations on one idea. Food for thought!

The most mysterious mention in the presentation? Orla Kiely has designed a car for Citroen that will be available in the new year. She described it as a car for girls, and said she took much from the idea of a cozy home interior for kitting out inside the car. I told Katherine I may be happy to not have a car right now but I have a feeling I shall pine extensively for whatever bit of lovely this car may be!

scrapbooking inspiration from Orla Kiely Pattern

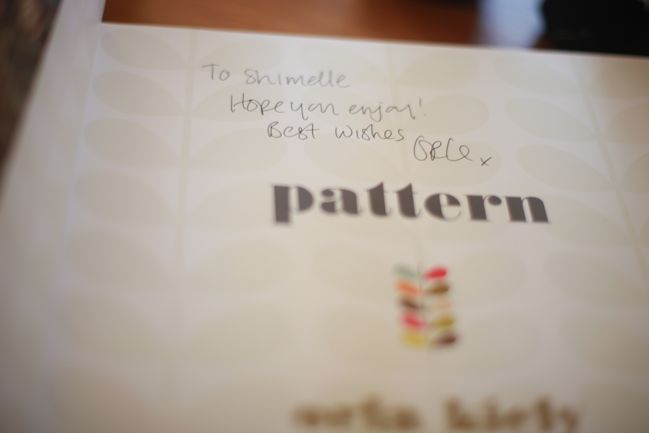
And then we had books signed and people watched a bit at the gallery. I have only started to soak in the book, but so far I am in love. Both the words and the photos translate hugely to crafting, if you like to take thoughts from one genre and apply them to another. So lovely.

xlovesx

5 ideas for punched decorations

handmade christmas decorations tutorial
handmade christmas decorations

I’ve asked some lovely crafters to share some projects with you now and then over the next few months. I know you will love all their ideas – each one has inspired me as they were created. Today I’m happy to share a super guest post by SJ Dowsett, who will show you how to make your home a crafty Christmas wonderland with paper supplies you already have on hand. I know you’ll give her a warm welcome! Enjoy.

Punches are back in fashion big time, and with the vast array of beautiful shapes around, there is not excuse not to invest in some to make pretty decorations for both scrapbooking and your home. After all – they are a craft stash investment – or so I keep telling my husband!

This time of year most of us are planning our holiday decorations, trawling the stores for something new and pretty to show off how much we love the festive season, but why not trawl your own craft drawers? Pull out some punches, and get creative. An inexpensive way to decorate combined with your hobby. Win!

For me, punches are ideal – they cut out a perfect shape every time and whilst I do love hand cutting every now and then, there is nothing quite like the perfection when it comes to a punched butterfly or leaves or perfectly round circles!

So today, join me in making some decorations. First up, gather all your punches (or your friend’s punches) and a selection of paper that you think would work well when punched. You may like smaller prints or solid colours.
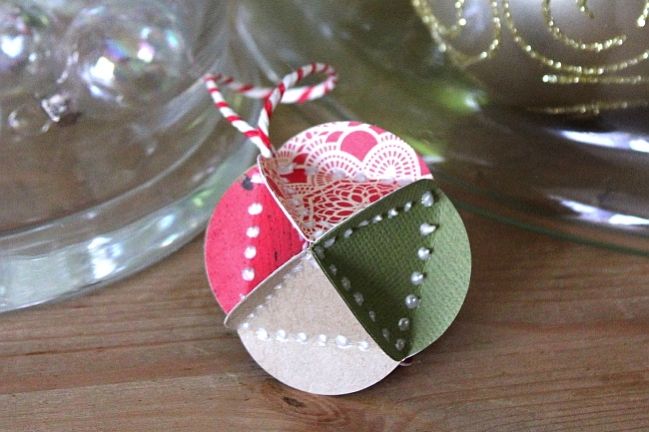
handmade christmas decorations
This bauble can hang from the tree or a garland and it’s made with just a circle punch. The steps are easy. Start by punching eight circles, all the same size.
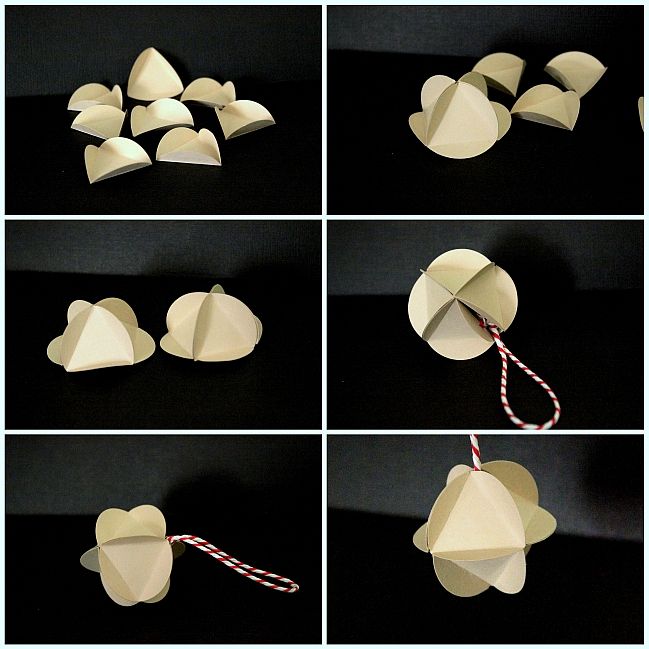
handmade christmas decoration tutorial

1: Fold each of the eight circles three times, creating a triangle space in the centre.
2: Take four circles, and glue together.
3: Repeat this stage for the bottom half.
4: Add in some pretty hanging twine, tucked inside between the two halves.
5: Glue the two halves together.
6: Add dimension paints or bling to decorate if desired.

If you buy coordinated paper sets, like a collection pack or a 6×6 paper stack, these look great with a mix of patterns all in the same collection.
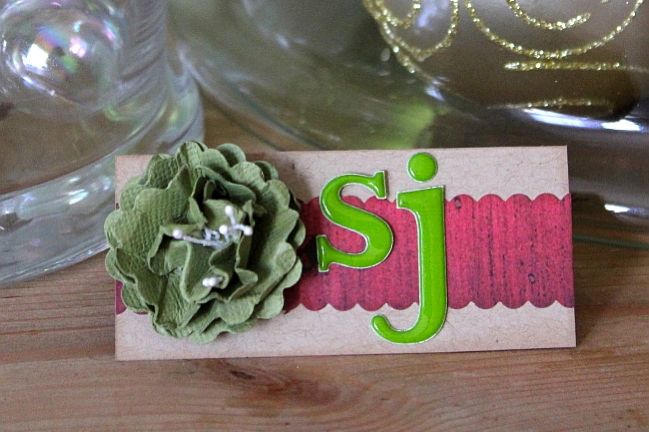
handmade christmas decorations
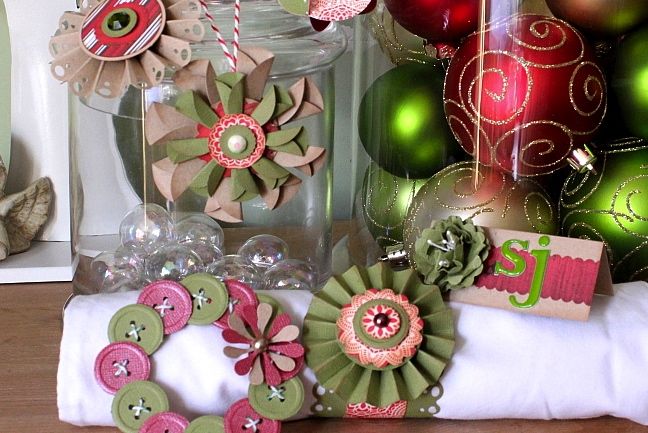
This place card couldn’t be easier. You will need a brad (small metal one would be best). if you have no brads, a needle and thread would work just as well to secure the centre.
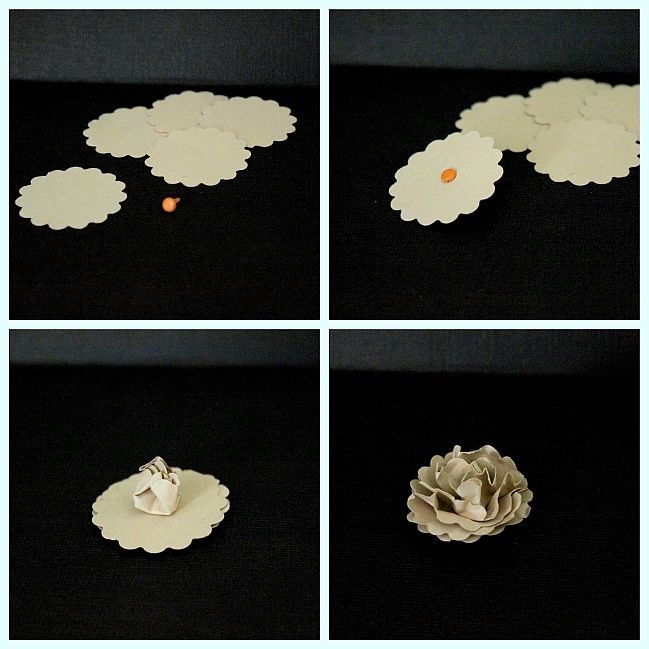
handmade christmas decoration tutorial

1: I used a cute scallop circle punch, and punched out five circles. You could use other shapes for a different look.
2: Take your brad or needle, and poke a hold through each later
3: Gather the layers – and connect with the brad or cotton.
4: Crumple the top flower up round the brad
5: Repeat this step for each layer till the flower has all its layers gathered.
6: I added some flower centres in – but you could add glitter or even leave it plain.

You can attach it to a place name card with a glue dot, then just add the names and quickly make your table go from ordinary to something extra special.
handmade christmas decorations
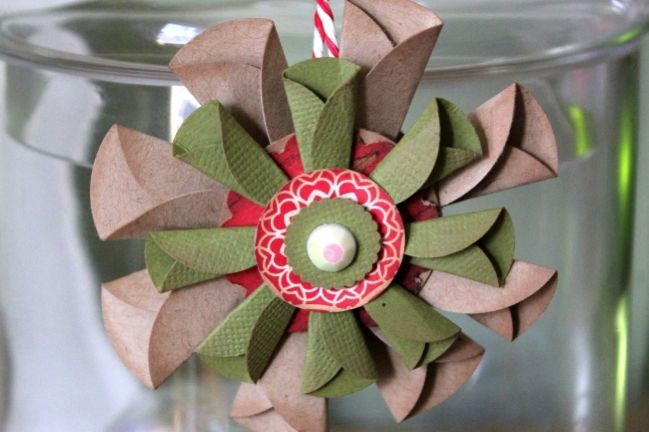
This folded flower is another ornament made with just plain circle punches. Circles are so versatile when you start layering and folding!
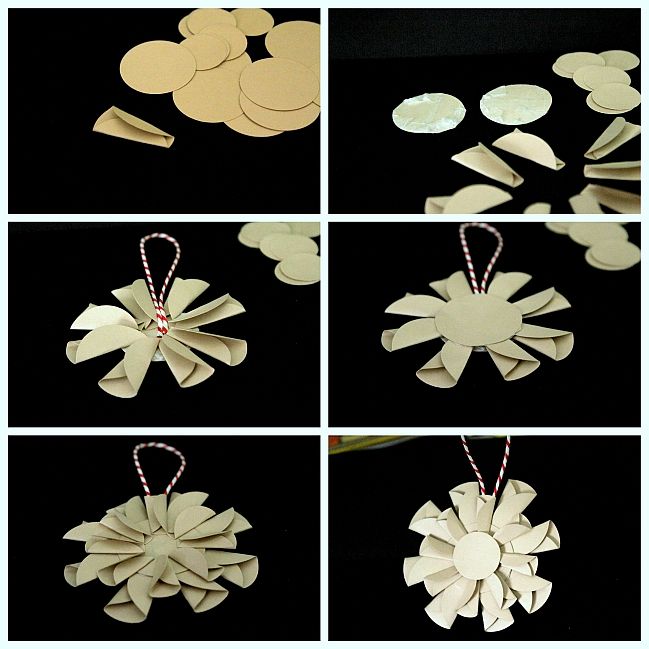
You will need eight medium punched circles and eight smaller punched circles (to create into cones), plus two medium circles and one medium circle put aside to act as a base and a top.
handmade christmas decoration tutorial

1: Fold eight medium circles, and eight smaller circles into cone shapes:
2: Cover the two plain left over circles in double sided tape.
3: Stick down the eight larger cones – and add some wet glue for extra strength. (add some hanging string at this stage too)
4: Adhere the second plain circle on top.
5: Take the smaller cones – add some tape or glue to their back and glue down. – use the last circle shape you have punched to glue on top to seal.
6: Decorate with mini punches, hand cut shapes or bling.
handmade christmas decorations
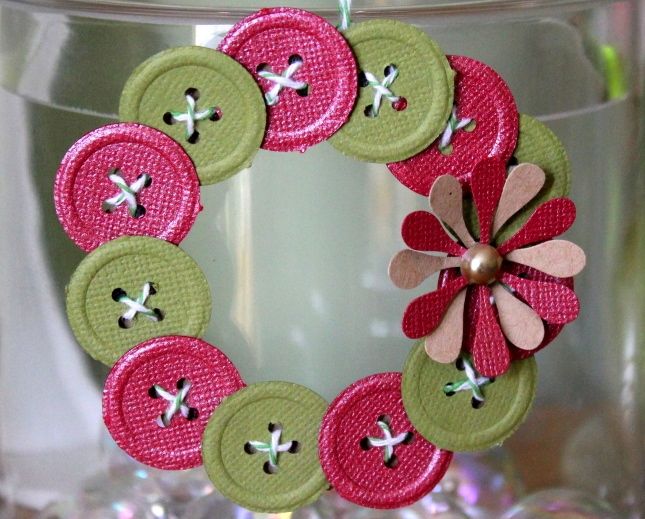
This button wreath is perfect for the tree or for making gift tags for a crafty friend. I used the Martha Stewart button punch for this, plus a flower.

1: Punch out 12 buttons.
2: To create a back plate, I punched a large circle, and using scissors, cut out the middle to form a ring of card.
3: Using a foam dot, stick each button down to the paper ring (make sure you don’t cover the button holes) – as you stick them down, over lap the buttons.
4: Sew the buttons to the ring of card using twin, like bakers twine.
5: Add some detail, with perhaps holly or like I have done, a double punched flower.
6: Add some bling for detail.
handmade christmas decorations
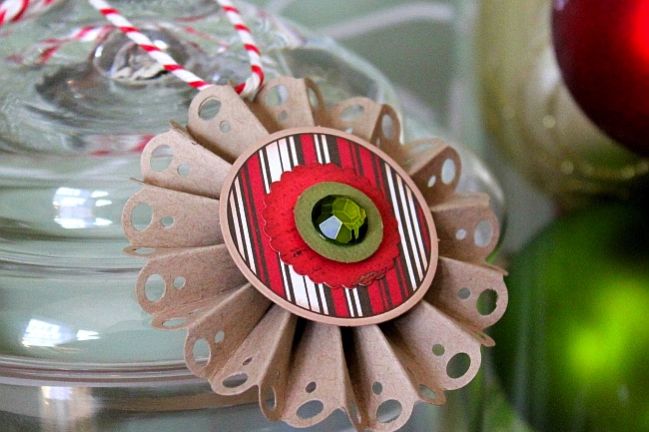
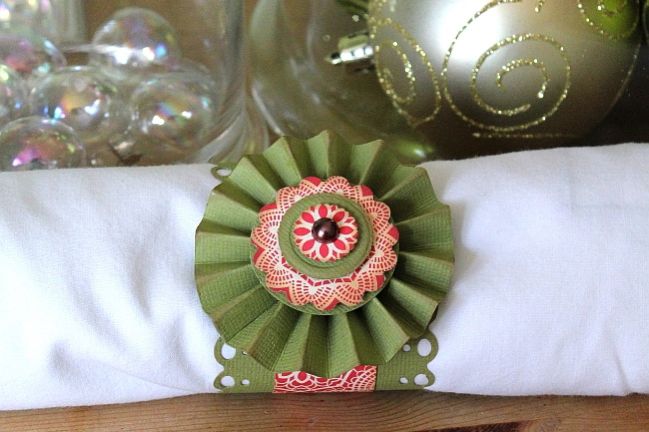
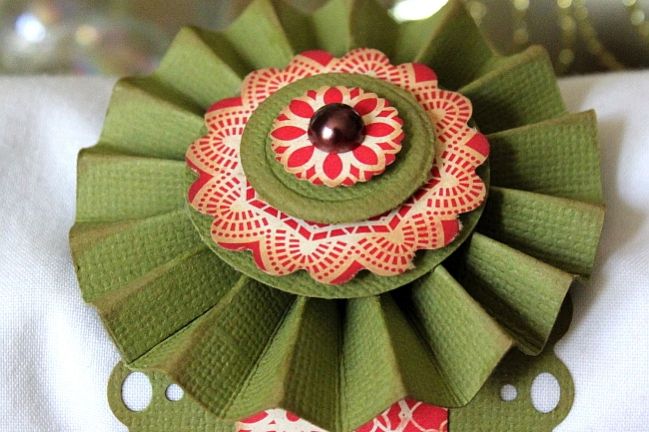
This paper rosette is made with border punches and a circle punch.
To see a great way to make these, check out Shimelle’s recent video where she shows you in great detail how to create the perfect concertina.
(Let me tell you right now that SJ taught me how to make a rosette like that – I had always made them a messier way with squares instead of a long strip. I like SJ’s method! – Shim)

1: Using your favourite border punch, punch down the edge of a piece of 12×12 and then trim to form a 2” strip.
2: Concertina fold this strip of paper – neatly and with fairly thin folds for the length of the strip.
3: Take two punched circles, and cover in double sided tape – set to one side, you will need these handy!
4: Attach tape to one end of the concertina strip, and then adhere the two ends together.
5: Gather the concertina ring of card at one end with your finger tips, and with the aid of a flat surface, push down to “flatten” the concertina to form a rosette.
6: Grab your pre taped circles and stick one on top, and one on the bottom to secure.

Tip: Before I stick the top one down – I always add a good blob of wet glue for that added strength.

Now decorate the top with various nesting punches or bling – go wild!
handmade christmas decorations
If you wanted to add this to a napkin ring instead, just attach it to a wide strip of card that you have border punched either side of, and roll round your napkins (trim to desired length once you know how thick your napkin will be.
handmade christmas decorations

I hope you have enjoyed this post – I loved making them, and love even more how they look around my home at the moment. I’d love to see what you make to decorate your home with your scrapping supplies!
Thanks so much for sharing your beautiful projects, SJ!


SJ Dowsett is the illustrator behind Little Musings digital images, clear stamps and custom portraits. She lives in Bexhill on the Sussex seaside with her darling husband and son. Never to be found without a pencil, camera or scrapping stuff in hand, she spends her days with her little boy and a brain full of nonsense, which I puts down on paper whenever she can.

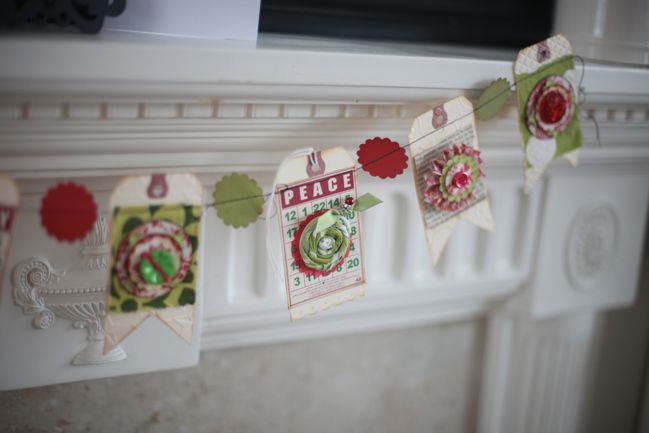
Christmas Tag Garland

Christmas Tag Garland Tutorial
Christmas Tag Garland
It is still snowing here and it’s the third day that our local train line pretty much hasn’t moved, so I think I’ll happily stay indoors and craft for as long as the hot chocolate lasts. Sound like a plan?

This Christmas I’ve found myself making paper garlands in several different styles. It’s like bunting but made from whatever papers I find on my desk and embellished thanks to a seemingly endless roll of double-sided tape! This tag garland is a little project I’ve created in a few versions this year. Fiskarettes who came to the workshop last month will recognise this as we made something very similar! This garland is made with some plain old tags and a few lovely bits and pieces from Jenni Bowlin Studio. Feel free to giggle at my comic introduction wherein I make myself look taller by cropping the top of my head out of the frame. Alas, I have not grown to such great heights, I assure you. Anyway, the tutorial is all shot overhead so you only have to see half my face for a brief moment, I promise.


Supplies: Christmas mini bingo cards, garnet stick pins, vintage buttons, paint dabber all by Jenni Bowlin. Punches by Fiskars and EK Success.

The Boy has just returned from the shops and declared ‘It’s actually quite warm out there’. Um… I think his cognition may be suffering from mild hypothermia? It’s still snowing!

Have a lovely day and stay warm if your weather is anything like ours!

xlovesx

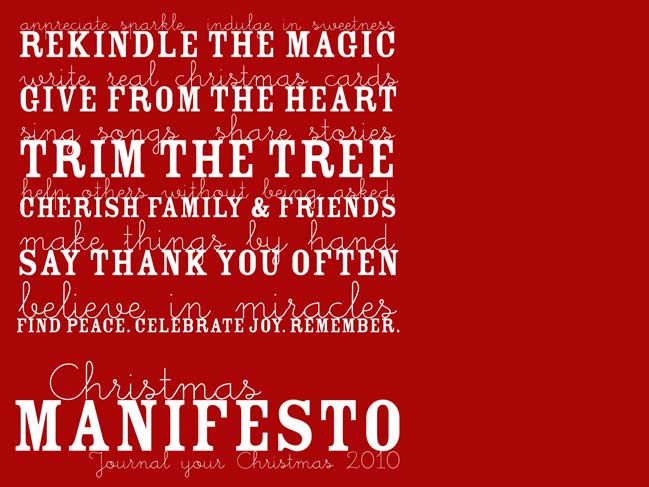
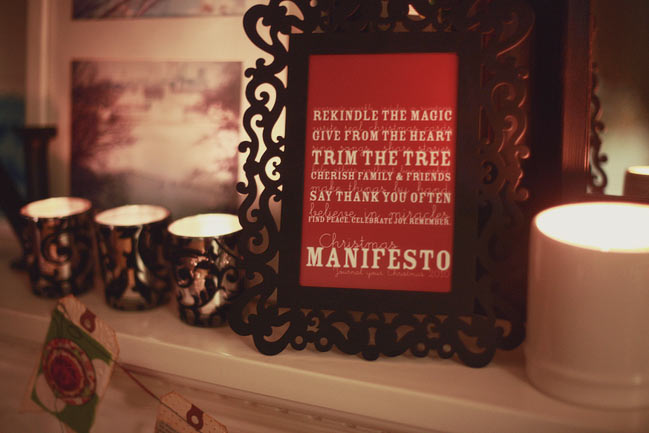
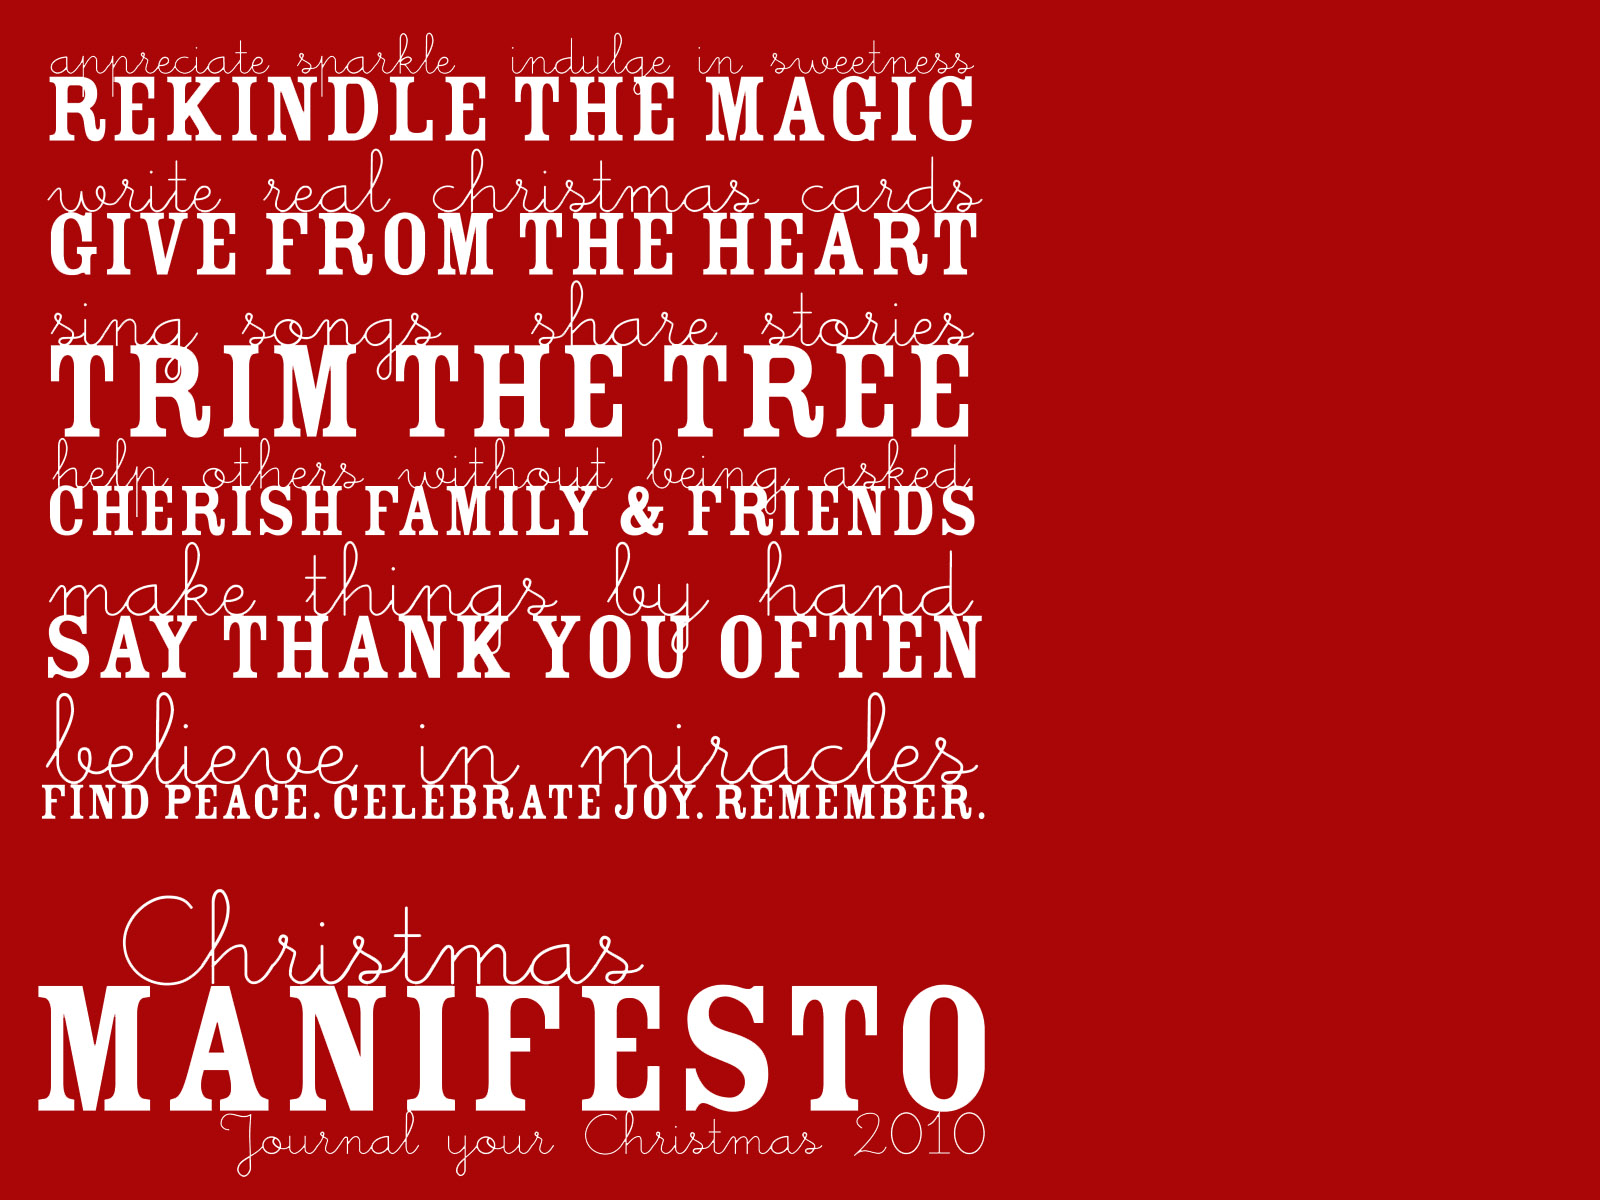
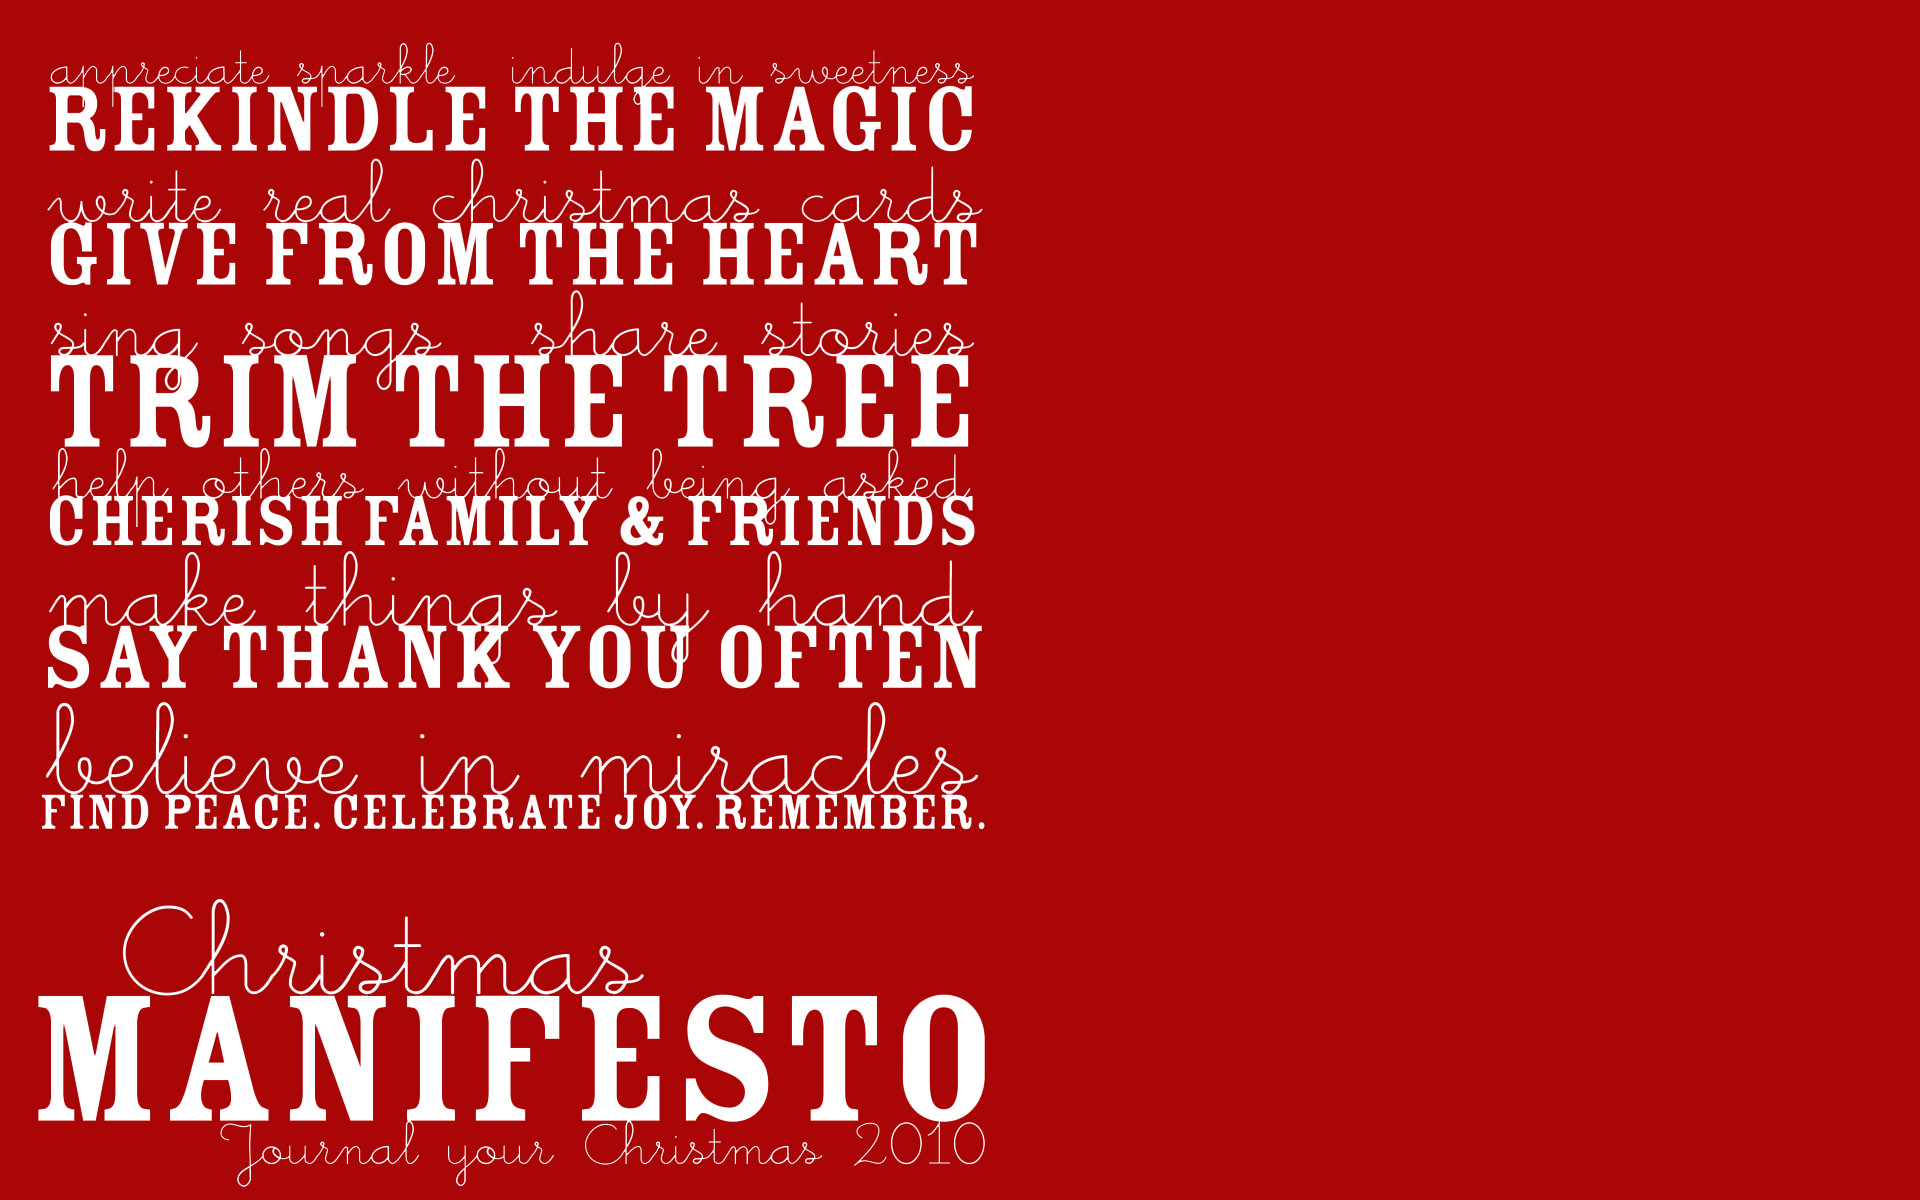
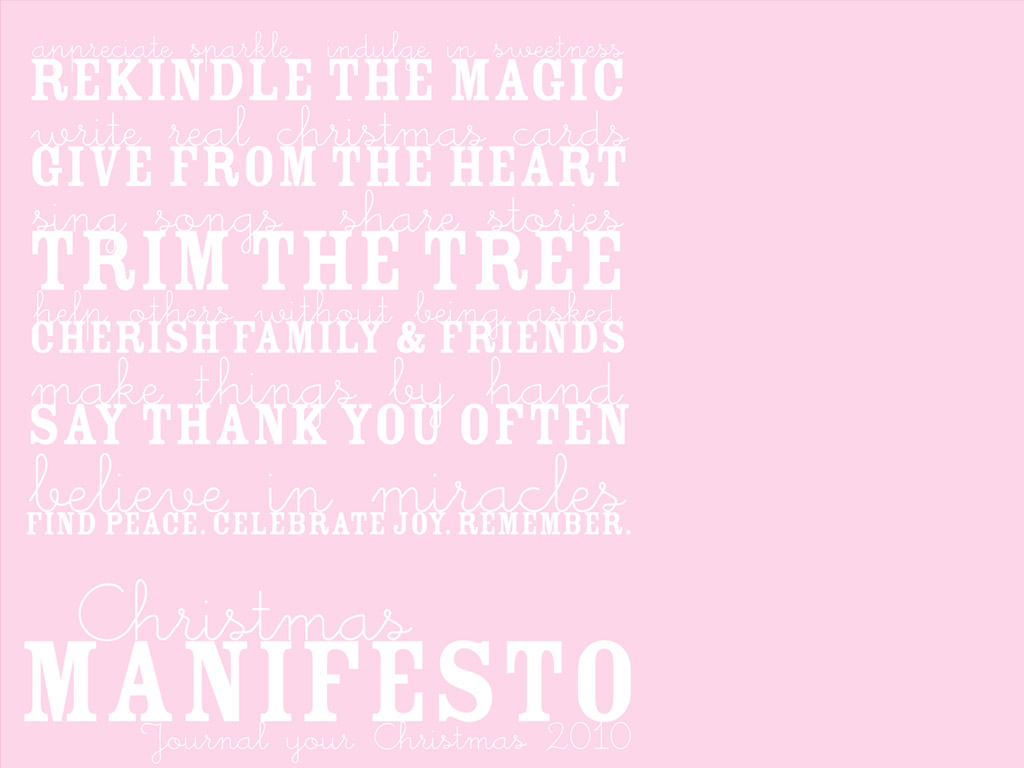
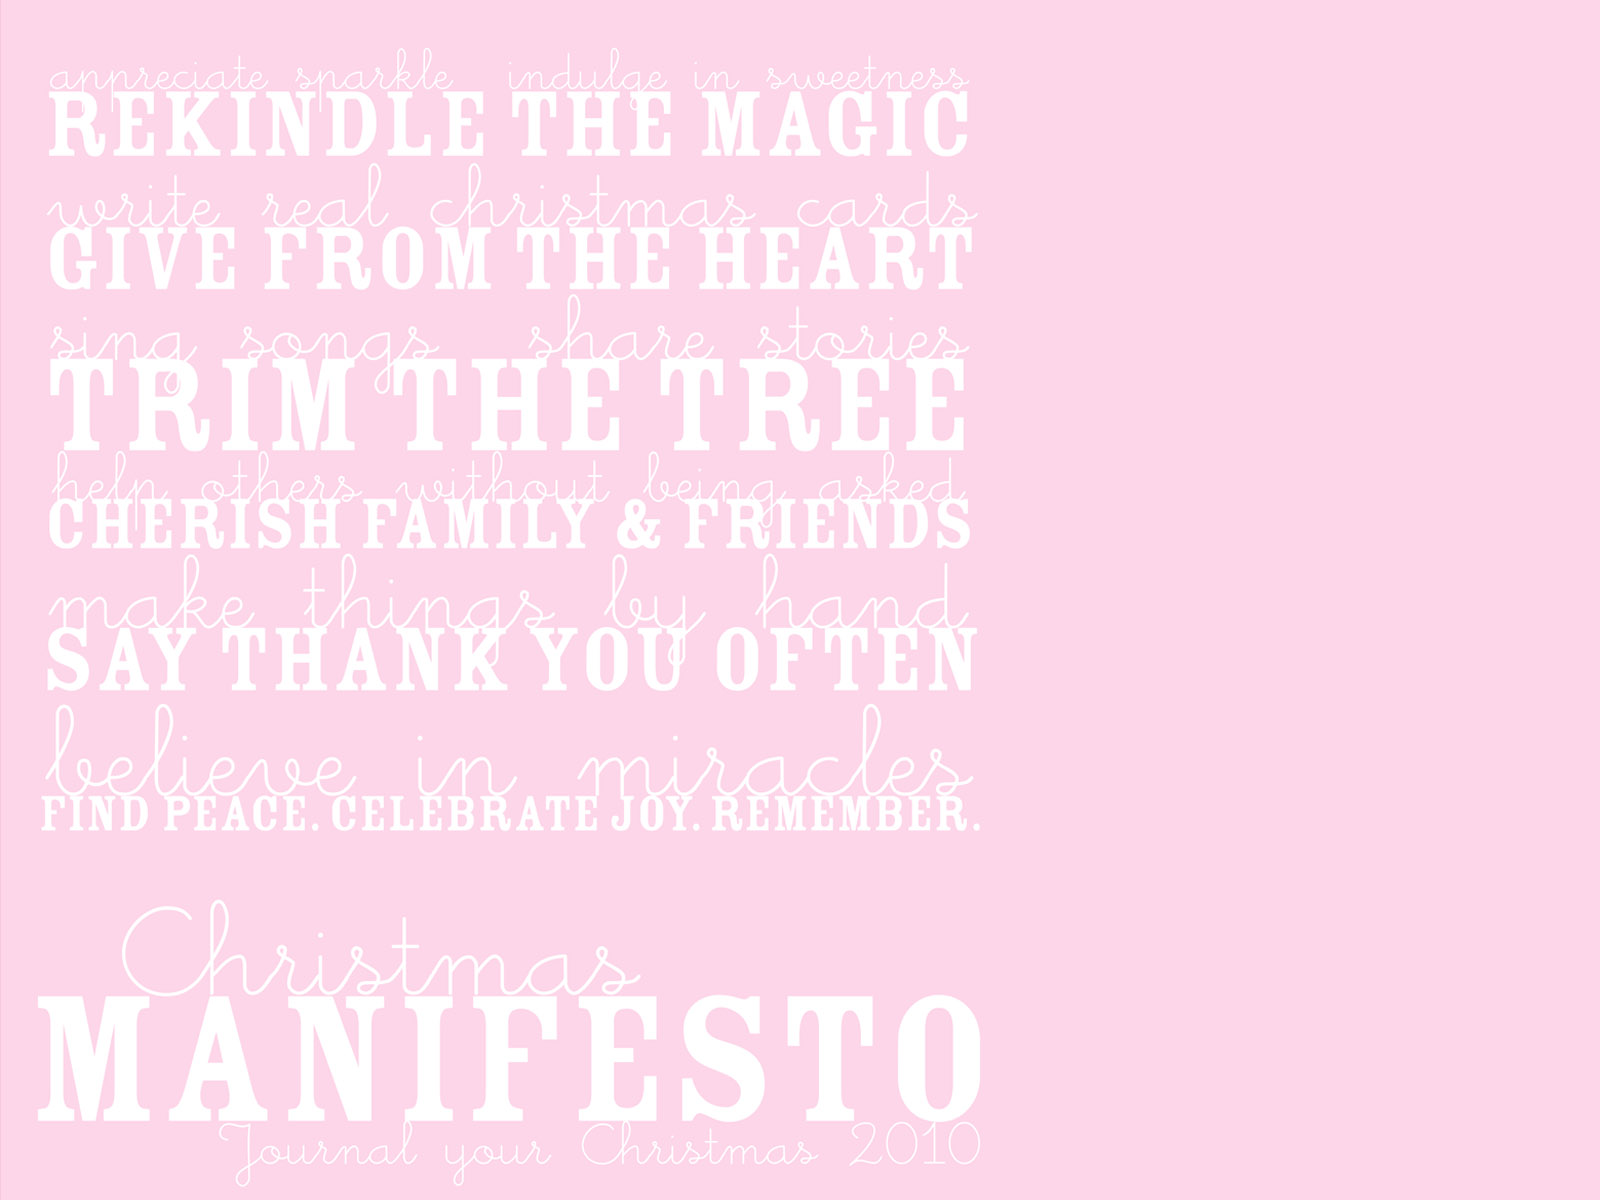
A Christmas Manifesto + Free Wallpaper

Christmas Manifesto Free Desktop Wallpaper

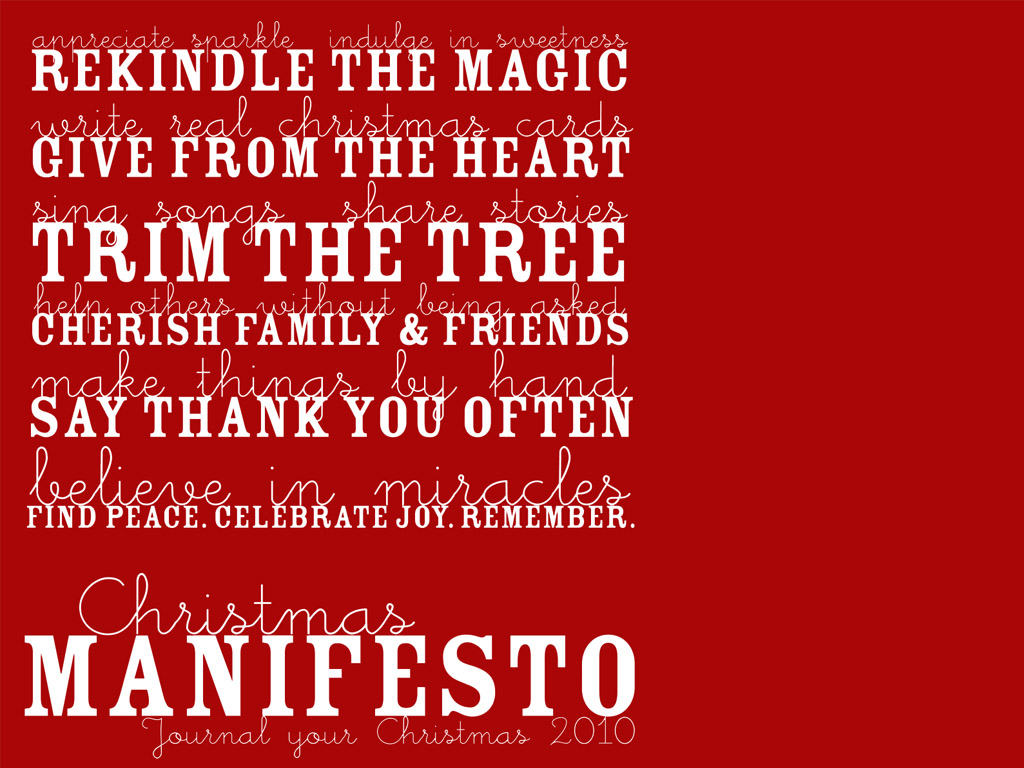
On the first of December, I always make some sort of promise to myself. It’s a perfect day for declaring intentions for the Christmas season and it’s always been a key to the idea of taking back Christmas for me: a day to be in control and remember the course you want to steer.

This year, I am letting go of the need to go through certain traditions on specific dates, as we won’t be home on Christmas day. At first, that idea really shook me, but the more it has sunk in, the more I have remembered the season is what we make it and there is no reason not to feel that special kind of Christmas happiness throughout December or far away. Christmas is more than than a routine. So this year, I’ve come up with this manifesto to focus my energy on doing good, reflecting and saying thank you.

If you share these wishes for the season, feel free to grab the image above for your blog or save any of these files as wallpaper for your computer desktop or mobile phone. It’s available in three colours: red, green and pink.

Red Desktop Wallpaper – 1024×768
Red Desktop Wallpaper – 1600×1200
Red Desktop Wallpaper – 1900×1200
Red Phone Wallpaper – 320×480

Pink Desktop Wallpaper – 1024×768
Pink Desktop Wallpaper – 1600×1200
Pink Desktop Wallpaper – 1900×1200
Pink Phone Wallpaper – 320×480

Green Desktop Wallpaper – 1024×768
Green Desktop Wallpaper – 1600×1200
Green Desktop Wallpaper – 1900×1200
Green Phone Wallpaper – 320×480

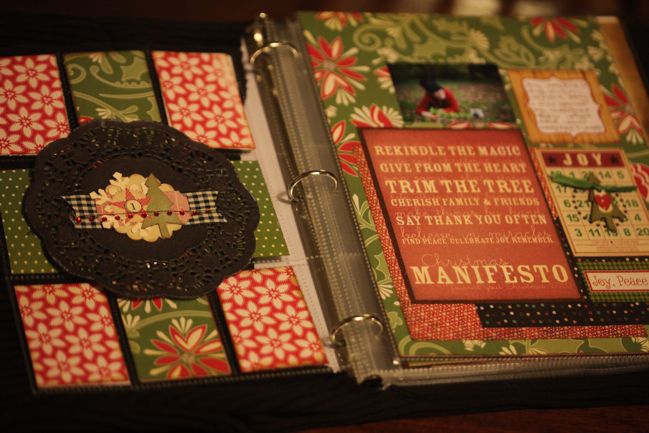
Manifesto Christmas Journal
Of course, December for me is also about keeping a Christmas journal and writing about Christmas past, present and future. I included this manifesto this year, printed on cardstock and sprayed with Calico Cream Mister Huey.

Two questions that always come up today regarding Journal your Christmas have easy answers:
Is it too late to sign up? It’s never too late to sign up! You can join at absolutely any time and have full, permanent access to all the materials. There’s no pressure to finish everything in one month, so we would love for you to join us at any time.
Will you be blogging your journal? Because I include pictures of my journal in the daily prompts, no, I don’t blog my full journal here. I’ll show you a few bits and pieces now and then, but throughout December I have other projects lined up to show you on the blog, including some tutorials and some special guests. There’s a video tutorial tomorrow morning, for example! Many Christmas journal participants blog every day and I love seeing all the albums come to life!

Christmas Manifesto Printable
Getting back to the manifesto image – you can also print it on photo paper and display it somewhere you’ll see it daily to help keep your focus. I’m all about quiet visual reminders to keep me on track.

Of course I also love a good Christmas story, and oh my goodness did you lovelies fill yesterday’s post with beautiful memories. If you need some Christmas spirit, just read through them! I hope they are all stories you tell in your scrapbooks at some point because if they make me emotional and I don’t even know you in real life, well then they would be treasured by your friends and family for sure.

But from all of those comments, one randomly chosen reader had to win the $50 gift card to Two Peas in a Bucket, so a drumroll please:
winner of scrapbooking supplies gift card
Cath, email me to claim your prize! (I’m sorry I couldn’t give $50 to everyone. I would say ‘when I win the lottery…’, but I never play. That’s not going to work then, is it?)

A very merry first of December to you! What are your intentions this holiday season? I’d love to read your take on a Christmas manifesto!

xlovesx

10 Reasons why you should Journal your Christmas

10 Reasons why you should Journal your Christmas
Journal your Christmas online class

With December starting tomorrow, it almost feels like Christmas morning to me already! The first day of Journal your Christmas makes the Christmas season real for me and I love sharing the holidays with so many others who love to craft, write or both! When I explain to non-crafters what I do this time of year, I come back to the same sorts of points so I wanted to share my top ten reasons for Journaling your Christmas with you today, just one day from class starting. At the end of this post don’t miss the chance to win $50 to spend on scrapbooking supplies and the winner of the last giveaway.

Journal your Christmas online class

Remember why this season is important to you.
Do you remember a most magical time when Christmas filled you with excitement and happiness? Whether that was from circling every toy in the special Christmas catalogue or from the nativity play at church, there is absolutely no reason why you can’t love Christmas just as much as an adult. Journaling your Christmas isn’t just about this year: it’s about all the wonderful memories of Christmas past. (We even talk a bit about how to brighten up the not-so-amazing memories by putting everything into perspective.) Journaling your Christmas brings together your very own Christmas past, present and future – and without any nasty run-ins with a grumpy Ebeneezer Scrooge!

Use what you have and what you love.
You don’t need any special supplies. It’s okay if you haven’t prepared anything. You can jump right in on any day of December with the supplies you have on hand. Embrace your own style – use lots of techniques and spend lots of time if that’s what you love. Likewise, keep things simple and spend just ten minutes a day if that is more suited to you. Your Christmas journal isn’t there to take over your life: it’s there to help you enjoy every minute of the holidays.

Journal your Christmas online scrapbooking class

Learn about holiday traditions all over the world.
Journal your Christmas participants come from more than forty countries. Hearing the traditions from different nations, neighbourhoods and families inspires me every Christmastime. Many JYC participants have made overseas friends and adopted new family traditions as a result of reading the Christmas stories of others. From advent calendars to candle lighting to recipes for special treats, adding new traditions to your old favourites makes each Christmas special.

Write things with a pen.
Actually, you’re welcome to type if you prefer, of course! But writing things with a pen is quickly disappearing from our world. Yet old notes written in the actual handwriting of someone else tend to be very special to us. I’ll save you all the scientific study of how writing with a pen is a different thought process than typing but suffice to say: I believe in the power of writing things with a pen. And that kind of thought process is especially powerful at Christmas.

Take advantage of simple solutions.
Love the idea of taking back Christmas but don’t fancy adding something ‘big’ to your to-do list? There are simple solutions to help. Like a set of 4×6 cards you can print out tomorrow, write on each day, then add some 4×6 photos at the end of the month and have a finished project as simply as that. (The printable cards even include notes on how to make that finished project as your choice of a 4×6 mini book, an envelope book or full-size album pages using divided page protectors.)

Journal your Christmas online scrapbooking class

See the changes from year to year.
Journal your Christmas includes permanent membership – participate as many years as you would like. That means your Christmas journals can track the changes in your life. My stack of journals from the past several years document moving house, meeting my husband, getting married, the arrival of two nephews and all sorts of other life milestones, simply by writing about how each Christmas is unique. Journal your Christmas includes lifetime membership so you can revisit the project as many years as you like and track those changes in your very own life story.

Every way is the right way.
There are so many ways to Journal your Christmas and all of them are fabulous. Want to make daily scrapbook pages? Awesome. Want to write a series of blog posts? Fabulous. You can keep a notebook to write your thoughts and not worry about the crafty option. You can create a digital scrapbook. You can record your voice each day to create an audio journal. Also, there’s no pressure to make daily entries. You can pick and choose the topics you would like to explore. Want to make one or two entries a week? Equally cool as daily entries. You might make each page have its own unique design or you might use a set format and just change the words and photos. Want to just read the prompts and think about things to keep a perspective on the season? Go for it! Seriously, any way you want to take this project is totally the right way!

Journal your Christmas online scrapbooking class

Take inspiring photographs.
There’s so much pressure to get amazing pictures on Christmas morning but often the excitement is there but the photos can’t live up to the real thing. Whether you’re tired of yellowed indoor pictures from dark Christmas mornings or you just want new ideas for photos throughout the season because you’ve taken so many over the years, you’re in for a Christmas photography treat. Every day includes photo tips and tricks and shots from a variety of photographers to inspire you through the viewfinder.

Share the experience with those you choose.
The very first Christmas journal I kept was for my eyes only. I kept it to myself, used it to work out my thoughts during a very rough Christmas season and that was just what I needed. Of course other years I’ve shared every entry in my journal with all the participants in class, and that has been amazing too. Sharing your Christmas journal can really bring the season to life and help you celebrate it fully, but it is always up to you if you share or keep things to yourself. You can share your album with just friends and family, or upload entries to share with other participants on the private class forum or upload entries to your blog, page gallery or Flickr to share with the world. You decide!

Journal your Christmas online class

Take back your Christmas.
Above all, this is what it’s all about. Don’t let some commercial-crazy world tell you that Christmas is all about keeping up and doing this, that and the other thing that you may or may not enjoy. Journal your Christmas gives you a little window of time each day to relax and tune out any outside pressure. Just because you’re the responsible grown-up now does not mean you can’t love Christmas in the same magical way you did years ago – or an entirely new way that is just right for you. You are in control: take a few minutes each day to remember and you’ll discover this season of joy is exactly what you make it.

Journal your Christmas starts tomorrow, the first of December. You can join us at any time! Want to see what participants had to say about Journal your Christmas? The comments on this post really reminded me why this is my favourite class of the year.


win $50 gift card for scrapbooking supplies
And because it’s the season of giving, I have a $50 gift card to spend on scrapping supplies of your choice from Two Peas in a Bucket. I’m going to give it to one of you! To enter, leave a comment on this post with a favourite Christmas memory. You only have today to enter! I’ll announce the winner tomorrow.

And the winner from the weekend giveaway?
Winner of Journal your Christmas Online Class
Congratulations Jennifer! Pick a friend to join you for Journal your Christmas!

xlovesx

PS: I’m hosting a chat on the message board at Two Peas today. It starts at 4pm UK time or 10am US Central time – adjust from there for your own time zone – and finishes about an hour later. When it starts, you’ll find the chat thread here. You’re welcome to come by and heckle say hello and chat!

Journal your Christmas 2010 :: Date Tags

Journal your Christmas date tags
Journal your Christmas is so close – it starts the day after tomorrow! So excited to see all these albums come together and share lots of crafty projects throughout December!

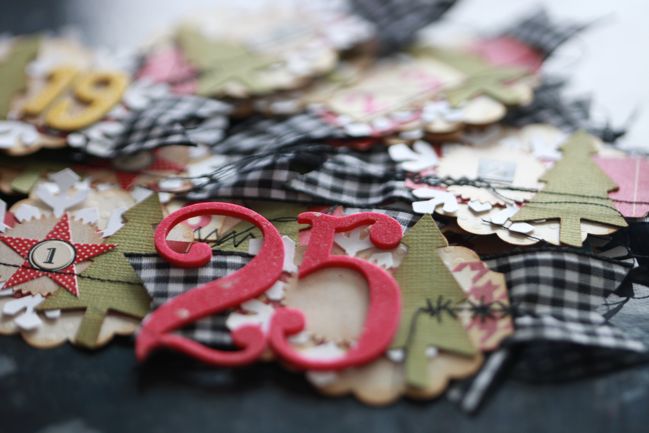
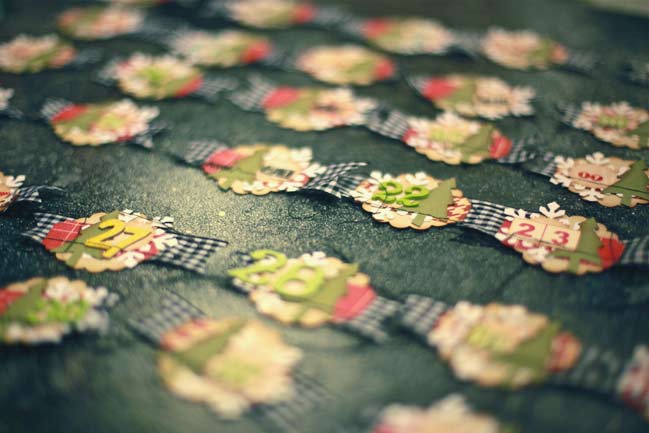
Every year I number my pages in some way, and many years I’ve made each date tag on the day as a way to start my entry, even if the date tags were all the same. This year I decided to make them all in advance from punches and scraps of paper and ribbon. The numbers are all stickers from a variety of sheets – I very rarely use the numbers on a sticker sheet so that seems like the perfect match. Here’s a short video that shows the process.


By the way, if you have a YouTube account, you can subscribe to my videos and I’ll send you imaginary cupcakes and generally think you are downright awesome.

Of course there are plenty of ways to make date tags – both simpler and more complicated than these! I wanted something that would work equally well with something simple, like just a photo and a journaling card, or something more ornate with lots of other embellishments. Making the full set of 37 took just over an hour, including all the punching, inking and sewing, so that might help you plan what you would like to include in your Christmas journal.

Elsie interviews Shimelle
In other news, Elsie interviewed me and therein you can read about all sorts of things from my love of Mary Tyler Moore to learning to talk with a pen in my mouth… oh, and a bit more about the big upcoming journey that will be here before I know it! Thanks Miss Elsiecake!

Also don’t miss out on the giveaway post – it ends at midnight tonight!

xlovesx

Journal your Christmas 2010 Giveaway

Journal your Christmas giveaway
Journal your Christmas online scrapbooking class

Journal your Christmas is nearly here, and you can still sign up or you can win a place! How about winning a free place for you and a friend?
TO ENTER leave a comment on this blog post telling me one thing you enjoy during the Christmas season! Easy, right? (And if you have any trouble leaving a comment, click the preview button as that usually does the trick!)

And lest you think this is your only chance to win, a few lovely friends are gifting places to Journal your Christmas too, so check out the blogs of Nichol, Jennifer, Doris, Caroline, Liz, Alissa, Wilna and Shannon, plus Jen, Laura and SJ have giveaways that start Monday. So go enter, of course! (Also, it’s worth knowing that if you ever win a giveaway and have just signed up for the class, I will happily let you gift it to a friend OR have a refund if you signed up this year. If you signed up last year or earlier, you can gift it or have a class pass for a future class!)

Want to check out more albums from previous years to get in gear to start your journal? Check out this post and this post, both from last Christmas!


Christmas scrapbooking supplies

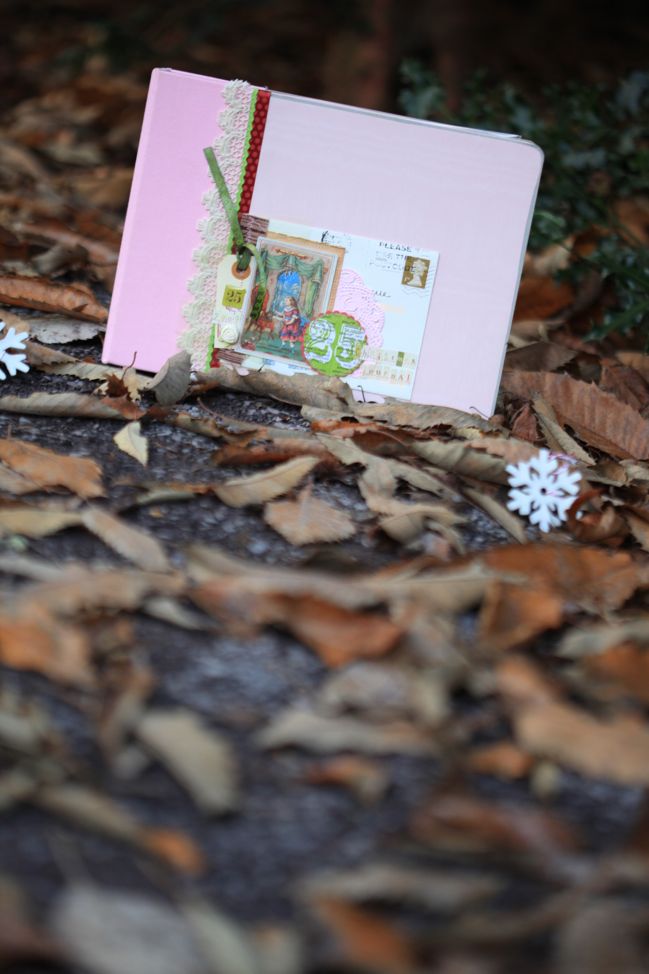
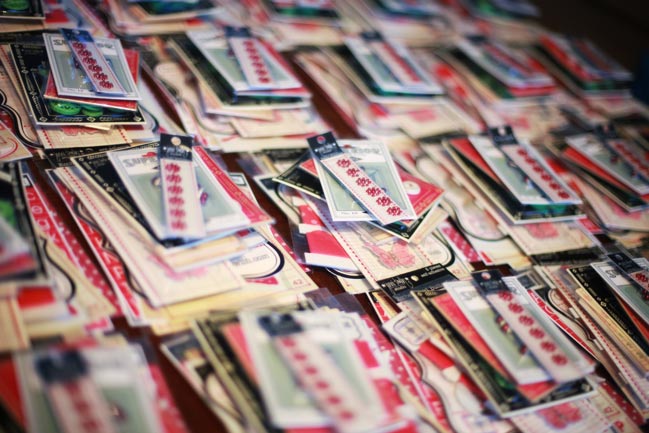
These Christmas kits have started to arrive and today a few people sent me some cute phone snaps of opening their parcels like it was Christmas morning! New crafty potential is always a happy time. For those who ordered a kit last Thursday, they all shipped at midday Friday, so if yours didn’t arrive on Saturday I would look for it on Monday!

Right: ready, steady, leave a comment with something you enjoy about the holidays and one lucky person will win Journal your Christmas plus a place to gift to a friend!

Entries close at the end of Monday and I’ll post the winner on Tuesday!

xlovesx

Making a Rob Ryan Skirt with Clothkits

making a rob ryan skirt with clothkits

Rob Ryan’s designs never fail to inspire me. A little bit of paper-cutting style not unlike the wondrous Lotte Reiniger with an East London edge and phrasings that teeter from romantic to eerie. Some day maybe we’ll have an actual Rob Ryan papercutting on our wall. For now we have a greeting card version. But then those crafty mavens at Clothkits made it possible to wear Rob Ryan. And sew it yourself for the perfect fit. Oh where do I sign up for such a fabulous thing? So today, I made a Rob Ryan skirt, and it was tremendously easy, I promise.

making a rob ryan skirt with clothkits
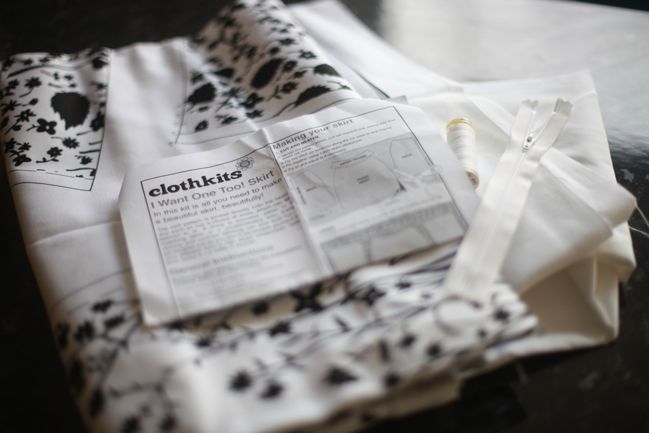
Clothkits designs include everything you need except the tools: the fabric printed with the design and dress pattern, the lining fabric, the zipper and a spool of thread, plus an instruction sheet. Add to that your own pins, scissors, iron and sewing machine and that’s all you need. I also used some adhesive for tacking the zip – but that’s just my special kind of crazy so totally optional.

The full process is seven steps from start to finish, and it took me about an hour and forty minutes… which does make me feel a bit guilty since I bought this back in March! It’s okay: I don’t love it any less now than when I spotted it last spring. Good thing!

Here’s the seven steps for making the skirt, in case you fancy giving it a go…

making a rob ryan skirt with clothkits

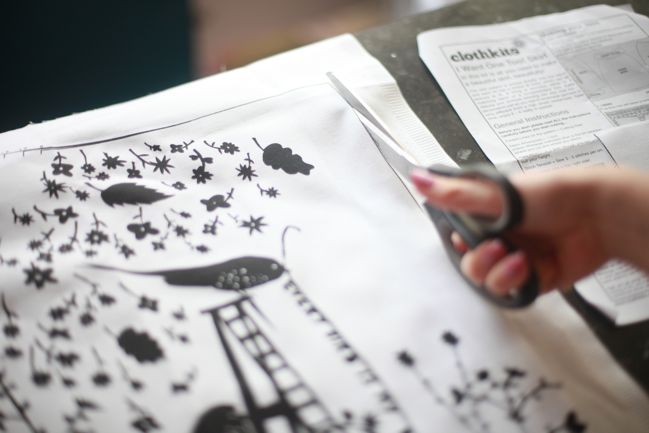
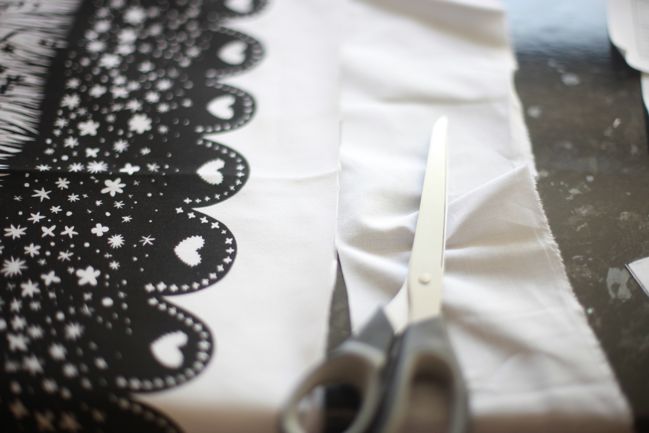
Instead of pinning a paper pattern to your fabric and worrying about getting the print in just the right place, all you have to do is cut along the lines. Clothkits come with the design printed right onto the fabric (in this case, a heavy white cotton twill, but they also do this pattern on a red corduroy). All the sizes for the pattern are printed right on the same piece of fabric – this one was UK size 8 to 16, but according to the Clothkits website, they have now revised the printing so it’s sizes 8 to 20. (To give an idea in American sizes, a UK size 8 is roughly a US size 4.) You can easily make the skirt smaller, but as the screen print ends at the largest size, you wouldn’t be able to size it any larger. I am always nervous about pattern sizes, since dress patterns follow their own magical world of sizing that has no resemblance to what you might buy in a store, so I actually cut the largest size on the pattern first so I could pin it together and try it on in case it didn’t run true to size, but I’m happy report the size was the same I would get in the store, so no magical mystery size chart in the slightest.

There are six pattern pieces: the front of the skirt and two panels that make the back of the skirt, and a facing piece for each of those pieces, that sits inside the waistband of the skirt.

making a rob ryan skirt with clothkits

The lining fabric is a solid, plain cotton – lighter weight than the printed fabric. Line it up with the three main pattern pieces and cut a piece of lining to match each piece. My cuts were really wobbly and it didn’t matter at all, so don’t worry too much about the trace cutting being perfect.

making a rob ryan skirt with clothkits

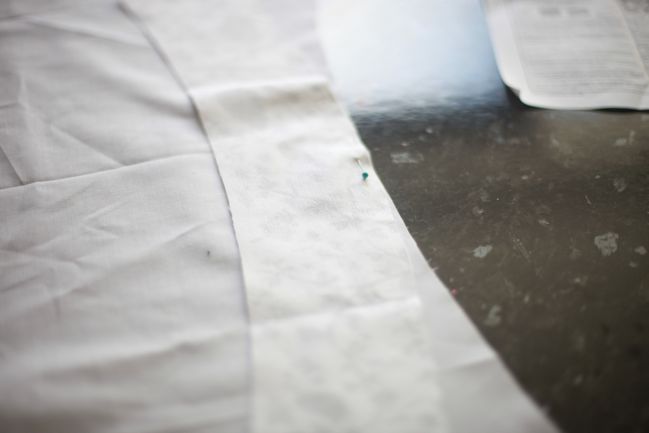
Sewing the facing to the lining is the only confusing part of the process – it’s not really confusing at all once you think about it, but there was a drawing in the instructions that contradicted the words on the same instruction sheet. I checked their website and the same issue had been addressed, and there’s a mention that they might change the drawing so this might be nice and clear now, I’m not sure. Anyway, the trick is that if you place the facing and the lining so the angles match up… then it will not work. So don’t sew them that way – the curves that don’t match up will work perfectly. It’s hard to pin but easy to sew, so I’ll admit I usually just hold them in place and don’t pin the whole piece, especially with cotton since the fabric isn’t slippery.

making a rob ryan skirt with clothkits

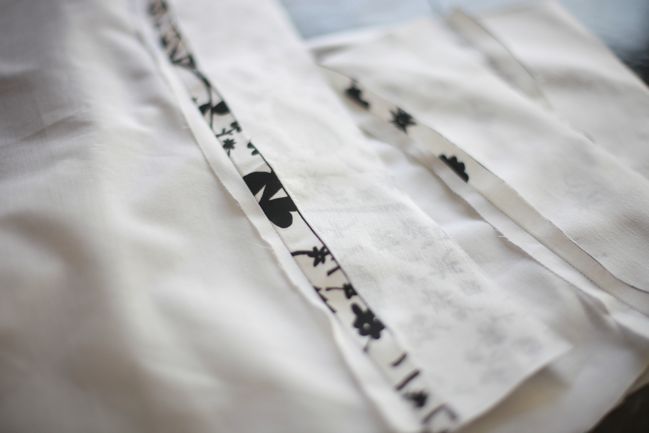
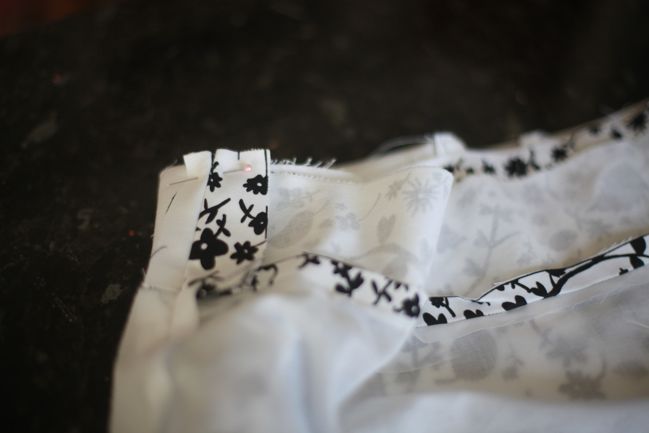
Now for making the skirt come together. Sew the two smaller panels together to form the back, leaving the top free to add the zipper in just a bit. Then sew to the front panel and check the sizing to make sure everything is still looking right. Do the same thing with the lining pieces. Press the seams apart as you sew the pieces together – definitely worthwhile later as everything will sit nice and flat rather than puckering at the seams.

making a rob ryan skirt with clothkits

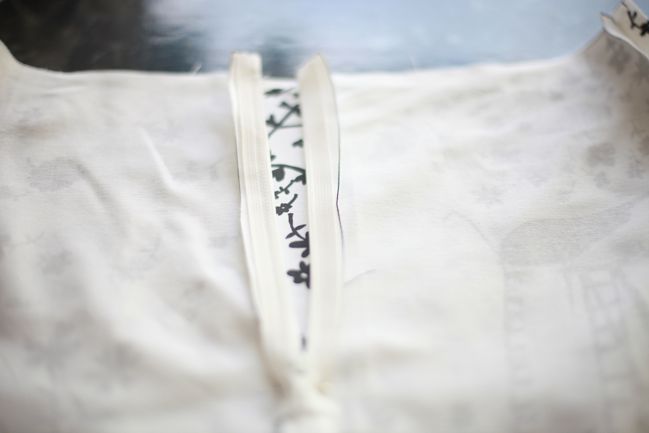
Adding the zipper is next – before you sew the lining into the skirt. Sewing zippers is one of those things I think you have to try a few times and get a system that works right for you. I know so many people who swear by basting them in, but I don’t have much luck with that and get all twisted. I actually glue the edges of the zipper in place and then stitch with the zipper foot of my sewing machine. This tutorial is pretty close to how I add a zipper.

making a rob ryan skirt with clothkits

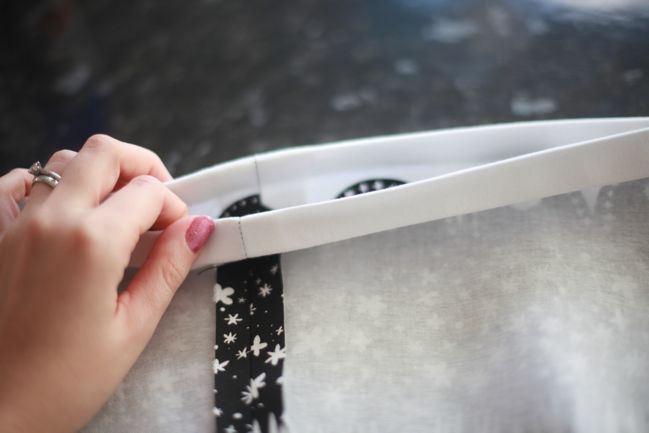
Stitch the facing + lining into the waist of the skirt. This is where you’ll be glad you pressed all those seams! Essentially this is just one line of stitching all around the top of the skirt, then fold it all the right way along and go back to the ironing board and press the waist of the skirt so the lining stays inside and the top edge is nice and neat. Then run another line of stitching to hold it in place.

making a rob ryan skirt with clothkits

And then fold and iron to hem the bottom edge. This fabric hemmed really easily – and I am often rubbish with skirt hems, so easy-to-hem fabrics make me happy. Do make sure you try it on before you hem the lining layer — less work to cut it shorter before you hem than to put it on later and realise the lining is hanging lower than the skirt. (Does it sound like I have made these types of mistakes on skirts before? Because there might be a reason for that.)

making a rob ryan skirt with clothkits

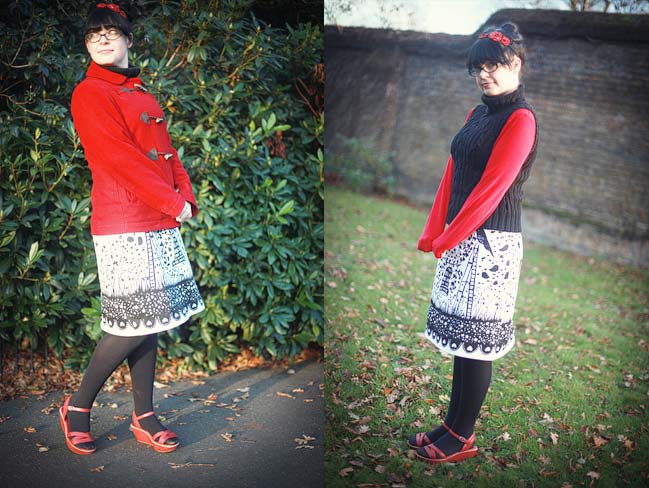
And then get so excited to wear your lovely new skirt that you ignore the temperature in single-digits and think your red shoes will be the perfect answer, despite being summer sandals. I suppose that step is optional.

Now, no laughing if you see me any time in the next month and I’m wearing this, because I’ll probably want to wear it every day for a while. But maybe with more seasonally appropriate footwear.

xlovesx

PS: If you would like a Christmas scrapbooking kit, be sure to stop by tomorrow for details for UK addresses, or check out the week long holiday sale at Two Peas – it starts today and includes free US shipping for all orders over $25.