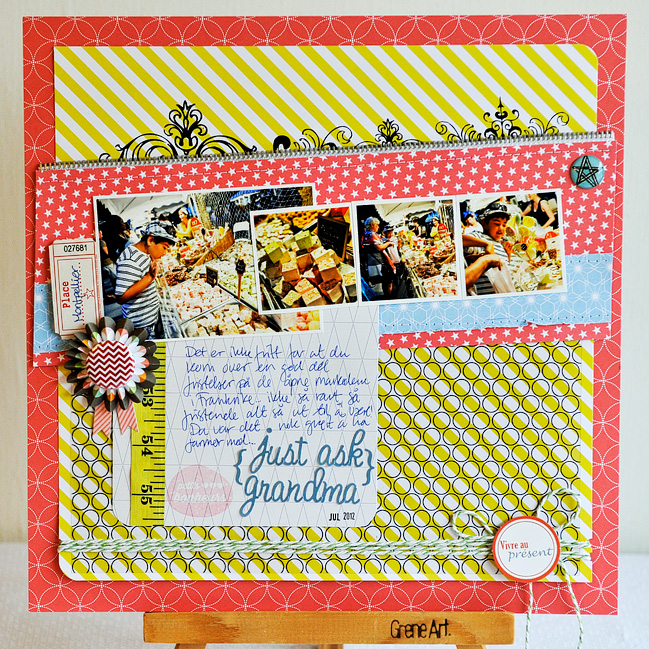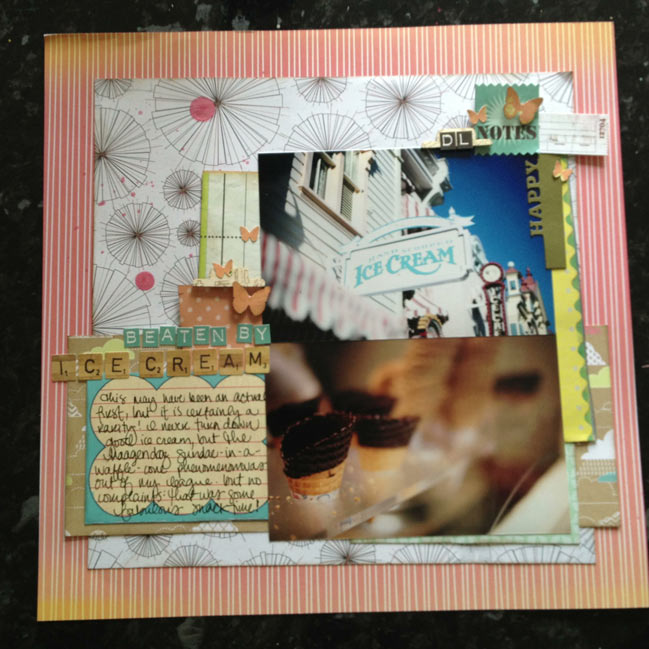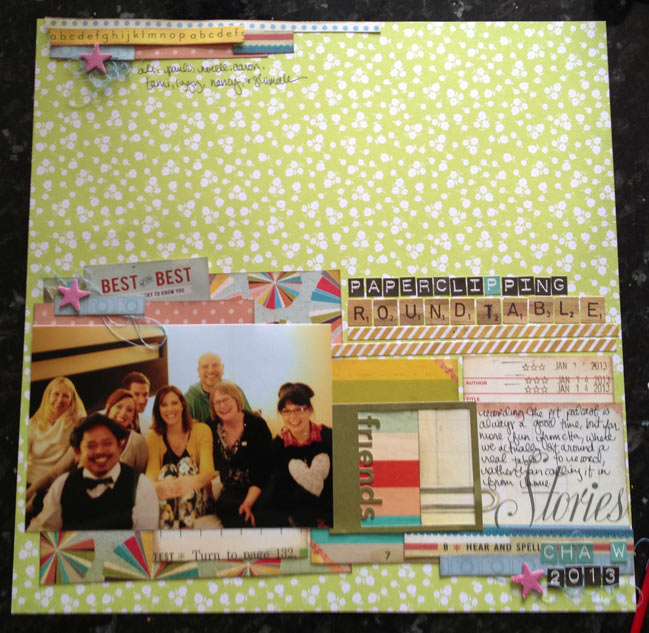
pretty paper. true stories. {and scrapbooking classes with cupcakes.}

lovely to meet you Twitter Facebook Pinterest YouTube

Take a Scrapbooking Class

online scrapbooking classes

Shop Shimelle Products

scrapbook.com simon says stamp shimelle scrapbooking products @ amazon.com shimelle scrapbooking products @ amazon.co.uk

Reading Material

travel

scrapbooking videos Category

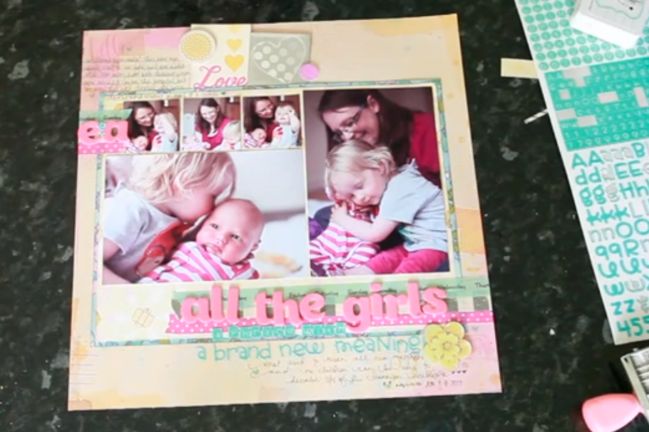
Scrapbooking with the Shimelle Collection :: Welcome to the Seaside (a new video!)

scrapbook page by shimelle laine @ shimelle.com

It has rained a ridiculous amount in the last two days. It has rained so much that the pond on our street has overflowed its banks (do ponds have ‘banks’?) and there are geese sitting in the middle of the road squawking at cars because clearly the pond has annexed the road and the cars need to find another place to go. But I really cannot complain about the weather because this summer has been glorious and certainly the sunniest, most pleasant summer season of all my years in England.

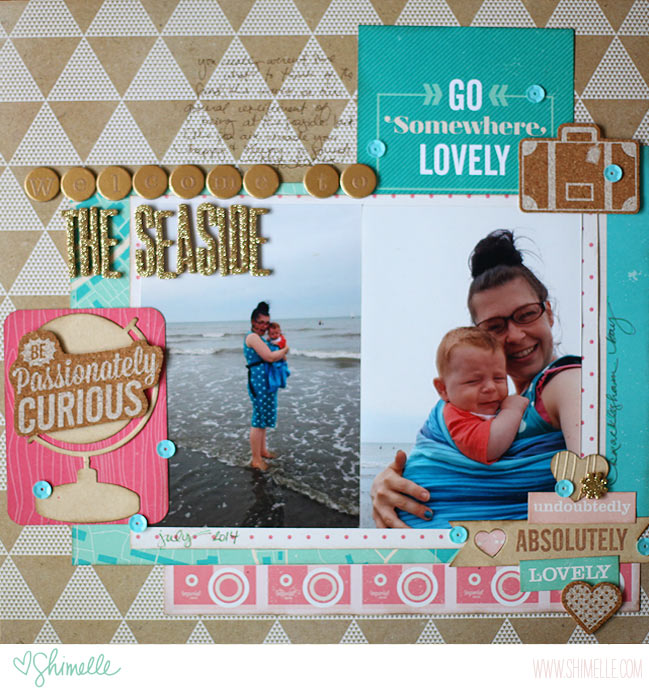
I tell you all this to help make my summer Friday ritual make sense: a friend and I signed up for a mama and baby yoga class that is lovely but not exactly convenient for travel, and we just walked there every week. It was a good couple hours door to door, but that was the fabulousness of it all: walking with a friend and our two babies, born two days apart, in beautiful weather, with a break for yoga and another break for coffee and sometimes cake. But one Friday in July, I needed to continue with a bit more travel after class. Carrying a baby and rolling a suitcase, I started with that long walk, but then managed a bus, a tube, two trains, another bus, and a car ride to finally arrive at the seaside for a lovely weekend of girlfriends and children and walks along the water.

From this layout, you might figure out that Wonder Boy was not an instant fan of the British beach scene. I promise he wasn’t grumpy all weekend. That made these photos extra funny to me and I wanted to get that grumpy face in the album before he’s old enough to say no.

In other news, I was able to film this! And so I present the first video with my new collection from American Crafts!


Viewing on a blog reader? Click through to the full post to watch the video!

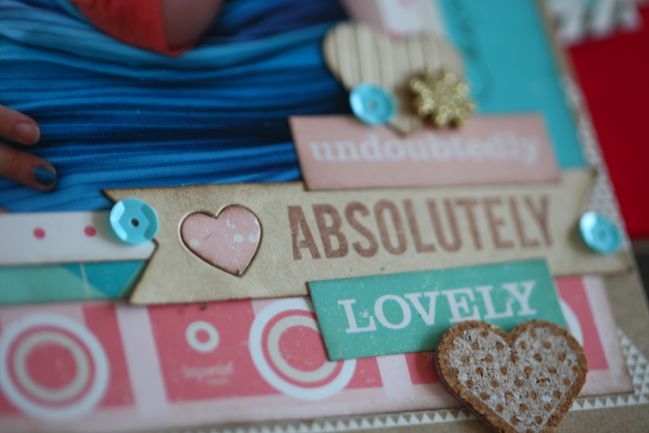
For this page, I used patterned papers, Thickers, cork stickers, dies, embossing folder, word strip stickers, and pens from the Shimelle collection by American Crafts, plus a 3×4 card from the coordinating ‘Lovely’ edition of Project Life, as well as a patterned paper by Crate and sequins from Studio Calico.

scrapbook page by shimelle laine @ shimelle.com

This 12×12 page will go in my standard chronological albums (I have always called these ‘Our Lives’ – thank goodness for vague pronouns that mean I don’t need to rename them now!) but it’s quite likely the photos will also appear in Wonder Boy’s Project Life album, in a smaller format. That works out fine for me, as I’m finding the way I write my stories differs in the two styles, and my 12×12 pages have a more meandering tone that is quite true to my inner narrative when I flip from page to page.

scrapbook page by shimelle laine @ shimelle.com

I’m starting to see projects appear across the internet that use the collection in so many different styles. This is definitely an amazing feeling! Please feel free to let me know if you post such a project anywhere. You can tag me on Instagram, Facebook, or Twitter, or use the #shimelle hashtag, or leave a comment with a link to your blog post or gallery. I’ve started pinning projects here, should you need a gallery of ideas for using your Shimelle collection stash! Thank you so much for sharing your crafty work.

Starting a baby album with Project Life

starting a baby album with project life @ shimelle.com
Over the past few months, you may have seen pages from my ’40 weeks’ album documenting my pregnancy. It used a format of one 12×12 page opposite a divided page protector, and some weeks are completed and other weeks are works in progress. But Wonder Boy is getting bigger every day so it is high time I got started on a book all his own, and for that I’m using Project Life and an all-divided-page-protector format.

Several years ago I led a project called Document:2010 that was not far from the concept you often see in Project Life albums now – it was a way to document the everyday of life for a full year. It started brilliantly but went pear-shaped for me when 2010 proved to be a very challenging year. So many sad, earth-shattering-to-me things happened in 2010. If you ask me about the hardest parts of my life, I will tell you just surviving seventh grade and 2010 are in my biggest accomplishments. I wouldn’t want an album retelling the daily struggles of seventh grade and by midway through the year, I didn’t want a permanent record of 2010 either. It put me off the idea of any sort of year-long documentation project, because stopping that album in 2010 was good for my sanity but also made me feel like a failure. Making one page at a time let me pick the things I wanted to scrapbook without any obligation to a certain time. I could leave out the bad and the sad and focus on the happy, or I could come back and write extended entries working through those life challenges on the days when I felt it was helpful.

But all that said, the one thing that has always struck me in looking at Project Life albums from a variety of scrapbookers is how amazing that format would be for a baby book, when you feel like you can basically see them getting bigger if you concentrate on not blinking. So I knew I wanted that format, but the caveats I am setting myself are there is no obligation to be working on last week this week or anything sort of ‘on time’ or ‘caught up’ notion and that I can stop this album at any point that feels right. It does not need to be exactly one year of documentation. It can be more or less, and both are fine.

All that said, I am having to make some changes to how I work with a tiny baby in the house! Gone are the days when I could spend all day scrapping with no interruptions, so I’ve found a few things that are helping me with this project so far. I’m sure there will be more tricks I’ll find over the coming months, but these are the things that made a big difference to me from the beginning.
starting a baby album with project life @ shimelle.com
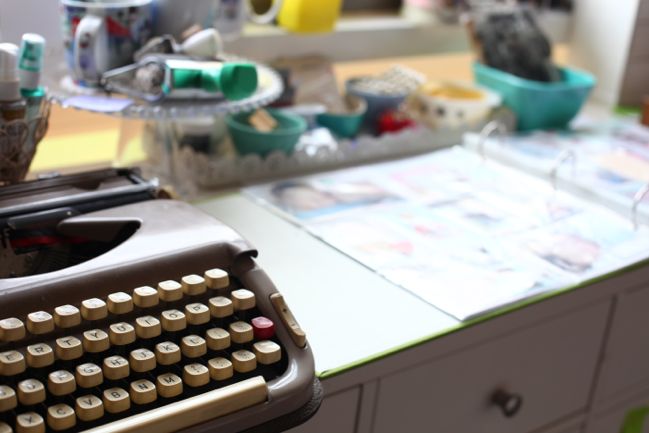
Finding a dedicated place to work on just this project. Aside from the video below, I am not working on this project in my usual space. I cleared a countertop that usually held tools like my die cutter and arranged it so I can leave the full 12×12 album open on the top all the time. This way there is no desk clearing or finding things to give me a road block. I can just walk there, add a few words, and walk away again without worry.

I don’t have a huge amount of space to work with, so this did take some compromise and I still have a few things I need to rearrange elsewhere to get it to its best. I am very lucky to have a room for all this, but it is not huge and it holds a great deal, and I try very hard to stick to our household rule of ‘scrapbooking stays in the scrapbooking room’ for all our sanity.
starting a baby album with project life @ shimelle.com
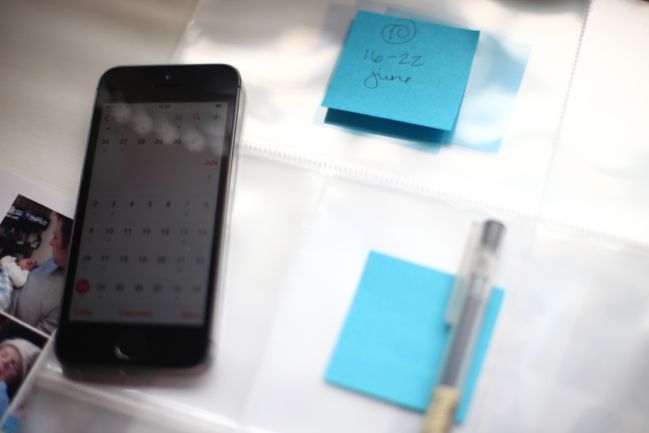
Labelling the weeks with dates on the page protectors. This was key to me because I’m working at a delay. When I print a photo, I want to put it straight into the right week, even if I’m not going to embellish that week just now. I’ve always found I’m better at getting my pages straight into albums if I put the page protectors in from the moment I take the plastic off the album. So this is filled with Project Life Design A page protectors, and then I added the dates and week numbers with post-it notes so everything is easy to find and I don’t need to repeat that job each time.
starting a baby album with project life @ shimelle.com
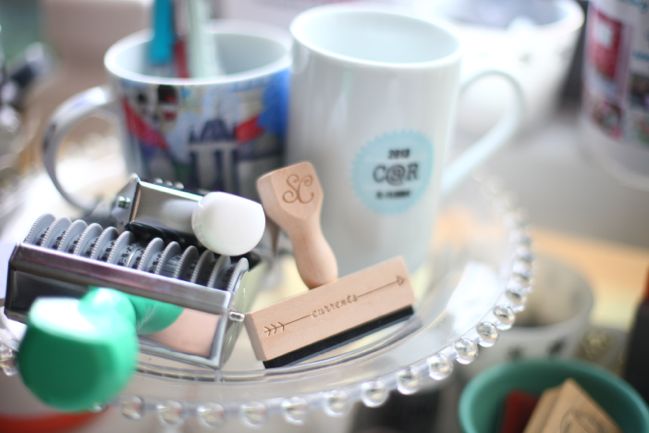
Keeping certain supplies within reach. I’ve selected a few things I’ll be using on every spread in the album, including the Pebbles rolling stamp, a date stamp, and a ‘currents’ stamp that is handy for journaling cards. Instead of putting them away, I’ve given them a spot on that counter top so I can work quickly. (Admittedly this tactic may work great now with a tiny baby and may be a terrible idea for a five year old. So it goes!) Other supplies I use often are here too, including having an extra set of scissors, adhesive roller, and journaling pens so I’m not transferring them from my main desk each time. Having fewer things nearby also helps me make decisions quicker, as I’m not all that tempted to dig in a basket for five minutes looking for something that’s perfect when I have something that will do just fine right in front of me. As a result, you’ll probably see less product variety in this album, but I think that will add to the consistency in style when it has plenty of pages with so much going on.
starting a baby album with project life @ shimelle.com
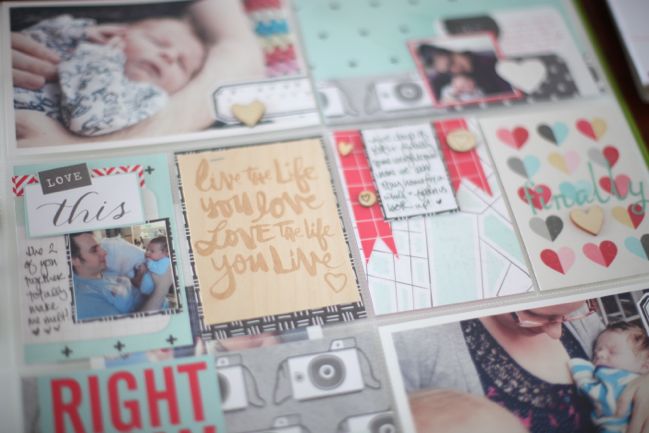
Making some design choices. I’ve selected the same page protectors for the whole album (though I may use smaller insert pages for particularly busy weeks). I’m printing many of the photos with a wireless Canon Selphy CP910 printer, which I must admit I am currently leaving on all the time so when Wonder Boy falls asleep in my lap, I can use my phone to select and print the images without moving. I also decided after the experience from the 40 Weeks album that I’m (gasp) not really all that keen on the rounded corners of the Project Life brand cards. I love the designs on the cards themselves, but I prefer the look in the pockets of everything with clean, square corners. I decided I would use patterned paper instead of the Project Life cards for the base layer of everything, and when I do use the Project Life cards, it will be as a layer, so you’ll see in this first example that the rounded corners exist within the card but the outside edges of each pocket have square corners. I also decided from the beginning that I will aim for four 4×6 landscape images with white borders on each double page spread and use an Amy Tangerine label stamp to caption each of those. That’s four pockets done straight away each week, and that helps!
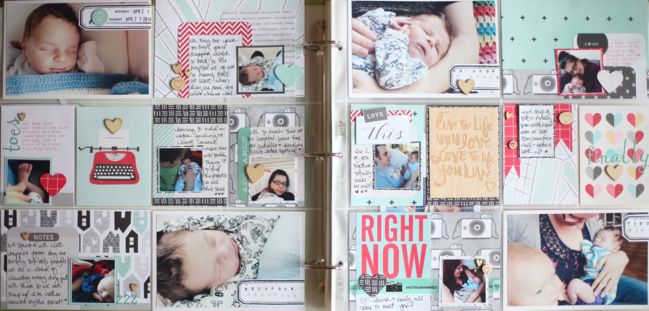
project life scrapbook pages by shimelle laine @ shimelle.com
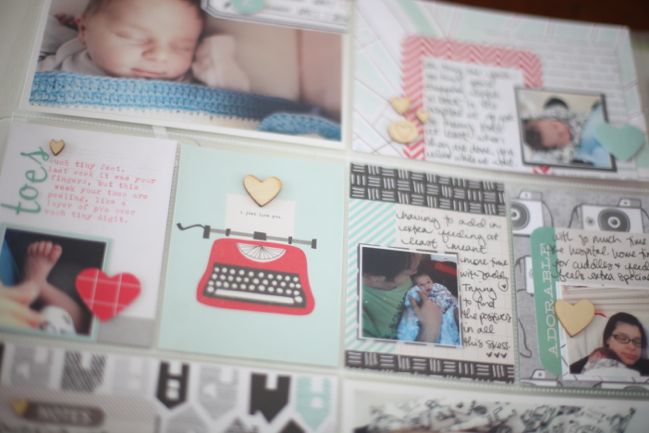
This is week two in Wonder Boy’s album, and I already had to confront the ‘do I scrapbook the sad stuff’ because the first couple weeks here were hard mentally and physically. (Every baby has something that just wrenches your heart, right?) But I actually found it quite helpful to write about in this case, and it let me see the bigger picture that all that heartache and time going back and forth to the hospital was worth it, and I’ll never forget the amazing feeling of finally being set free from all that and sent home knowing we didn’t have another day of tests when we woke up the next morning. Hence that ‘finally’ card there on the far right!


Viewing on a blog reader? Click through to the full post to watch the video!

Here’s a look at how this double page spread came together, including further notes on how I’m making this work by scrapping in just tiny amounts of time rather than doing everything at once!

(And yes, this video is on my own YouTube channel!)

Now… I know many of you have FAR more experience in making your albums work when your hands are full! I’d love to hear from you. What are your secrets to making projects like this work with your unique and overfilled schedule?
A Pocket Page to Coordinate

scrapbook page by shimelle laine @ shimelle.com
For as much as love single pages with single photos and more room to write, more room for pattern, more room to embellish without it feeling too crowded, I also have a big stack of photos I want to scrapbook. In fact, ‘big stack’ is laughable, because there is no way anyone could just put my 4×6 photos in one big stack. I keep them across four drawers and tend to deal with a little bit of overspill all the time. (Right now it’s those wedding photos from last May that have a special box all their own rather than fit into the drawer just yet.) Suffice to say, when I hear ‘but I have too many photos to just put one on a page’, I hear you.

I think the difference is just that one photo on a page doesn’t bother me, and then I include other pages that make up for it with plenty of photos. To go opposite that last page I shared, I made a pocket page with four 4×6 photos, while still having room for a 4×6 title card, a 3×4 journaling card, and a 3×4 wood veneer card just for fun. I also challenged myself to just turn on the camera and film while I scrapped rather than my normal process of scrapping upside down and explaining as I go, so today I have a short video to share with you to show how this pocket page came together.


This page uses supplies remaining in my August Best of Both Worlds kit, plus a divided page protector. (For those keeping tabs, I have one more 12×12 page from that kit to share with you, then I’m moving on to the next set of supplies.)

scrapbook page by shimelle laine @ shimelle.com
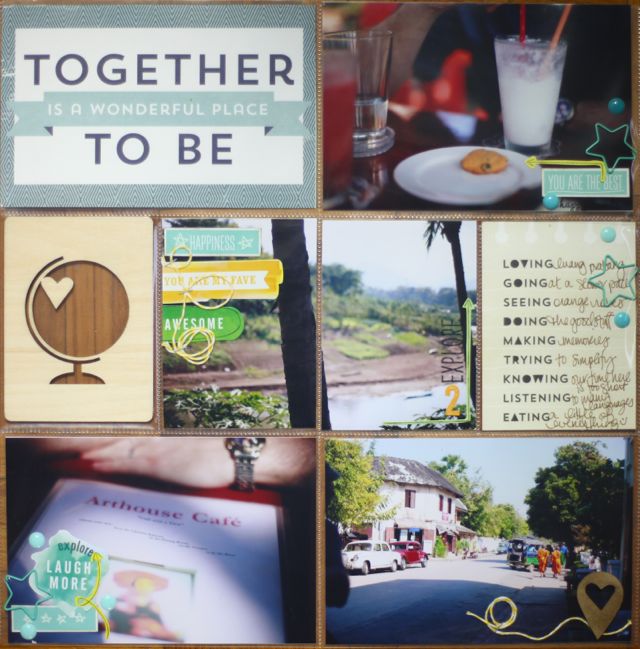
This finished page sits to the left in my album where the ‘midday milkshakes’ layout sits on the right. All the photos here are taken from where I would sit there on our little middle of the day break, with a view of the river, the menu, and the street. Since the story of all this is explained on the facing page, the pocketed page protector is there just as a very easy way to include more photographs that bring back the memory of this place, but it’s the one I put on its own that brought the story to mind, so I singled that one out and grouped all the rest here.

For now, the back of that page protector won’t have anything showing. As I work on photos in that section of the album (my albums go in chronological order, even within a special event album like this) I will decide to either fill the reverse with photos and journaling cards as well, or to cut a 12×12 patterned paper to the right sized boxes to fill the spaces. Because the wood veneer card looks best without anything behind it, I think I will opt for the first option, and I’ll figure out at some point what photos are best there. But it doesn’t bother me at all to see the backs of the photos and the papers right now when I flip through the album – won’t be the first or last time that happens, so I just embrace it.

Thanks so much for stopping by today. For those who haven’t seen it yet, Two Peas announced their education and inspiration programme for 2014 earlier this week. Glitter Girl videos are still on Wednesday. They are changing just a little bit and I’ll share more about that once this week’s is live. You can see the whole schedule here, and it’s a schedule I’m very excited to have in front of me. We’ve been working on a lot of projects behind the scenes for Two Peas’ fifteenth year, and there is much inspiration coming your way. I hope you enjoy!

Preparing for a December scrapbooking project like Journal your Christmas

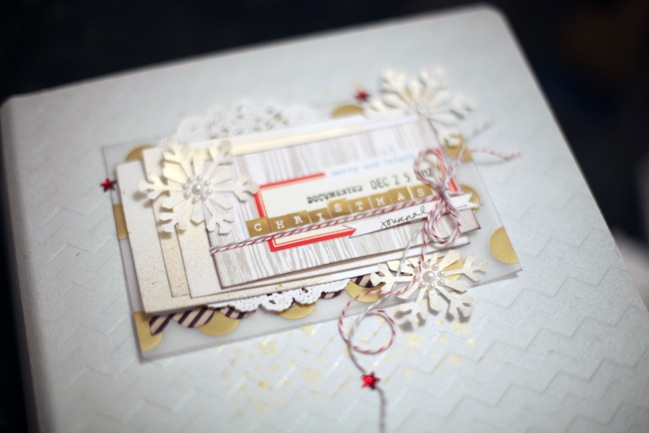
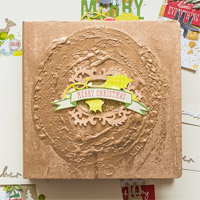
2012 Christmas Journal by shimelle laine @ shimelle.com
Tomorrow marks the start of Journal your Christmas 2013, and I’ll be starting a new album just for this year. But I’ve made more than one by now, so I’ve found over the years that different processes work well for different types of creative people and all the individual factors that go into their unique December for that year. Some crafters love to prepare in advance and have their book read to go as soon as the Christmas products hit the stores! I am not one of those people, and I’ve found that the albums I prepared the most in advance were the ones that were most difficult for me to complete as the month went on, so my preparation is more limited yet there’s still a tiny bit of a system that works for me. The good bit is that system doesn’t require much time at all, and it’s absolutely fine to do even in the first few days of December, if not later.


This video is from Journal your Christmas 2012, and this is the preparation I did for the start of December – meaning I painted my album cover on either the 30th of November or the first of December, and then the video also shows my very first entry which I made on the first. And you can see an idea of the type of preparation I do: choosing an album to work with and the page size, gathering supplies, and having some design ideas in mind. That type of preparation works really well for me! Sometimes I work on the album cover at the beginning of the project, sometimes at the end, and once or twice I’ve actually made changes to my cover in the middle of the project itself. I will warn you I started December with a pretty gravelly voice last year and I can hear that in this video! So far this winter, my voice is intact. Long may it last!

The album I used last year is a Studio Calico Handbook (I used the chevron cover, which is currently 30% off, but there are several different designs and currently all on sale). The page size is 6×8 inches, and I used a mix of page protectors to have pockets in 3×4, 4×6, and 6×8. I really liked this size for the project and this year I’m using the Dear Lizzy Canvas Album with the same page size but a variety of different types of page inserts as well as the pocketed page protectors. I haven’t done anything to my album at all yet, but will be doing that in the next few days and will share with all the class participants!

Another thing I sometimes prepare in advance are date tags or page numbers to be added as I go. I’m not doing matching numbers this year so haven’t done them in advance, but this video shows the process I have used for making matching (or coordinating) layered embellishments with numbers to count the days of December and early January.


For further ideas on album covers and design styles, the Garden Girls have so much beautiful stuff to share! They’ve each made a holiday album this year – some albums ready to be filled with this year’s memories and some scrapped with stories of Christmas past. Have a look through and see what speaks to your creative style. Click any of the images to see more of that album, plus all the supplies used to make it – pretty much all of which are at least 30% off at the moment. They are gorgeous projects from start to finish.

I’d also love to point you in the direction of two blog posts from two JYC participants who have been part of this adventure for several years: Dolly shares her unique 2013 project and Rachel shares her full 2012-2013 album.

Every year I see at least a few people lament that they haven’t made an album and a stack of pages by the first of December, so they might as well not start with any sort of project like this for the year. While some crafters work really well with pages prepped in advance, it is not the only way and I really hope it won’t put you off jumping right in. If you can type on your screen or jot notes on a piece of paper, you can create a memorable journal this Christmas – even a very beautiful, crafty one – without a single thing prepared in advance.

The other big worry I hear from Christmas journalers is the idea that they can’t ‘keep up’ or making an entry every day is too much. With Journal your Christmas, there is no such thing as falling behind. I believe you really must live first and scrapbook later and that means not every single day in December will be the same. Some will be filled with holiday activities from start to finish. Some will be quieter and could be any day of the year really. The writing prompts for Journal your Christmas are not just about your activities this year, so you can mix memories of Christmas past, documentation of Christmas present, and hopes for Christmas future all in the same book. You can do ‘daily’ entries that are not truly made every day, like keeping notes and then filling things in here and there when time allows, be that in December or July. And most importantly, you don’t have to do daily entries. It’s not a requirement in any way – it’s merely one way you can work on this project and definitely not the only way or the right way! In fact, if you’re not feeling up to writing much this year but really wish you could finish the season with a great library of holiday photos, you could ignore the daily writing themes entirely and focus on the daily photo prompts that come to your inbox too! This is truly a project where everyone is welcome and you’re encouraged to make the project work for you in absolutely any style.

Christmas journal supplies @ shimelle.com
You truly can use any supplies you would like for this project, and if you have a stack of stuff that needs to be used, I really encourage you to use what you have on hand. I’ve assembled a kit of supplies that I’ll be using, though I inevitably throw in a few things sitting on my table just as they happen to seem useful, and I have a very small number of those kits left here for UK addresses only. I’ll be listing those here on the blog tomorrow, the first of December, once the first prompt has been sent. No matter where you are in the world, you can order your choice of supplies from Two Peas, and if you’re thinking of shopping now, I would do it this weekend while the prices are greatly reduced for their Black Friday sale. You can find my individual product picks here and options for collection packs and paper pads here, if that helps! (Neither of those lists are meant to be one where you need everything! Just pick what you like to suit your budget.)

And one last note – you can join Journal your Christmas absolutely any day of the year! It’s never too late to jump right in, so no matter when you see this post, you are very welcome to join us.

It’s so close to December!

Creative Movie Maker Blog Hop

scrapbook page by shimelle laine @ shimelle.com
Today I’m very happy to be joining in with the Creative Movie Maker Blog Hop, brought to you by Echo Park and Carta Bella paper companies. Echo Park and Carta Bella are sister companies that release paper collections throughout the year, and they sent a few scrapbooking video makers one of their latest collections so we could give it a try, and also so we could all share a video with you today.

For my project, I used the Hello Again collection from Carta Bella, and set myself two challenges: create a page on a white background instead of my usual habit of patterned paper, and think of travelling light when it comes to supplies. I created my page in my usual space, but it’s been about six months since I went away to scrapbook and I’m thinking I need a day scrapping with friends soon, and that requires getting in the mindset of packing light!

scrapbook page by shimelle laine @ shimelle.com
Does adding a patterned border around the edge of the white cardstock count for that first challenge of mine? And as far as the packing goes, I would have needed to pack a sheet of white cardstock, the 12×12 and 6×6 Hello Again paper packs (or have decided at home which 12×12 sheet I would use and just pack that one piece of paper plus the sticker sheet), two bottles of mist, one pack of stamps plus ink pad, block, and ink applicator for edges, one pack of Thickers, two rolls of tape, a sheet of enamel dots, and my usual to-go tool kit of scissors, adhesive roller, pop dots, black pen, and cloth for cleaning up ink. I don’t usually take a paper trimmer to scrap elsewhere. Would that all qualify as travelling lightly? I’m not sure when you consider I used all that for just one page, but if I knew I had a few pages worth of photos that would work well with just those supplies, then I think it certainly makes the jump to being quite useful for scrapping elsewhere! If I’m going to spend the day cropping somewhere, I do tend to carry more than this, but as I don’t take a car I am usually limited to one bag and it’s always surprising just how quickly it’s filled!


Now! The movie! Youtube is giving me minor fits today, but it looks like it should be ready to view shortly, fingers crossed! This is the perfect time to jump through the hop and take a look at the projects and videos posted, and by the time you make it back here, hopefully this notice will be replaced with the live video! I’m happy to report YouTube and I are finally back on speaking terms! Well, mostly. It has still decided to display ads on this video for the music, except I bought a license to play that particular jingle, so this is new! Please click the ad away and I’m working on getting rid of it for good.

I hope you find a few new channels you like, and please do subscribe to the YouTube channels of any of the participants that you enjoy! Take a visit to Jen Gallacher, Celine Navarro, Lilith Eeckels, Janna Werner, Marcy Penner, Wilna Furstenberg, and Laura Craigie. Laura’s post will bring you back to here!

Many thanks to Echo Park and Carta Bella paper for this opportunity, and may YouTube smile on me in the next few minutes!

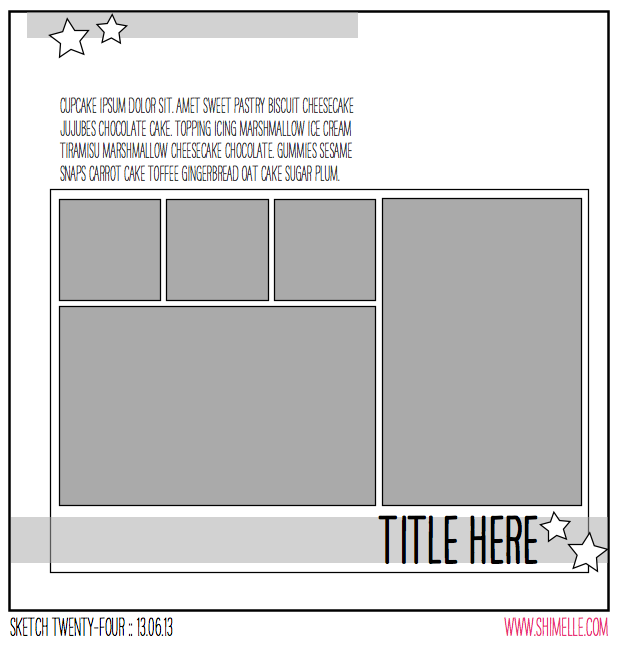
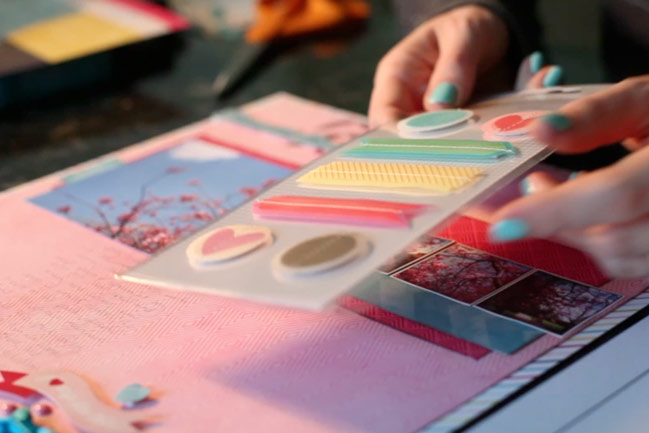
Sketch to Scrapbook Page :: Scrapbooking with 4x6 and square photos

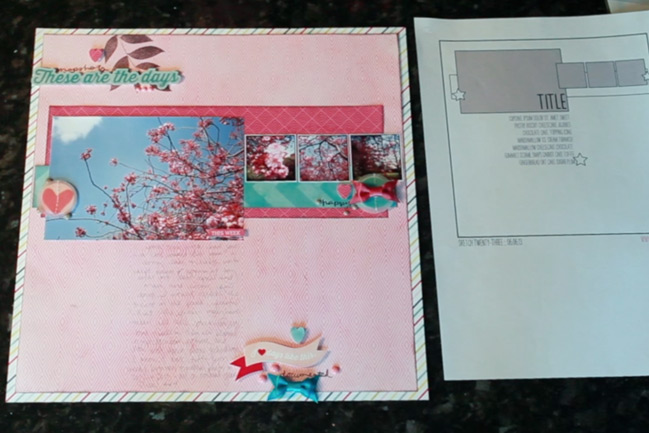
scrapbook page by shimelle laine @ shimelle.com
Does your calendar tell you today is called Sunday? This week it’s wrong: today is called Sketchday! All day today I’ll be sharing new scrapbooking sketches, pages, and videos right here. I hope you enjoy!

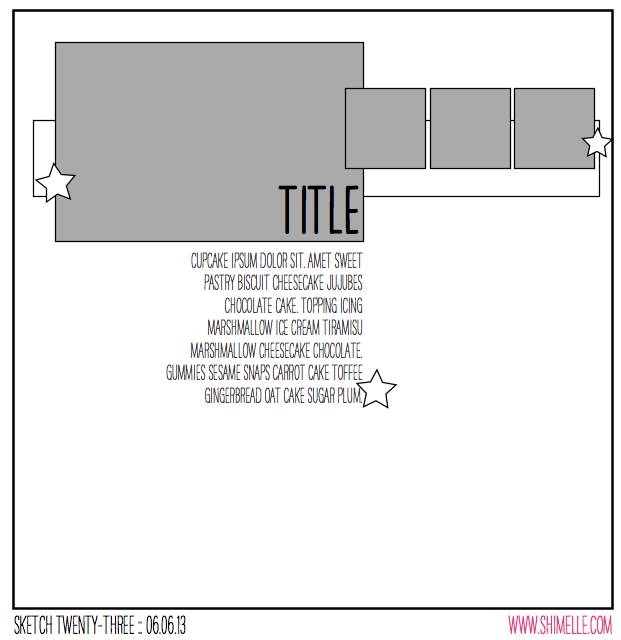
scrapbooking sketch @ shimelle.com
Several of these sketches include ways to mix square and 4×6 photos on the same layout, perfect if you find you have photos on your phone and your ‘proper’ camera from the same event. Of course you can really crop photos from any camera to any size you want, but I know my photos often fall into those two categories – rectangles from my camera, squares from my phone. I’d like to use them together more often.


For this page, I used a couple sheets of older Sassafras papers and some current Cosmo Cricket papers, plus Doodlebug letter stickers, Junebug Thickers, Amy Tangerine stamps, and tapes from October Afternoon, Glitz, and Freckled Fawn. (Not to worry if you’re looking for pages with Best of Both Worlds supplies – there are those coming up today too.)

scrapbook page by shimelle laine @ shimelle.com
On choosing supplies for this page, I found I have really started to associate a few paper collections with specific people, and this is one of those cases. Several pages featuring this particular friend and her family feature Sassafras papers, and the more I looked at different papers, the more Sassafras just felt like it was right for continuing that story! (It may be influenced by the fact that the friend in the photos also scrapbooks and is a Sassafras fan.) Do you have any paper collections that you connect with the people in your photos? I’m thinking I have a few more of these connections, but as I hadn’t really thoguht about it before this page, I’m not sure to what extent I’ll find this in my books. I’ll be sure to report back with empirical evidence, obviously!

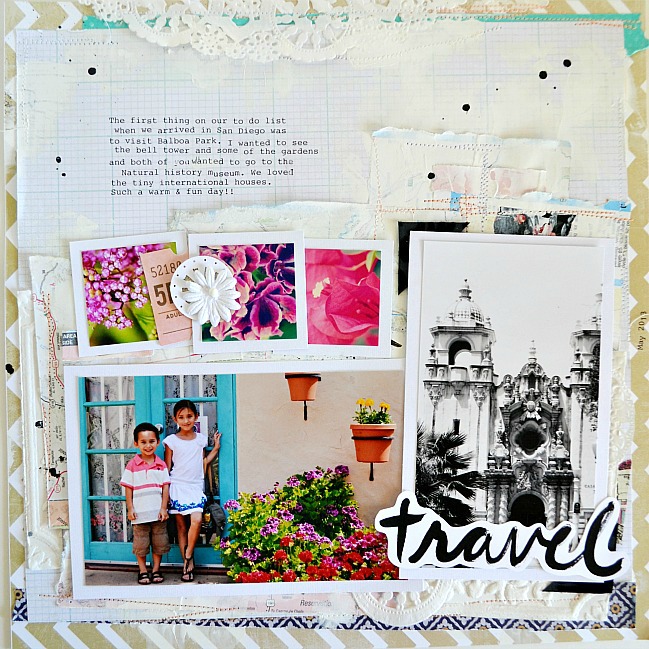
scrapbook page by Tara Anderson @ shimelle.com
I’m delighted to welcome our guest artist Tara Anderson to share the beautiful page she created with this sketch. I may have given her something out of her comfort zone on purpose: I wanted to find out what happened when an artist known for beautiful layers and soft edges went to work with a sketch as boxy and linear as this. I love what she created, and I hope it inspires you too.

scrapbook page by Tara Anderson @ shimelle.com

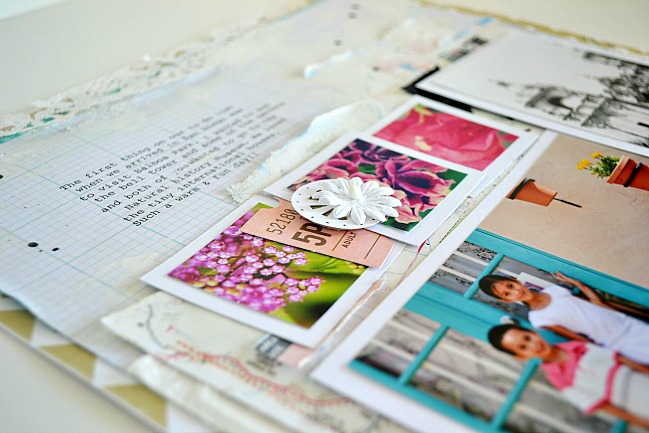
I’ll admit that initially upon seeing this sketch, the straight lines were completely intimidating for me. I’ve always viewed straight lines as too formal for me. So, after a bit of playing with the arrangement of the photos, I found that by slightly off centering them, it gave my layout a more casual and collage type feel – which I really loved! It was one of those “a-ha” moments, and then the sketch became totally do-able and a lot of fun to quickly pull together. Since this page was about traveling, I really wanted to somehow include map pages but quickly realized that the bright map colors were too distracting, so I chose to tone them down by ‘white-washing’ them with a little gesso. I also created a visual triangle, although it’s quite subtle, using pieces of a paper doily. You’ll notice that all of my accent papers were light and or white. This way I was able to layer many papers together and still keep the focus on the five vacation photos I used!


Tara Anderson resides in Arizona with her family. She has been a designer and challenge coordinator for various manufacturer design teams, and contributed to scrapbook publications from around the globe but is more widely known for her colour combinations. Tara’s scrapbooking style is full of mixed media, combining a love of vintage paper products with traditional scrapbook products and a few art supplies to create a layered, eclectic style. She loves spending time in the classroom during the school year tutoring math and summers spent traveling with her kids, taking photos with an antique Anscoflex camera and creating new memories. You can find her blog here & make your way around her Etsy shop here.


Sketch to Scrapbook Page :: Mixing 'proper' photos and phone photos

scrapbook page by shimelle laine @ shimelle.com
The next four scrapbooking sketches in this series all mix what I call ‘proper’ photos with phone photos – 4×6 prints and square prints – though really you can take 4×6 photos with your phone and you can crop photos from your ‘proper’ camera to a square, obviously. What I do know is that I often find myself with a mix of these sizes now, as I will use both my camera and my phone to take photos during the same day. I can’t be the only one, so a few scrapbook page sketches dedicated just to that seems like something more useful than unpacking your craft shopping only to find that discount offer of 100 tiny sewing needles might have been because there was no seal on the packaging. Never in my life have I so regretted that I brought my own bag. I digress.

scrapbooking sketch by shimelle laine @ shimelle.com
So yes: one 4×6 landscape photo, three small square photos! I printed mine at 1.5 inches square, and left a tiny white border on the smaller images.


Most of the supplies for this page come from the Echo Park Here & Now collection, plus a bit of paper and a stamp set by Kesi-Art, with embellishments by Crate Paper and American Crafts.

scrapbook page by shimelle laine @ shimelle.com
Here’s a quick look at how that page looked by the end of the video. A bit more reserved than Glitter Girl’s crazy embellishment last week!

Sketch to Scrapbook Page:: Slanted Elements by Anne Jo Lexander @ shimelle.com
Please welcome today’s guest, Anne Jo Lexander, who has a brilliant take on this one large + three small idea – place everything on an angle!

Sketch to Scrapbook Page:: Slanted Elements by Anne Jo Lexander @ shimelle.com
Personally I think that the more plain and simple a sketch is, the more inspiring it is. Why? It allows my brain to automatically start pondering about the possibilities, instead of locking myself in all the details that’s supposed to be in a sketch. I’m fond of telling my brain: It’s not like it’s a technical blueprint! The purpose of a sketch is rather to be a kicker for your brain to start make it your own, but I can’t help it – the more detailed, the more obligated I feel to stick to it somewhat.

Here’s a tip for you if you feel like you struggle with a sketch: Study it for a little bit, then put it away and just think of the main lines you want to add to your project. If you really struggle – ask yourself why you do this to yourself – it’s supposed to be fun, no? Ditch the sketch then!

I knew right away I wanted to do slanted elements with this particular sketch. While the ColorConspiracy-papers used here are fairly new, I’m particularly satisfied about incorporating three really “old” scrapbooking-products – the KI memory epoxy sticker from the Love, Elsie line, and the transparency, and rub-ons (it’s funny how happy it makes you – finding out that old rub-ons still works) both from Hambly Screenprints. I’m fighting hoarding one small step at a time!


Living at an island right outside the west coast of Norway, Anne Jo Lexander alternates between telling other people’s stories as a local newspaper journalist by day and telling her own story in the evenings through the use of fancy paper, embellishments and photos. She’s quite fond of creating layouts, cards, and boxes, and having scrapbooked since 2005, she’s definitely learned this one thing: You never tire of pretty paper and cute embellishments!

These days she is designing for Maya Road, Craft Origine and ColorConspiracy, and you’ll find her at her blog , her resume blog , on instagram or TwoPeas gallery.


NSD 2013 :: How I Used My NSD Sale Scrapbooking Kit

scrapbook page by shimelle laine @ shimelle.com
Over National Scrapbooking Day weekend, Two Peas offered a huge sale to celebrate and I put together a special sale kit with the idea that you might have some of these items in your stash already or if you were planning to shop, you could consider these items to take advantage of the great discounts. The slightly confusing bit is that when older items reach the end of their inventory at Two Peas and will not be restocked, they disappear from the shopping list and the store, so while you can still see the shopping list for the kit now, it is a bit depleted from its original state as a result of sold out items. Never fear: you are more than welcome to assemble something similar from what you have on hand, or to just take a bit of inspiration here or there and ignore the entire idea of starting from a kit.

If you remember the video I did for NSD 2012, you might expect that I’m on a mission to use every single scrap of the kit, but this year’s adventure is a little different. This time I set out not only to stick to just to sale items, but also to see how much I could make without adding any other products to the kit supplies. I haven’t added gems or plain cardstock or too many tools. I wasn’t super strict, and I did include some mist, sewing thread, and a favourite punch or two, but my goal was to stick to the kit alone as much as possible. The result is five finished pages from a kit that cost less than $25, and I’m pretty happy with that.


This is a long video – almost an hour! So you may want to watch in smaller segments. The first nine minutes take you through supplies and my process for dividing the kit into different potential pages, so the first layout starts around nine minutes, the second layout at eighteen, the third at twenty-seven, the fourth at thirty-five and the fifth at forty-four. So you can fast forward or stop and start as needed, but everything is there in one place so you don’t need to track down multiple videos. I hope that’s a good compromise!

scrapbook page by shimelle laine @ shimelle.com
There are a few things that surprised me as I got to the finished state of these pages, like how I didn’t use any of those die-cut frames to actually frame a photo. Because I hadn’t pulled out square photos nor anything I particularly wanted to crop smaller, they just didn’t work that way for me on these pages. But once I had accepted that, it was quite freeing to use them as embellishments only, and not be afraid to remove the square frame element at times, like on this page.

scrapbook page by shimelle laine @ shimelle.com
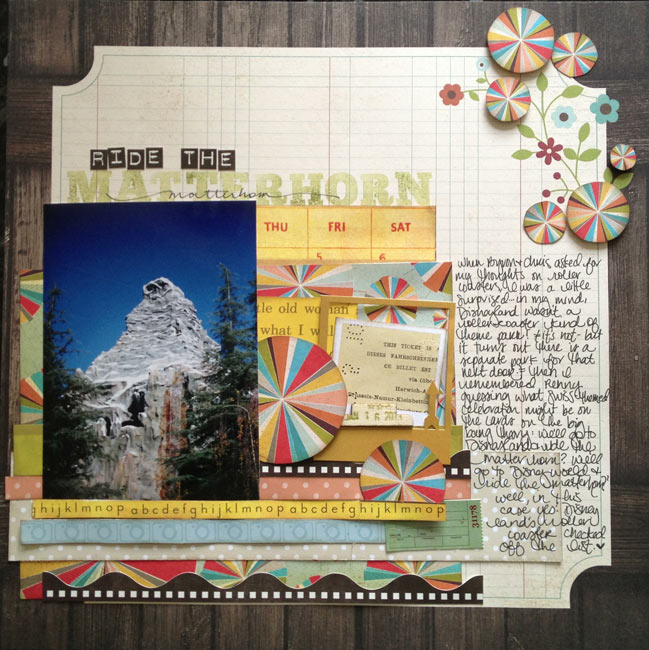
I wonder how many of you will be slightly bothered by the single turquoise letter sticker in that first line of the title. I didn’t have a choice really, and I did tie in the turquoise letters again at the bottom of the page, but I know it’s a little unexpected. It has grown on me and now I like it quite a bit, but it wasn’t instant love. If that makes you feel better! (The rainbow striped card in the middle of the page with the frame over the top? That was instant love, and I can’t put into words how much I like that look!)

scrapbook page by shimelle laine @ shimelle.com
I know there are many of you who feel covering up part of a corner design is cheating, but I really do prefer how it works with just one corner printed instead of two. And this makes me want to experiment with other types of embellishments that replace flower shapes with pie-chart motifs – I think there’s more potential in this.

scrapbook page by shimelle laine @ shimelle.com
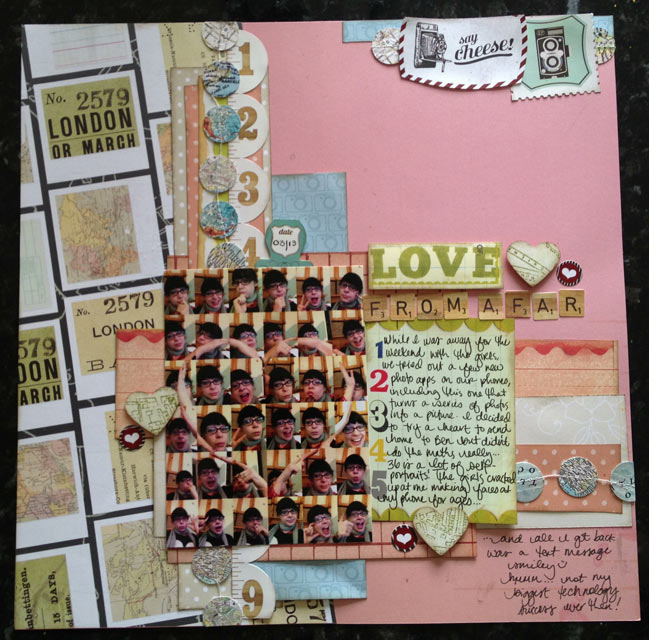
The app for making shapes within photos is called Body Symbol, by the way. Which I never would have guessed by searching in the App Store, but there you go. Now you too can be free to look silly taking thirty-six self-portraits to get the heart (or some other shape) in the middle of the image. Modern technology does wonderful things, right?

scrapbook page by shimelle laine @ shimelle.com
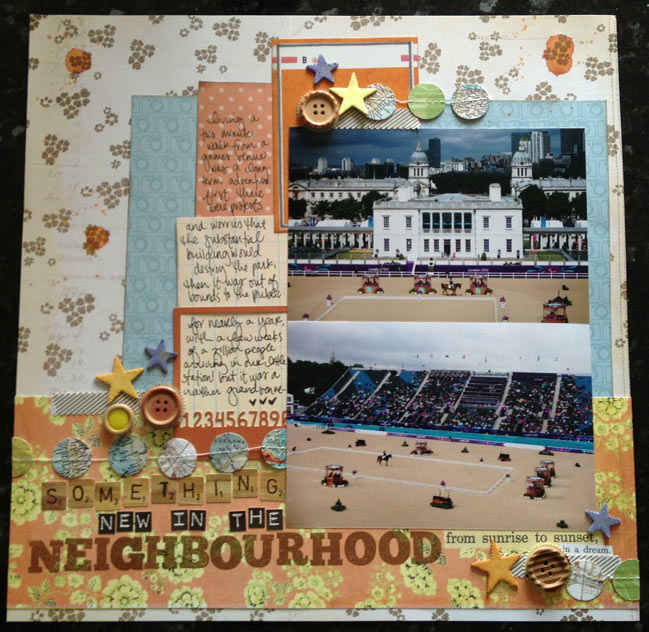
Oh dear. This photo makes me twitch a bit, as I’m not a fan of unstitched buttons! They have been stitched now, if that helps anyone similarly afflicted relax their shoulders. I also know I have recently scrapped very similar photos from this same day, but there was a different story I wanted to tell that was still a good match to these pictures. They aren’t the exact same photos, but rather I took plenty of pictures that day so I have far more than I would use to document simply that I went to see this event at the Paralympic games. In this case, it worked out well to have additional prints to hand so I had something to illustrate this other angle I wanted to include, about the long-term story of how our neighbourhood changed before, during, and after the games.

This was an interesting challenge myself to stick so strictly to the kit and it wasn’t easy! I really wanted to add a few bits here or there – and I do still have quite a few scraps left, although not enough to make another page unless I add in a sheet of background cardstock or a divided page protector. Perhaps I’ll give that a try next and see what the leftovers come together to make! This week I’ll also be sharing the remaining pages from my April Best of Both Worlds kit and starting in on the projects with the May product picks!