pretty paper. true stories. {and scrapbooking classes with cupcakes.}

lovely to meet you Twitter Facebook Pinterest YouTube

Take a Scrapbooking Class

online scrapbooking classes

Shop Shimelle Products

scrapbook.com simon says stamp shimelle scrapbooking products @ amazon.com shimelle scrapbooking products @ amazon.co.uk

Reading Material

travel

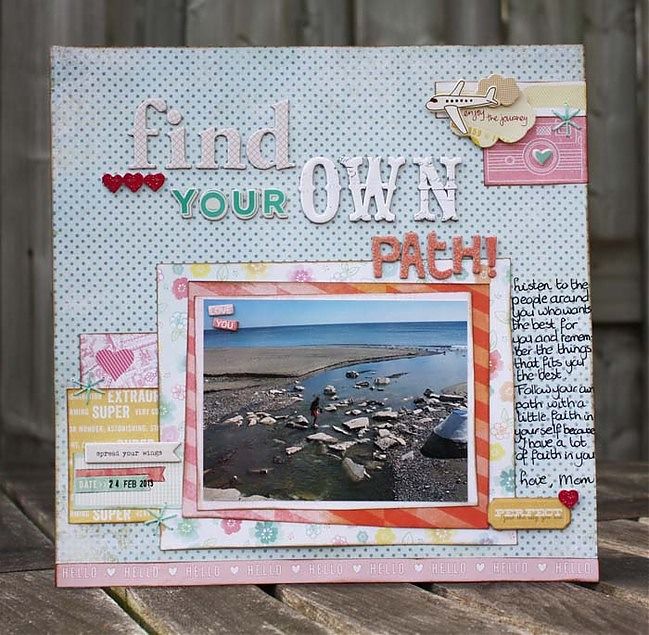
NSD 2013 :: How I Used My NSD Sale Scrapbooking Kit

scrapbook page by shimelle laine @ shimelle.com
Over National Scrapbooking Day weekend, Two Peas offered a huge sale to celebrate and I put together a special sale kit with the idea that you might have some of these items in your stash already or if you were planning to shop, you could consider these items to take advantage of the great discounts. The slightly confusing bit is that when older items reach the end of their inventory at Two Peas and will not be restocked, they disappear from the shopping list and the store, so while you can still see the shopping list for the kit now, it is a bit depleted from its original state as a result of sold out items. Never fear: you are more than welcome to assemble something similar from what you have on hand, or to just take a bit of inspiration here or there and ignore the entire idea of starting from a kit.

If you remember the video I did for NSD 2012, you might expect that I’m on a mission to use every single scrap of the kit, but this year’s adventure is a little different. This time I set out not only to stick to just to sale items, but also to see how much I could make without adding any other products to the kit supplies. I haven’t added gems or plain cardstock or too many tools. I wasn’t super strict, and I did include some mist, sewing thread, and a favourite punch or two, but my goal was to stick to the kit alone as much as possible. The result is five finished pages from a kit that cost less than $25, and I’m pretty happy with that.


This is a long video – almost an hour! So you may want to watch in smaller segments. The first nine minutes take you through supplies and my process for dividing the kit into different potential pages, so the first layout starts around nine minutes, the second layout at eighteen, the third at twenty-seven, the fourth at thirty-five and the fifth at forty-four. So you can fast forward or stop and start as needed, but everything is there in one place so you don’t need to track down multiple videos. I hope that’s a good compromise!

scrapbook page by shimelle laine @ shimelle.com
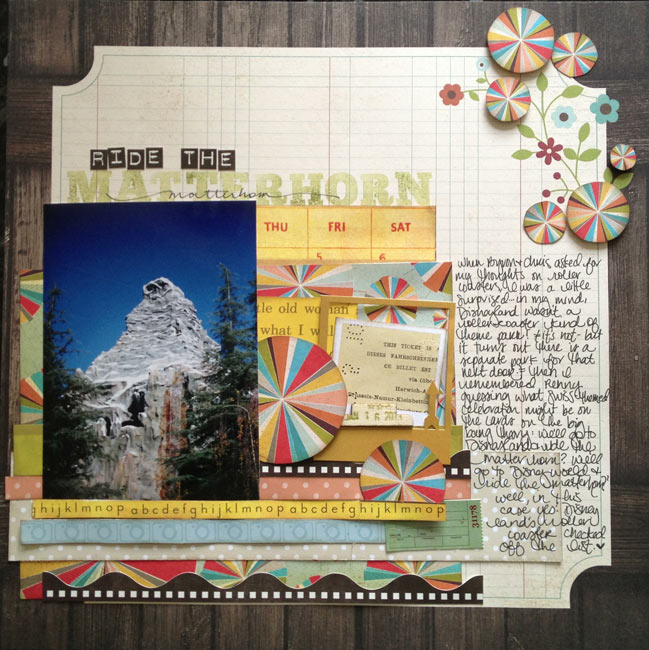
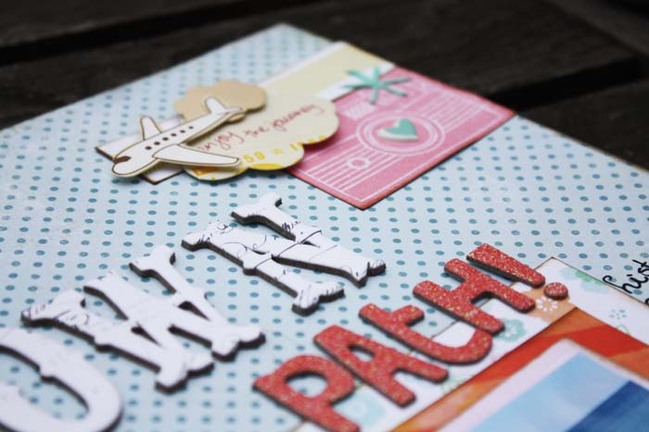
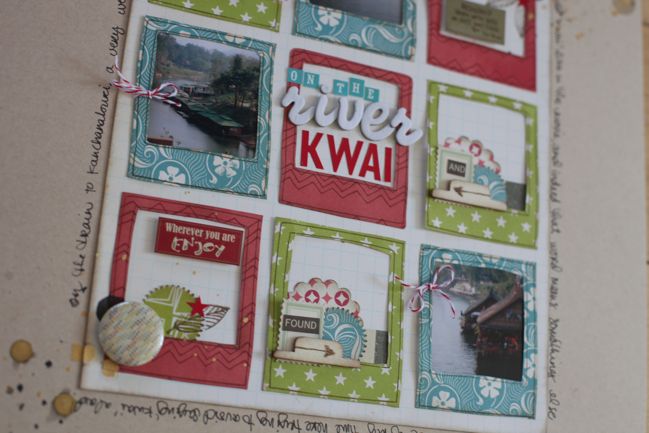
There are a few things that surprised me as I got to the finished state of these pages, like how I didn’t use any of those die-cut frames to actually frame a photo. Because I hadn’t pulled out square photos nor anything I particularly wanted to crop smaller, they just didn’t work that way for me on these pages. But once I had accepted that, it was quite freeing to use them as embellishments only, and not be afraid to remove the square frame element at times, like on this page.

scrapbook page by shimelle laine @ shimelle.com
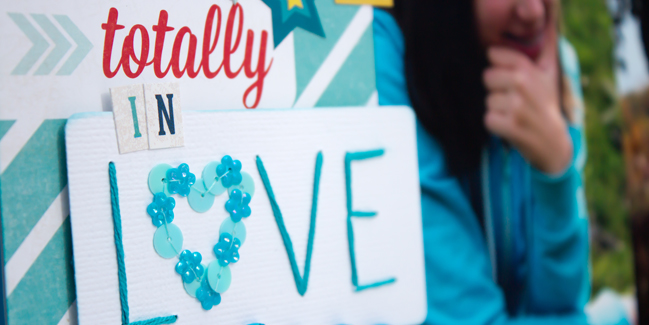
I wonder how many of you will be slightly bothered by the single turquoise letter sticker in that first line of the title. I didn’t have a choice really, and I did tie in the turquoise letters again at the bottom of the page, but I know it’s a little unexpected. It has grown on me and now I like it quite a bit, but it wasn’t instant love. If that makes you feel better! (The rainbow striped card in the middle of the page with the frame over the top? That was instant love, and I can’t put into words how much I like that look!)

scrapbook page by shimelle laine @ shimelle.com
I know there are many of you who feel covering up part of a corner design is cheating, but I really do prefer how it works with just one corner printed instead of two. And this makes me want to experiment with other types of embellishments that replace flower shapes with pie-chart motifs – I think there’s more potential in this.

scrapbook page by shimelle laine @ shimelle.com
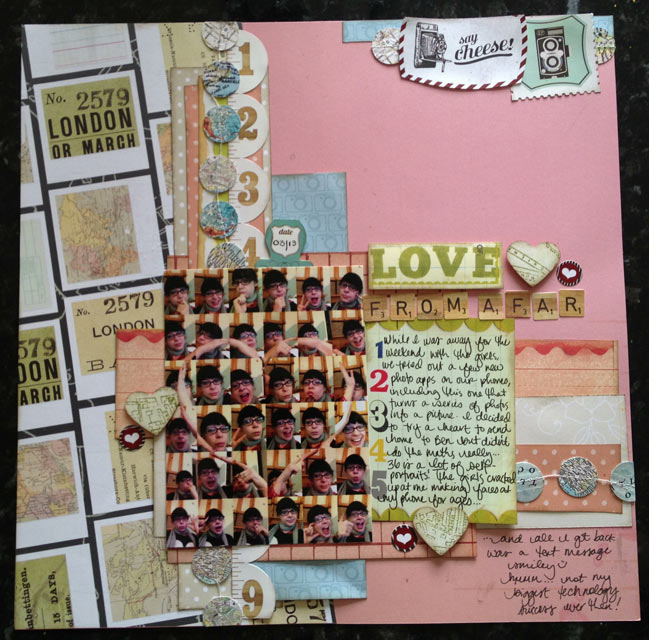
The app for making shapes within photos is called Body Symbol, by the way. Which I never would have guessed by searching in the App Store, but there you go. Now you too can be free to look silly taking thirty-six self-portraits to get the heart (or some other shape) in the middle of the image. Modern technology does wonderful things, right?

scrapbook page by shimelle laine @ shimelle.com
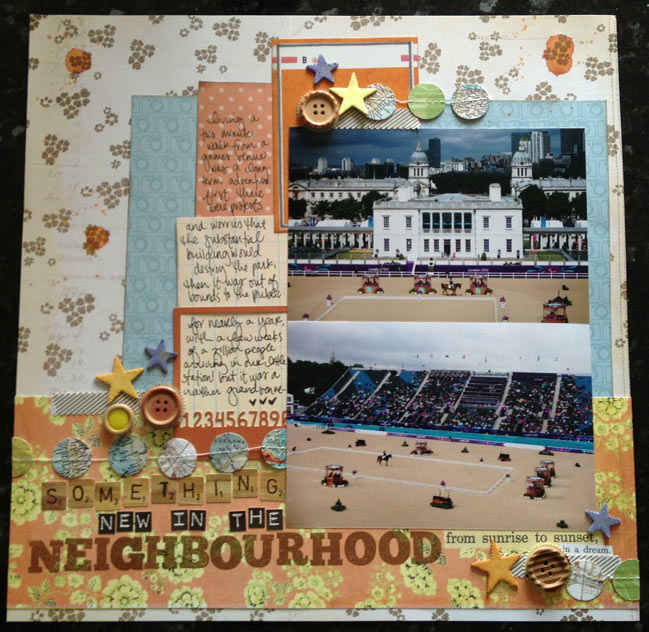
Oh dear. This photo makes me twitch a bit, as I’m not a fan of unstitched buttons! They have been stitched now, if that helps anyone similarly afflicted relax their shoulders. I also know I have recently scrapped very similar photos from this same day, but there was a different story I wanted to tell that was still a good match to these pictures. They aren’t the exact same photos, but rather I took plenty of pictures that day so I have far more than I would use to document simply that I went to see this event at the Paralympic games. In this case, it worked out well to have additional prints to hand so I had something to illustrate this other angle I wanted to include, about the long-term story of how our neighbourhood changed before, during, and after the games.

This was an interesting challenge myself to stick so strictly to the kit and it wasn’t easy! I really wanted to add a few bits here or there – and I do still have quite a few scraps left, although not enough to make another page unless I add in a sheet of background cardstock or a divided page protector. Perhaps I’ll give that a try next and see what the leftovers come together to make! This week I’ll also be sharing the remaining pages from my April Best of Both Worlds kit and starting in on the projects with the May product picks!

Five Ways to use Sequins on Your Layouts by Daphne Wünn-Rihm

Five Ways to use Sequins on your Layouts by Daphne Wunn-Rihm @ shimelle.com

What do you associate with sequins? Fancy dresses? Glittery tops? Sparkly high-heels? Glamorous bags? Well, yes – all of the above. But there is more about sequins! For quite a while now already you can spot them on scrapbooking projects, on cards or home decorations. Scrapbooking manufactures follow the trend and produce the shiny, disk-shaped beads to match their products, kit clubs include little bags of these sparkly goodness and the local haberdashery stores run out of plain or multiple facets paillets.
And there are even more creative ways to use them on your projects and not just sticking them onto your paper as they are! Today I am going to share five layouts with you, all of them showing different ways to use sequins on your scrapbooking pages.

Five Ways to use Sequins on your Layouts by Daphne Wunn-Rihm

Five Ways to use Sequins on your Layouts by Daphne Wunn-Rihm @ shimelle.com
Stick them down with Glossy Accents:
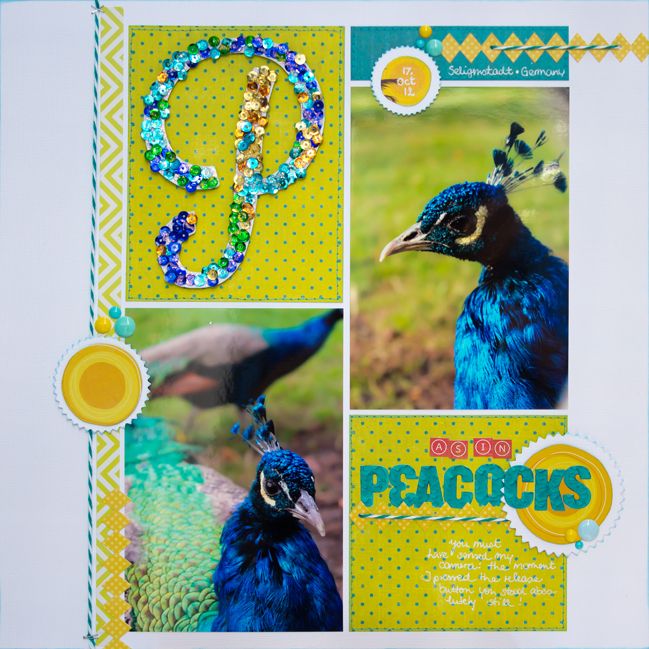
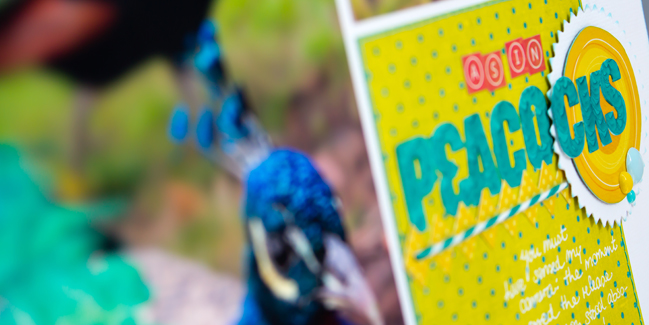
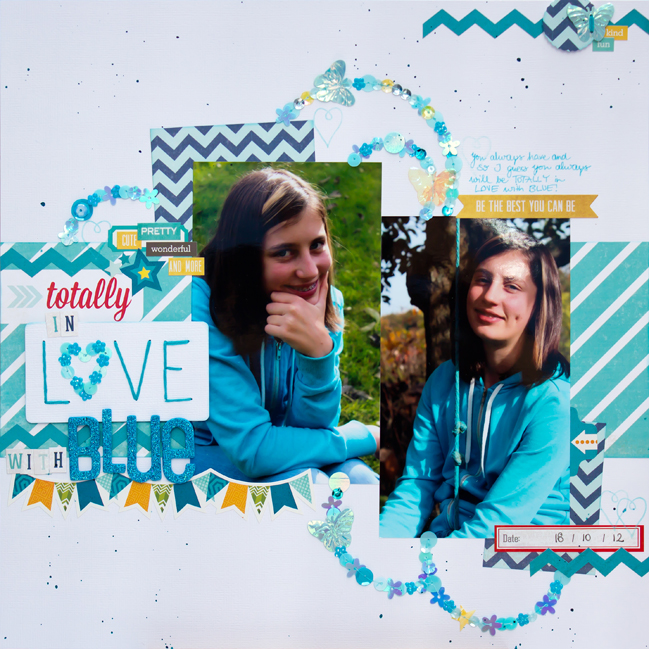
The easiest way to stick down sequins is with Glossy Accents by Ranger: you need only a very tiny drop and it bonds the shiny circle to the paper. It even dries clear – what more do you want? For my Peacocks layout I cut out the letter P from plain white cardstock. Then I just took my bottle of Glossy Accents and covered a small part with it (the glue can dry very quickly!). And now the only thing you have to do is: get your fingertips into your bags of sequins and scatter them randomly over the prepared area on your element. After I finished the whole letter I went back to the edges and added some sequins here and there. On top of everything I used Crystal Stickles to make it look even more sparkly. But that is up to you if you want to use it. Make sure your sequins shape has dried completely before adding it to your project.

Five Ways to use Sequins on your layouts by Daphne Wunn-Rihm @ shimelle.com

Five Ways to Use Sequins on your Layouts by Daphne Wunn-Rihm @ shimelle.com
Use them as a mask with mists:
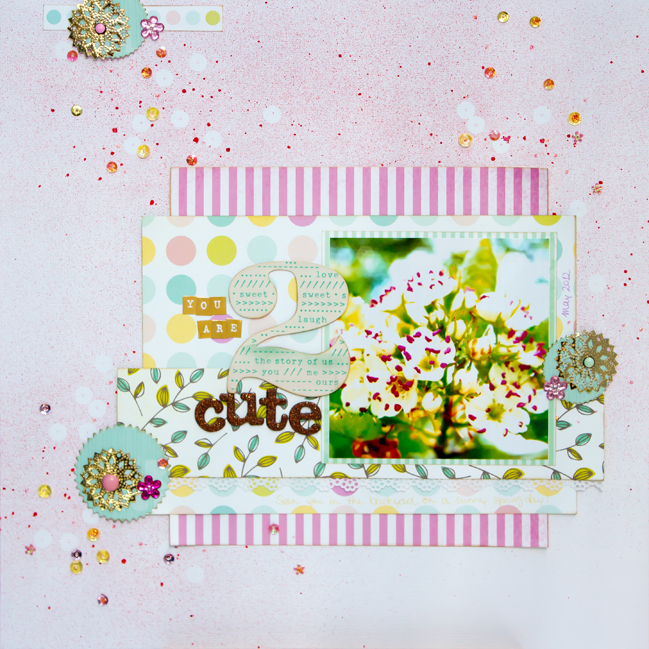
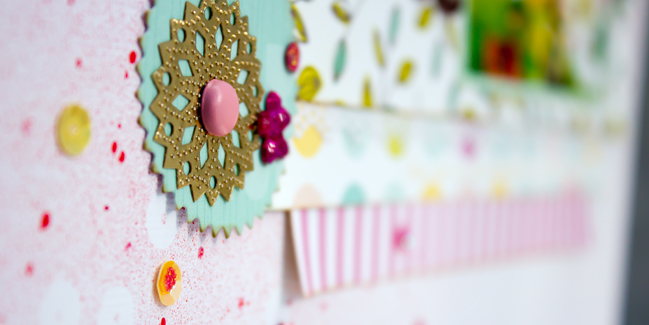
This is quite effective and might remind you of your childhood days when using leaves or other objects to project their shape onto paper with spraying paint around them. So, why not do the same with sequins? Lots of us have lovely colour spray bottles at home! I started with scattering some of my smooth sequins by Knorr Prandell onto my cardstock and carefully (you don’t want to blow them off the page, right?) sprayed some Mister Huey’s Color Mist over it. Make sure you stay about 10 to 15 inches above the paper and just let the mist ‘fall’ down. I also added some bigger sploshes with tipping onto the unscrewed nozzle. Now, leave the page until the paint is dry. Then carefully let the sequins slide off your page. The background is now ready to go for the rest of your layout!

Five Ways to use Sequins on your Layouts by Daphne Wunn-Rihm @ shimelle.com

Five Ways to use Sequins on your Layouts by Daphne Wunn-Rihm @ shimelle.com
Sew them down with needle and thread:
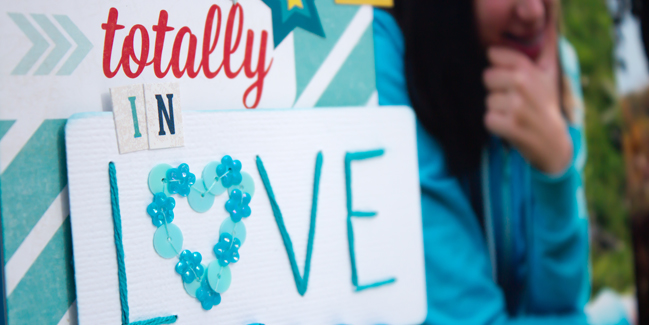
You also can fix the sequins on your layout the ‘old fashioned’ way: by sewing! So grab your needle and a thin sewing thread and get started! It will be easier if you poke the holes through the paper first, though. I drew the heart and the circles with a pencil, poked the holes and rubbed out the lines afterwards. You either can sew on the sequins with a running stitch (this way, every second sequin will be sewed down in the first direction and the holes will be filled on your way back), or with a back stitch (where the sequins are directly sewn together in one go).

Five Ways to use Sequins on your layouts by Daphne Wunn-Rihm @ shimelle.com

Five Ways to use Sequins on your Layouts by Daphne Wunn-Rihm @ shimelle.com
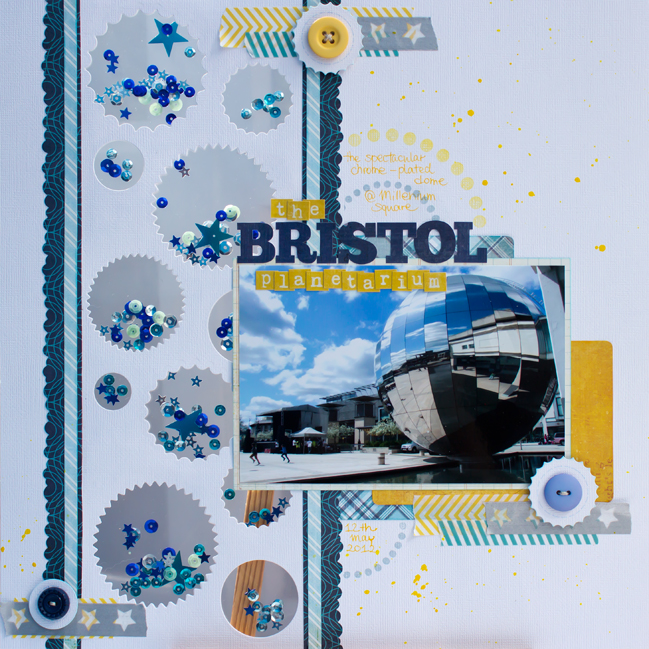
Put them in a pocket: This kind of using sequins is probably not entirely new to you. You might have seen it on Project Life pages (where they used divided page protectors with small pockets); or so-called ‘shaker cards’ with a clear window to the front and some space where the sequins can mix together. My version is similar – but also different! As I do not have an electronic die cutting machine I had to come up with a creative solution for my idea: The trick was to cut the 12×12 paper at 1 1/2 inches and at 7 inches, so what had left was a 3 1/2 inches wide and 12 inches long strip of cardstock, which now perfectly would run through my Big Shot! I then cut various sizes and shapes of circles. On the back of this strip I used some double sided tape to adhere a cut-to-size page protector. And finally – the filling! I sprinkled the sequins randomly between the sheets and used more double sided tape around the circles to fix them to their window. When this was done I taped the to strips, I cut off the 12×12 page in the first place, back on, coverd the cuts with some nice borders and no one can see I cheated a bit. Let’s keep it a secret between you and me, ok?!

Five Ways to use sequins on your layouts by Daphne Wunn-Rihm @ shimelle.com

Five Ways to use sequins on your layouts by Daphne Wunn-Rihm @ shimelle.com
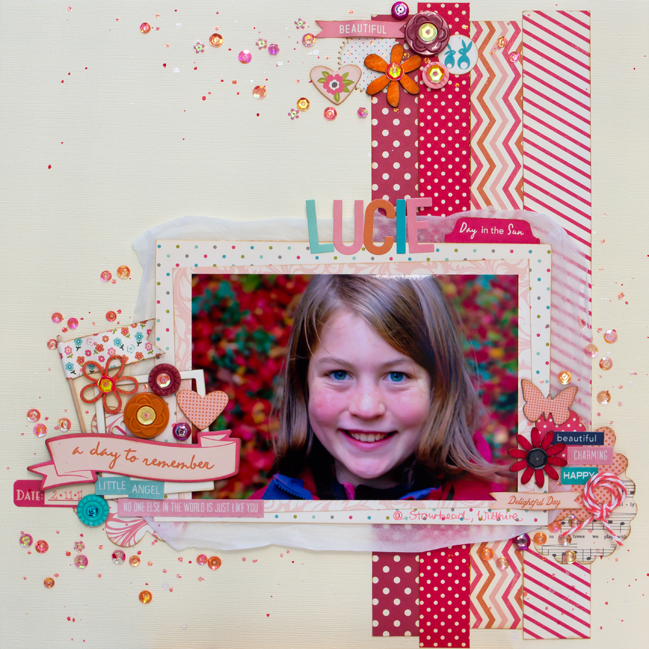
Pimp up your embellishments: Are you an embellishment horder like me? I have a few drawers full of wood veneers, buttons, brads, die cuts, clips… they all look pretty on their own, but why not pimp them up a bit to fit your project even better? I wanted more sparkling on my niece’s layout so I took some wood veneer flowers and buttons, and glued down some sequins (again, with Glossy Accents). Brads are also a good choice for the facette sequins, because of their shape: they fit perfectly on the brad’s head!
And now: hands on! Get your sequins out of their bags and onto your projects! They are really fun to use and I bet you come up with even more ideas on how to include them on your scrapbooking layouts, cards or other projects!


Daphne Wünn-Rihm (aka dapfnie) is a German girl living a laid-back, rural village life in Dorset. After she moved to England in 2010 with her husband and two silly cats, she was busy unpacking countless boxes and organising her new craft room. Having made cards and mini books before, she was not entirly new to the paper crafting business. Shimelle’s online class “Something from almost nothing” was the turning point in her life, and since then she cannot let go of pretty paper and scissors anymore!
She now captures moments of her daily life with husband and cats, the picturesque countryside of their county and documents her efforts walking the South West Coast Path.
Daphne has been published in Scrap365 and other papercrafting magazines from England and Germany. She currently is happily designing for Scrapbook Werkstatt, a German scrapbooking shop. And she is never shy of a good challenge over at The Studio Challenges, where she contributes to scrapbooking adventures bi-monthly.
You can find out more about Daphne on her blog dapfnie.design , on Pinterest , Instagram and on Twitter .

Scrapbooking the milestones of life

scrapbook page by shimelle laine @ shimelle.com
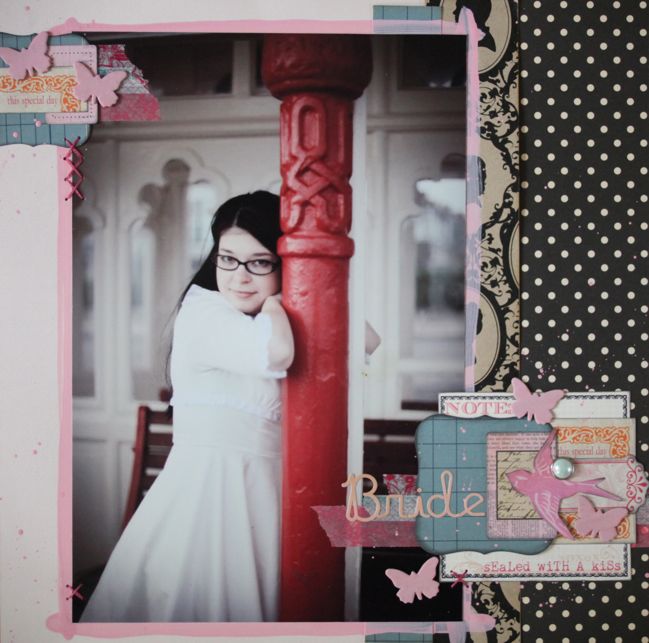
The big events in life are such an extreme subject for scrapbookers: either the fabulous memories and fancier-than-usual photos inspire us to work on some of our favourite pages, or the landmark nature of the event fills us with fear of ever starting anything, worried we might ruin something by doing a less than stellar job with those special photos. On the one hand, I’ve been remarkably casual about working on my wedding pages, and prefer to just do some now and then in my regular rotation rather than setting a deadline for a ‘complete’ album. But then again…

scrapbook page by shimelle laine @ shimelle.com
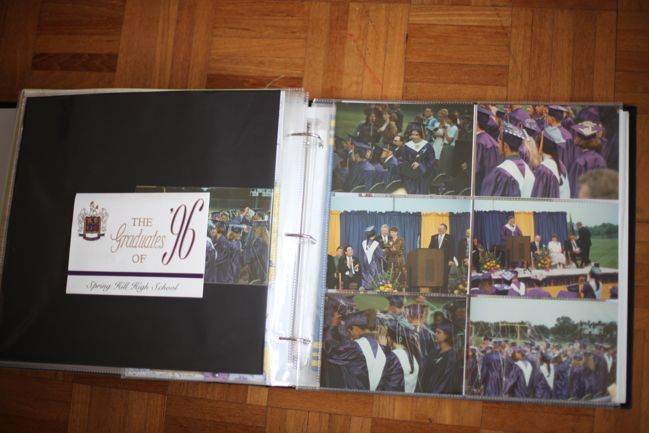
…this is what my high school graduation looks like in my album. So it’s not like I have some secret bit of fabulous advice on this subject really! It looks pretty much like I’m running 50/50, and I’m not sure how it all plays out with the other milestone moments in life.


I didn’t think of this event as a milestone straight away – after all, it’s a milestone for someone else, not any achievement of my own or someone I know personally! But after I posted it, several people got in touch and said they had been afraid to scrapbook their photos of the jubilee celebrations last summer, and that started to make sense. Although it wasn’t my own achievement, it’s something I won’t live to see again, unless medicine advances so significantly that both Prince Charles and I live a great number of years more than anyone would truly expect. I’m thinking that’s pretty unlikely. In which case, it does make sense why those photos could be nerve-wracking to scrapbook! But at least the photos are digital so it’s possible to have a do-over. That would have been a lot more complicated at the silver jubilee in 1977!

And now to guest artist Natasha Key, who advises to not treat the milestone moments special – just set yourself a quick deadline and dive right in!

Scrapbooking the milestones of life by Natasha Key @ shimelle.com
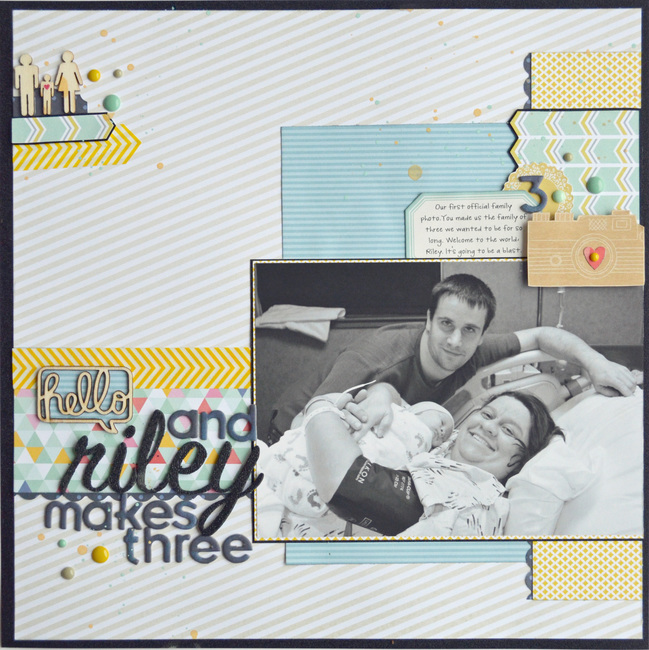
There are a few tricks that I use when scrapping on a deadline. First, sketches can be a lifesaver. It helps to give direction and limit the number of choices that you have to make. This page was based on a sketch from an online class by Kelly Purkey. Second, I like to work with a visual triangle, and repeat products with that triangle. Not having to think of each embellishment cluster from scratch really helps speed up my process. Lastly, I type my journaling. I could hand write it but I will redo it fifteen times and still not be happy. Typing it out allows me to say what I want to say and get it on the page quickly.

Scrapbooking the milestones of life by Natasha Key @ shimelle.com
About the Artist
Natasha lives in Arkansas with her husband, Jason, and their son, Riley. Having a niece, Becca, that is a frequent visitor allows her to play with all ranges of pretty papers. You can find her at her blog.

Your twenty-fourth challenge is to scrapbook a milestone! Entries close at the end of next Sunday, the 12th of May. Please check back on the 14th of May to see if you have won a prize.


Get more from your scrapbooking investment

scrapbook supplies
One of the side benefits of working with a series of guest posters is that sometimes their projects combine to teach me a big lesson. In this case, it was these two layouts, by Riikka Kovasin and Diana Besemer, that reminded me how fabulous it can be to really stretch the supplies we purchase – our scrapbooking investments! I’m relatively good at using a kit until all the paper and most everything else is gone, but I definitely have plenty of punches in my drawer despite using the same half-dozen all the time and lately I’ve been trying to remember the ‘use it while you love it rule’ applies to stamps as well as paper. I’ve just started boxing up some older stamps that I’m going to list on Ebay and I’m ashamed at how many stamp sets I’ve purchased then only used one stamp in the whole pack. Sometimes I play that stamp game just the same as paper – maybe I should use it yet because a better project will come up soon. It doesn’t make a lot of sense for paper really, but it makes zero sense for a stamp – or any tool that can be used more than once! Let it never be said that I am the most logical scrapbooker in the world, I tell you.

So for a little change of pace as we near the end of the day, two guests who taught me a lesson! I hope they inspire you to get the most from your investment too.

scrapbook page by Riikka Kovasin @ shimelle.com
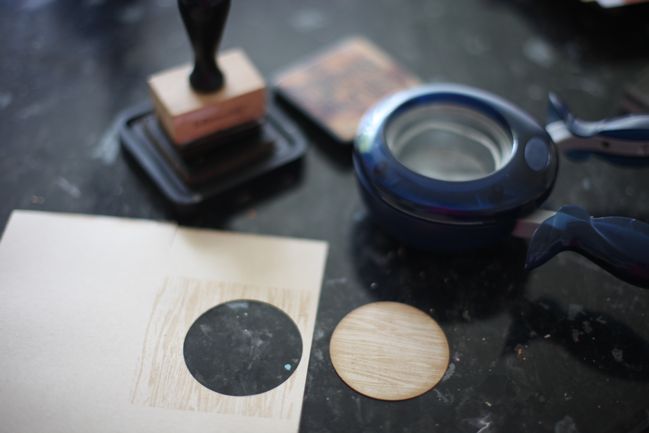
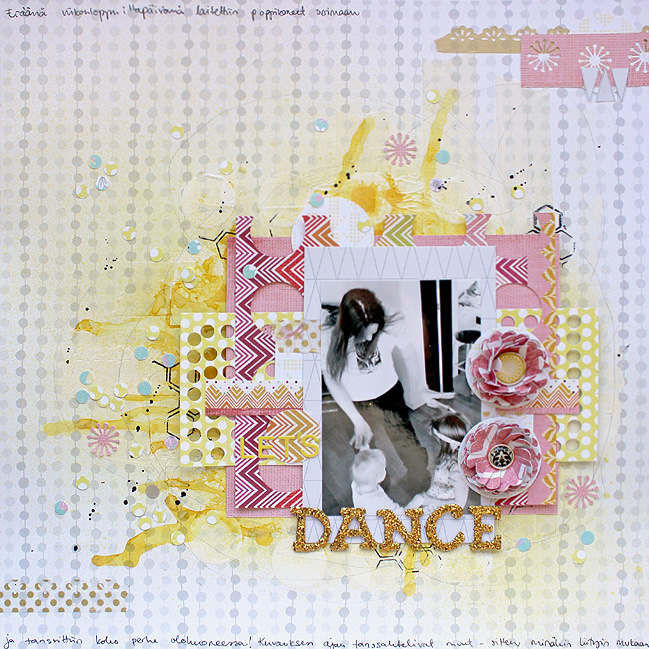
The first thing I did for this layout was to punch out a stencil for myself. I used a piece of scrap cardstock and punched large holes in it with a circle punch. I used some punched borders to create texture to the background, too. Both the punched out shapes and the negatives are used in this layout. It’s really time effective – at the same time you can make your patterned paper layers and embellishments! The papers also have delicate, airy feeling, like lace and the layers can be seen through each other. If you can’t reach to the middle of the paper with your punch, cover the solid parts and create an illusion of a piece totally punched.

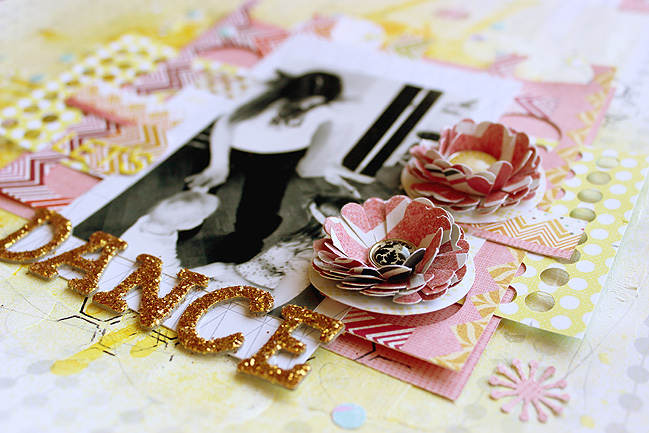
The embellishments in this layout are also made with punches. I decorated the edge of washi tape with a border punch. The flowers are made with a scalloped circle punch. I cut four pieces of the patterned paper and cut the petals loose by clipping little slits from the edge towards the center. Then I attached the layers with a brad and bended the petals a little to create 3D effect. I used the little circles made from punching the punchinella type paper as confetti to finish the layout.

scrapbook page by Riikka Kovasin @ shimelle.com
About the Artist
Riikka Kovasin is a Finnish mixed media style scrapbooker who lives in Helsinki with her husband and two daughters. She’s happiest when she can combine her love for the beautiful products with the possibility to get messy with different paint media. She also loves to experiment with different, non-scrapbooking related products.
You can find Riikka also on her blog as well as Facebook, Twitter and Youtube.

Getting more scrapbook page titles from your letter stickers by Diana @ shimelle.com
_When scrapbooking with only one picture there is enough space to get some extra use of your favourite paper, an extra long title or journaling. In this case, it’s the title I wanted to focus on, with a eye-catching effect but also something that would give me hope for my collection of supplies. By just spelling out one short word each from a variety of different packs of letter stickers, I could get more use from a sheet of stickers that wouldn’t spell a whole title. It takes more planning to get out all those sticker sheets and figure out which fonts can spell what words, but after that stage, it’s rewarding to get another word from a set of stickers that can’t spell much really!

Getting more scrapbook page titles from your letter stickers by Diana @ shimelle.com
About the Artist
Diana, who is married and mother of two children, lives in a small village in The Netherlands.
Since 10 years scrapbooking is a big part of her life. Occasionally she loves to make cards with the scraps laying around on her desk.
She designs for cardandscrap.nl , and have a blog where she post on a regularly basis.

Your twenty-third challenge is to stretch your supplies! That might mean using tools you often ignore (like lesser-used designs of punches perhaps, but other things like stamps could be your weakness) or it might be a consumable product like stickers or paper that can be used for a clever look even when you don’t have a full pack or a full sheet. Entries close at the end of next Sunday, the 12th of May. Please check back on the 14th of May to see if you have won a prize.


Scrapbooking with square photos

scrapbook page by shimelle laine @ shimelle.com
So far I haven’t joined the camp of scrapbookers who take pretty much all their photos with their phone, but I do take plenty with it. It’s just that I take a zillion with my ‘proper’ camera too! Though I don’t post anything near all of my phone photos to Instagram, I do tend to edit the images to squares, or take them in Hipstamatic, which only shoots square photos. And yet, I didn’t quite realise that square images are definitely in the minority when it comes to my albums. Just trying to find examples for this post proved a bit more challenging than I expected.

scrapbook page by shimelle laine @ shimelle.com
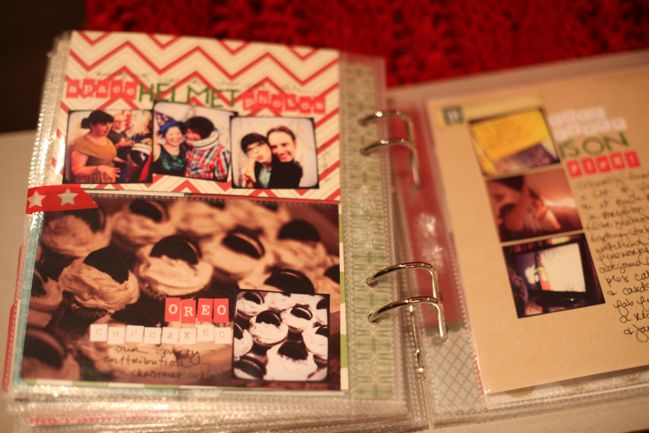
I have been on a kick recently of using my Instagram images having ordered a pack of prints from Origrami, and I have them sitting at my desk so perhaps being surrounded by the square photos made me think more of them had appeared on my pages! The project that did include plenty of squares in one place was my journal from last December, and I liked how the small square images meant I could still include plenty of photos even with the smaller page size. Useful!


Interestingly enough, the very first Glitter Girl Adventure featured a square photo, and I remember our discussion that this factor alone could make or break whether people were going to like the series! We had a lot of worried discussions in the weeks before making Glitter Girl live, actually. Maybe just a little overthinking, possibly due to my enthusiasm for a pretty oddball idea and then my surprise when my boss thought it sounded like a good idea. (Well, that’s what she said. It could have been that she was thinking something else entirely, like ‘where do I find these oddballs?’ but she was more polite about it than that!) Speaking of the boss…

And now for guest artist Kristina Nicolai-White, who is definitely pro-square when it comes to photos.

scrapbook page by Kristina Nicolai-White @ shimelle.com
_I am addicted to square photos. Once I got my iPhone and started using the Hipstamatic app, I was done for. I was taking photos with it constantly. I grew even more enthralled with the arrival of Instagram. At this point, even if I am not instagramming my photo, I am still editing them in an app or program and cropping them into a square. There is just something that feels so right about it.
As a result, I have a lot of edited photos that are square. I really like the way they look on a scrapbook layout. (No surprise. I think I would like them anywhere really). I am an 8.5×11 scrapbooker, and I can fit two 4×4 inch square photos across the middle. If I do a two page layout, which I usually am doing, I like to do 4 across. If you are doing a 12×12 page, you can nicely fit three 4 inch photos across. or you can fit nine on the whole page._

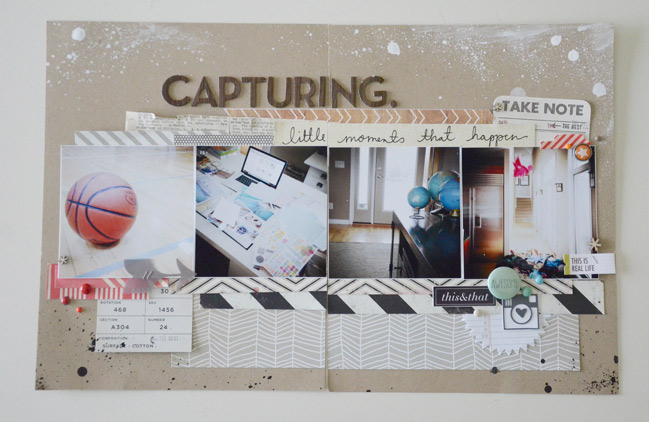
_All of the photos I printed for this page, which I knew was going to be about how I capture pieces of life with my iPhone camera, turned out to have no people in them. I had not done that intentionally, but I really liked it once I realized that I had been doing that. For me, it really adds to my feeling that I really do capture every piece of my everyday, of my life, whether there are people around or not.
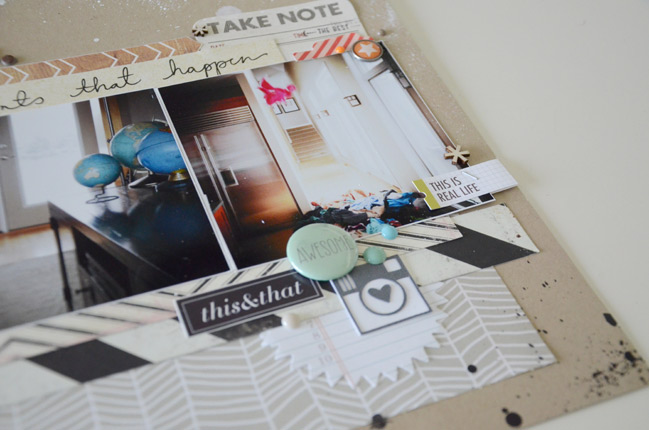
I used two plain kraft card stock sheets as the starting point for this line of photos. I created layers of papers and other bits to lift and accent the photos. I used the heavier pattern—the thick black and white stripe on the bottom to create the weight there rather than at the top. Most of the product used is neutral, grays, whites, cream, tans and a little black. I used the red pieces in the lower left corner, hoping that your eye is drawn to the orange in the farther upper right corner and then to the aqua in the lower right. All of the bits and pieces that contain words create somewhat of a sentiment if read all together. Capturing little moments that happen, awesome this & that._

scrapbook page by Kristina Nicolai-White @ shimelle.com
About the Artist
Kristina Nicolai-White has been scrapbooking and memory keeping in various forms for most of her life. Founding and owning the online scrapbooking company Two Peas in a Bucket has kept her active and part of the scrapbooking industry for more than fifteen years. Kristina loves using her iPhone to document the craziness of her everyday life with three active teenage children, two giant dogs and her high school sweetheart husband. Her work is usually full of color, products and blurry photos. You can find more of Kristina’s work in her Two Peas gallery, of course, and her new blog We Blow Kisses.

Your twenty-second challenge is to scrap with squares! Entries close at the end of next Sunday, the 12th of May. Please check back on the 14th of May to see if you have won a prize.


Ideas for scrapbooking with divided page protectors

scrapbook page by shimelle laine @ shimelle.com
Whatever did we do before divided page protectors? I am not exactly sure. I didn’t sit around thinking I needed my page protectors divided into handy-dandy pockets, but they do seem to come in ever so useful that now I wouldn’t want to give them up.

scrapbook page by shimelle laine @ shimelle.com
I’m particularly fond of using them to go back to existing layouts and improve them with a bit more writing or supporting photos – or sometimes using them right alongside the process in a case like this where the photo is large but the story is also of significant length. The divided page protector makes room for both of those plus pretty paper and embellishment. Happy times!


Glitter Girl has a few tips for using divided page protectors to help with stacks of photos that you really want to get into your albums, and I applaud her doing that because well… that stack of a thousand photos she mentions in this video isn’t really shrinking much despite all the layouts I’ve made! Turns out a thousand is a pretty big number when it comes to photos to scrap. (Please see this page for further details on this Glitter Girl Adventure.)

And now for guest artist Linda Auclair, who is going a bit meta and scrapbooking about scrapbooking!

Ideas for scrapbooking with divided page protectors by Linda Auclair @ shimelle.com
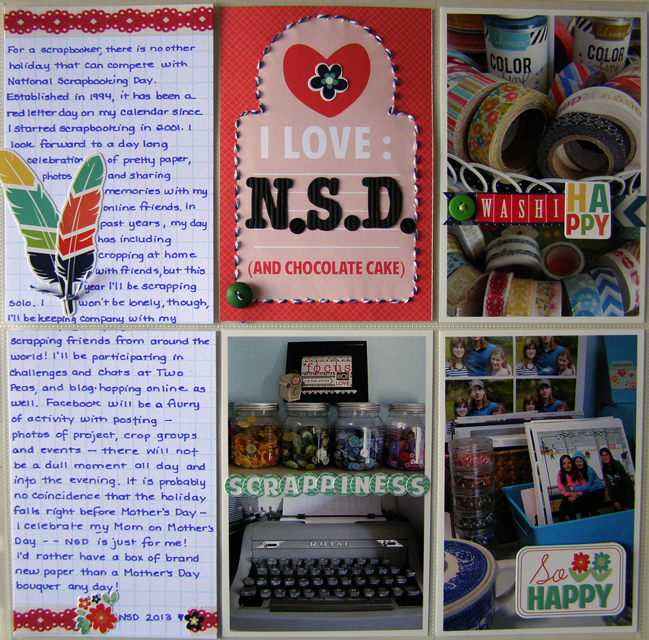
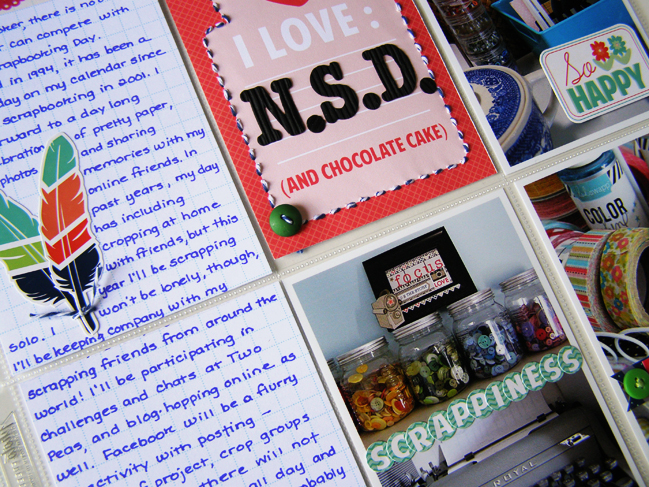
On National Scrapbooking Day a unique opportunity to interact with scrapbookers from around the world, unconstrained by the limits of packing and travel, is merely a click or two away. Participating in online challenges is one of the highlights of the holiday for me. I enjoy working with a set of guidelines defined by the challenger and find it incredibly freeing. Having an organized worktable and a variety of photos printed and ready to go are an advantage if there is a time limit involved – working within a specific “kit” of favorite products and papers that are close to hand makes it even easier. I have been working with divided pages a lot this year; creating weekly Project Life pages using a wide range of products specifically designed for this scrapbooking format alongside my favorite “traditional” products. My page for this challenge uses Echo Park Paper’s Photo Freedom collection, Happy Go Lucky. The addition of buttons, washi tape and twine personalizes the pre-printed elements and lets me tell my story without a lot of fuss. I embellished my scrapbook room photos with stickers and phrases from the collection. It always surprises me how quickly my divided page layouts come together, and I attribute that to being able to focus on one 4 ×6 section of the page at a time. My scrapbooking mantra has been “Glue and Go!” for a long time, and this format makes that philosophy a reality.

Ideas for scrapbooking with divided page protectors by Linda Auclair @ shimelle.com
About the Artist
Linda Auclair has always loved pretty paper. Long before the scrapbooking hobby took over her life, she kept illustrated journals with photos and clippings. One of her favorite jobs was in the Product Development department of a greeting card company. Working with all those great artists, colors and textures drew her into the paper-crafting medium, and once the hobby took hold, there was no turning back. In the past decade, she has had the opportunity to work for a variety of companies, such as Fiskars, Creative Imaginations, Epiphany Crafts, and her current Design Team post at Echo Park Paper, as well as a number of online retailers. You can follow Linda via her blog and Pinterest.

Your twenty-first challenge is to divide your page! It might be with a divided page protector, but you could also use the idea of a blocked page design to inspire your work on a standard 12×12 or 8.5×11 page too. Entries close at the end of next Sunday, the 12th of May. Please check back on the 14th of May to see if you have won a prize.


Scrapbooking smaller photos

scrapbook page by shimelle laine @ shimelle.com
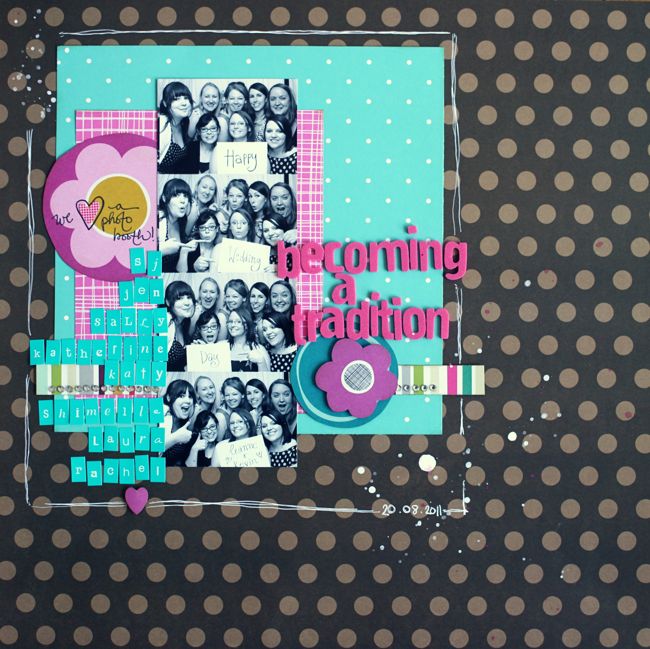
I suppose I could just be a big crafting contradiction, but I try to write it off as a need for variety: for as much as I love 4×6 prints for the majority of my photos, it can be rather fun to mix in smaller photos too. And I do love a strip from a photo booth!

scrapbook page by shimelle laine @ shimelle.com
Apparently I love a photo strip so much that I’ll also make one when it doesn’t come from a photo booth! Just printing a set of phone snaps in a row works in much the same way, and while it’s quite easy to do in Photoshop or other editing programmes, you can actually do this in a word processor and just drop them onto the page and pop them into a line then print!


This is one of my favourite small photo pages. The basic design can be used with one or two larger photos too, but the idea of plenty of small embellishments plus a grouping of small photos just keeps everything delicate and detailed.

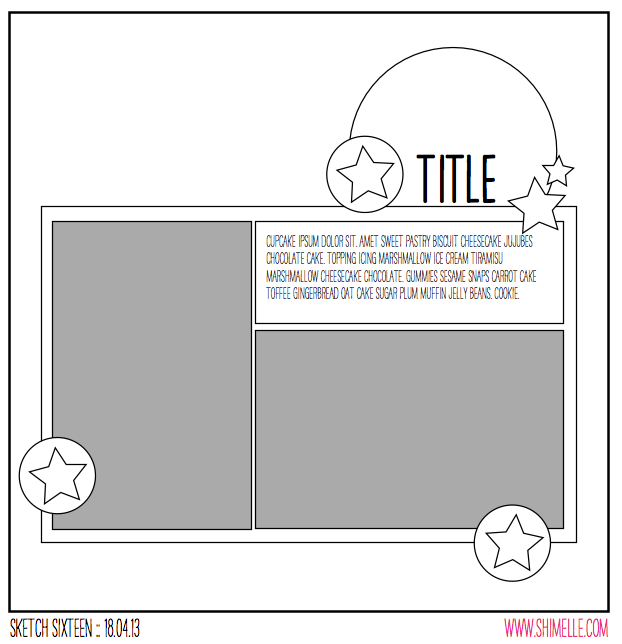
Scrapbooking Sketch by Shimelle Laine @ shimelle.com
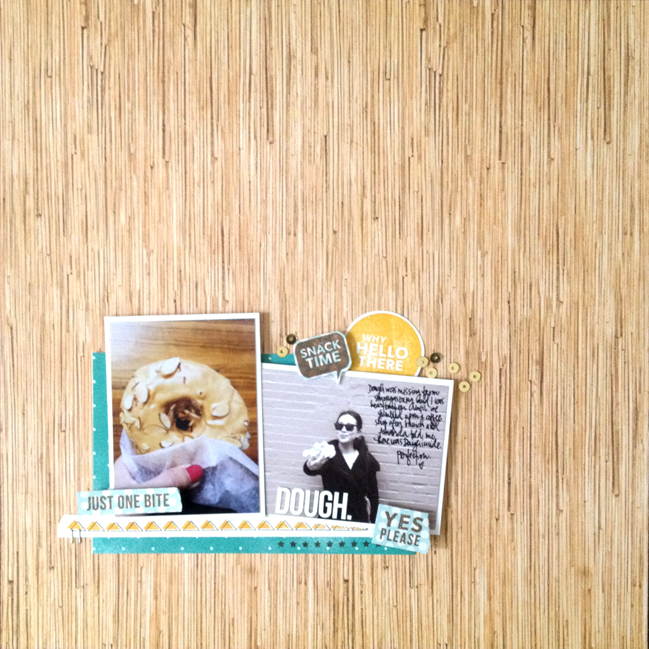
For this challenge, I set guest artist Kelly Purkey the task of using this page sketch, which she interpreted in her own style by taking it to a smaller scale.

Scrapbook Page by Kelly Purkey @ shimelle.com
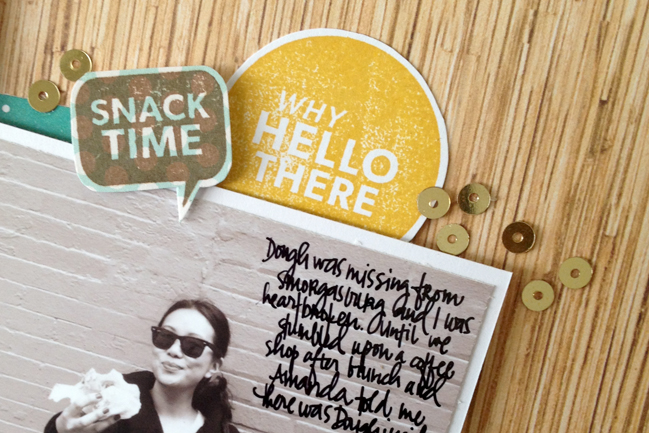
My mindset has been in smaller photos lately since I’ve been in Project Life mode and the size I use is 3×4. So I picked out two photos I had printed and made them work for Shimelle’s fun sketch. I created the same type of cluster but on a smaller scale and anchored down at the bottom of the page. I used her three groups of accents to guide me for adding some stamped words. The stamps that I used on the layout are all from my new Kelly Purkey release at Simon Says Stamp as well as the stickers and the sequins. If you are ever in New York City, I highly recommend tracking down a Dough doughnut – you won’t be sorry!

Scrapbook Page by Kelly Purkey @ shimelle.com


Kelly Purkey is a graphic designer who has recently launched her own line of paper crafting products at SimonSaysStamp.com. Her products strive to help you create projects that are bright and trendsetting with top notch designs. You can find Kelly at KellyPurkey.com and on Twitter, Instagram, and Pinterest as ‘kellypurkey’.

Your twentieth challenge is to scrapbook smaller photos! Entries close at the end of next Sunday, the 12th of May. Please check back on the 14th of May to see if you have won a prize.


Using paint on your scrapbook pages

scrapbook page by shimelle laine @ shimelle.com
I’m tempted to treat paint as the scrapbook supply with the greatest potential for mess, but I’ve actually made a lot more mess with bits of paper and those pesky backings from pop dots ending up all over the place than any paint disaster that has ever existed on my table! But still, there is something a little intimidating about putting paint to pretty paper. Maybe because it’s a case when it could go horribly, horribly wrong.

scrapbook page by shimelle laine @ shimelle.com
I’ve actually only had the horrible, horrible happen once, and that would be when I reached across a layout-in-progress to answer the phone and knocked over the paint bottle, spilling at least half the bottle and covering more than half of the page. I don’t remember who was on the phone and I hope they have forgiven me for the panic that ensued. This was when I adopted a preventative measure and started adding the paint to a teacup so it would be harder to topple and highly unlikely to splash everywhere since there wouldn’t be much paint in the cup at any one time. It has saved many a layout from an untimely end, I’m sure, because I am often the least coordinated person in the room.


Here’s a bit of evidence of my tea cup phase! It’s actually something I’m looking forward to returning to as I get all my supplies back in place, tea cups included. The Jenni Bowlin paints have sadly been discontinued by Ranger, but I stocked up when that was announced and they are still holding up well. Provided you can keep a good seal on your acrylics, they can keep for a very long time, so make sure there’s not paint on the seal of the bottle and you’ll be all set.

And now to guest artist Corrie Jones, who probably doesn’t throw paint over her layouts when the phone rings!

Using Paint on your Scrapbook Pages by Corrie @ shimelle.com
I love working with paint. I find it to be one of the best mediums to get the most out of my supplies. Not only does paint work perfectly to color chipboard, wood veneer and plain Thickers, but it also gives me complete creative freedom to create custom backgrounds for my pages. The more and more I use paints, either acrylic or watercolors, the less patterned paper I use and the more “me” I feel like my pages are becoming. For this page, I used paints to create an ombre background with red paint and gesso. I also used gold paint to give the butterfly circles some random color. Lastly, I painted white fabric butterflies different shades of teal to compliment the pink. I challenge you to use some paint on your pages! Allow yourself to play with colors and embrace the brushstrokes.

Using Paint on Your Scrapbook Pages by Corrie @ shimelle.com
About the Artist
Corrie Jones lives with her husband and three active daughters in the suburbs of Atlanta where she spends a considerable amount of time playing a taxi driver and trying to stay cool in the heat. She has been scrapbooking since 2009 and has found that it forces her to remember how amazing this life and world are, even when things aren’t happy and perfect. Beside scrapbooking, Corrie enjoys photographing her kids, reading on the beach, and eating sushi with friends.
Corrie enjoys being on design teams and can currently be found over at Two Peas in a Bucket as a part of the Garden Girl team or on her blog, You, Me & Crazy.

Your nineteenth challenge is to paint it up! Entries close at the end of next Sunday, the 12th of May. Please check back on the 14th of May to see if you have won a prize.