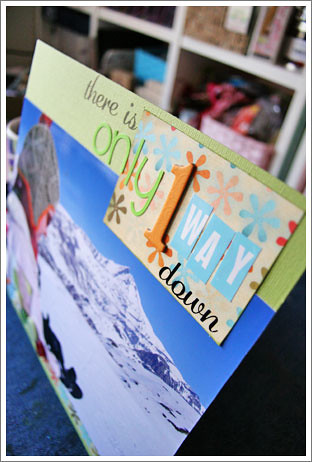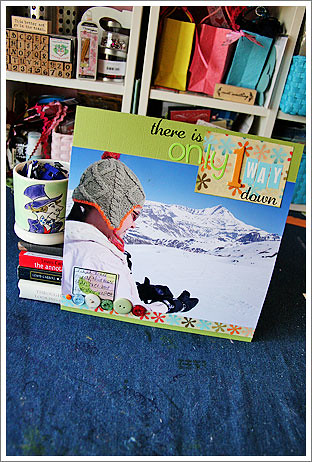
Down the Rabbit Hole
It was all very well to say ‘Drink me,’ but the wise little Alice was not going to do that in a hurry. ‘No, I’ll look first,’ she said, ‘and see whether it’s marked “poison” or not’; for she had read several nice little histories about children who had got burnt, and eaten up by wild beasts and other unpleasant things, all because they would not remember the simple rules their friends had taught them: such as, that a red-hot poker will burn you if you hold it too long; and that if you cut your finger very deeply with a knife, it usually bleeds; and she had never forgotten that, if you drink much from a bottle marked ‘poison,’ it is almost certain to disagree with you, sooner or later.
However, this bottle was not marked ‘poison,’ so Alice ventured to taste it, and finding it very nice, (it had, in fact, a sort of mixed flavour of cherry-tart, custard, pine-apple, roast turkey, toffee, and hot buttered toast,) she very soon finished it off.
‘What a curious feeling!’ said Alice; ‘I must be shutting up like a telescope.’
And so it was indeed: she was now only ten inches high, and her face brightened up at the thought that she was now the right size for going through the little door into that lovely garden. First, however, she waited for a few minutes to see if she was going to shrink any further: she felt a little nervous about this; ‘for it might end, you know,’ said Alice to herself, ‘in my going out altogether, like a candle. I wonder what I should be like then?’ And she tried to fancy what the flame of a candle is like after the candle is blown out, for she could not remember ever having seen such a thing.
-Lewis Carroll
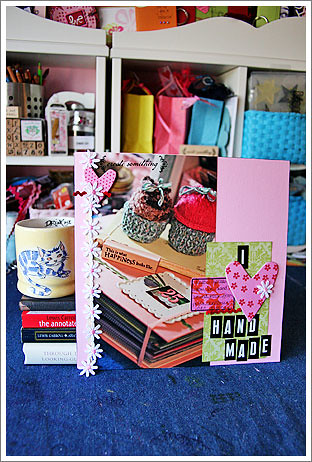
Class Supplies
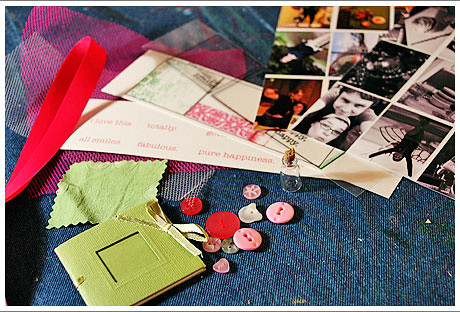
If you have a kit, you should have a blank minibook, a strip of three transparent overlays, a strip of journaling words, a strip of three printed boxes, tulle netting in two shades of pink, some bright green dyed fabric, a length of ribbon, some buttons and a tiny glass bottle.
If you don’t have a kit, you can make a similar project using a few sheets of cardstock, some patterned paper from your stash, some buttons and ribbon.
From your tools, you will need scissors, trimmer, strong adhesive or needle & thread for the buttons, glue stick or other clear adhesive for the overlays, a black ink pad and a black pen.
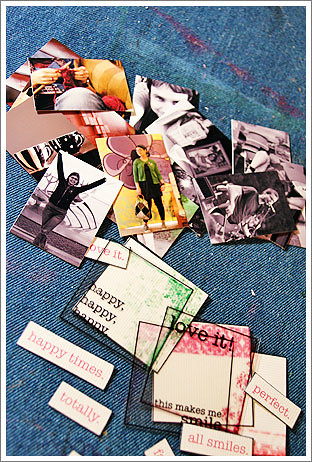
You will also need 8 to 15 photos of things you like, printed or croppable to no more than 2.5” square. I found my photos didn’t lend themselves to square cropping, so I kept the standard ratio. I used iPhoto to print 9-up on a 5×7 and this size worked well.
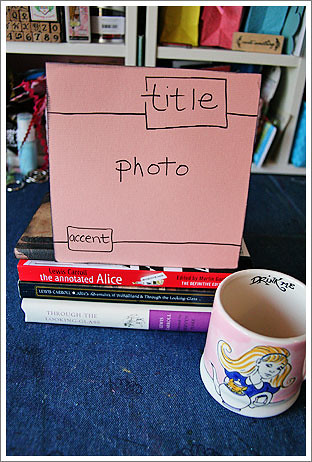
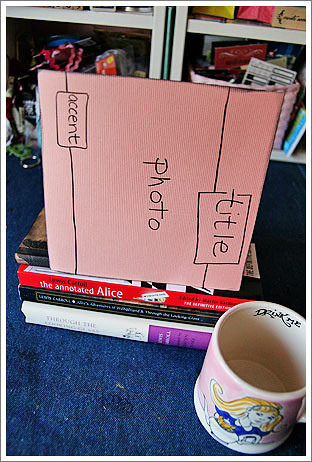
Instructions
Let’s get all the trimming done straight away. Trim the excess from the three overlays to leave you with the frame. Trim on the black lines on the boxes printed on white cardstock. Trim the journaling words to a rectangle for each phrase. Trim your photos to size while you’re at it.
Use a black ink pad to ink the edges of the words and the cardstock boxes, and leave them to dry while you go on.
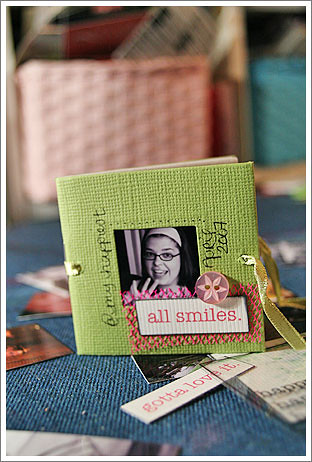
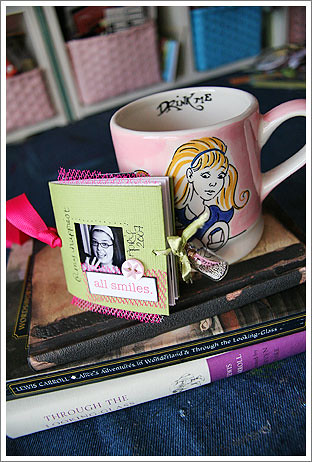
Next, we’ll make the cover. You need one photo to go in the space, so try a few until you get one you like. Stick it in place by putting adhesive inside the cover, so you don’t have to put it straight onto the front of your photo and risk getting glue in the wrong place. Then thread the ribbon through so your front cover is closed. Choose a word to put on the cover, and cut some netting as a mat for the word (don’t stress about getting the netting straight…you might be there all night) and add it to the bottom right corner. Add a button or two, then use a fine tipped pen to date your book or doodle.
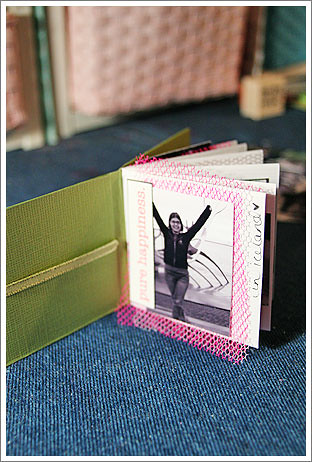
Once you’re ready to start your pages, you’ll fly right through this. Put all your pictures in front of you so you can pick as you go through—the overlays may look better on some pictures depending on where the light and dark happens to match up with the text, for example. Here are some options for your page designs, layered from the page up to the top:
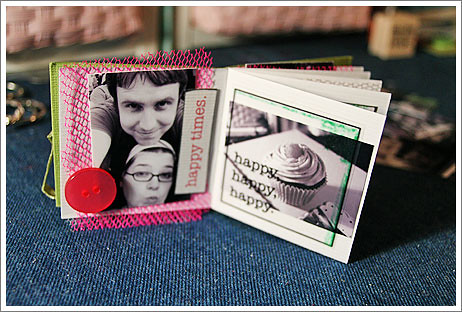
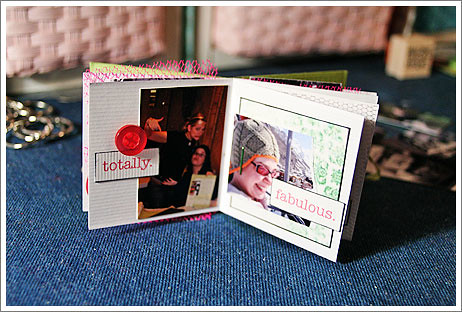
*Photo + caption + button
*Photo + overlay
*Netting + photo + caption
*Box + photo + caption (play with tearing photos, cutting with edges, stapling, etc)
*Netting + photo + caption + button
*Box + handwritten journaling
*Box + handwritten journaling + caption + button
*Netting + box + photo
*Netting + box + handwritten journaling
*Fabric + photo + caption + button
*Handwritten journaling + netting + photo
*Box + photo + handwritten journaling
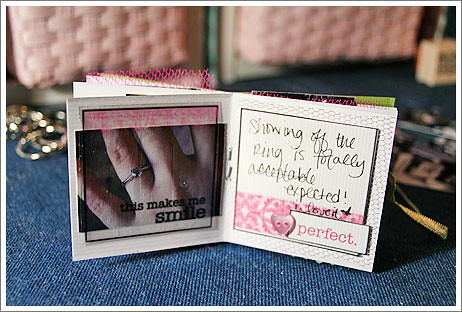
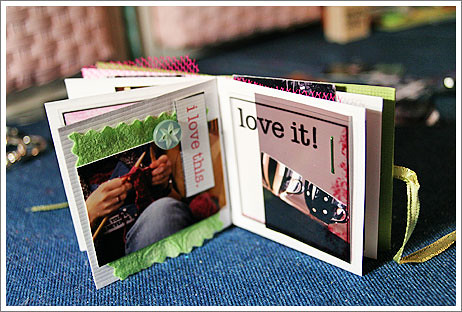
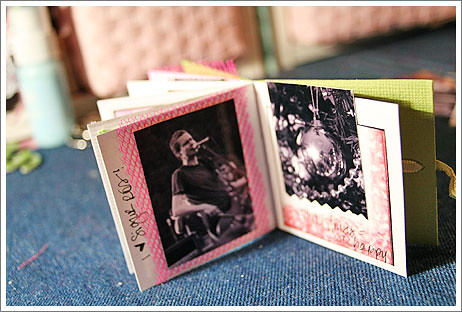
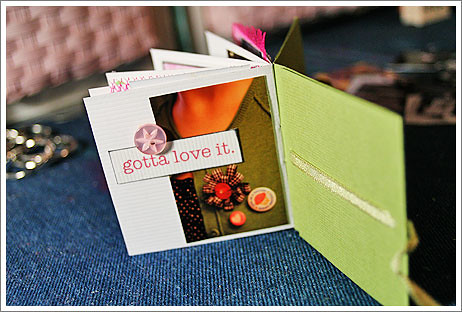
So it’s definitely a game of mix and match! Here are the pages from my book:
To finish, find a way to customise your tiny bottle. I found a few little silver beads in my stash, so added a few of those plus a tiny strip of cardstock where I had handwritten ‘smile’.
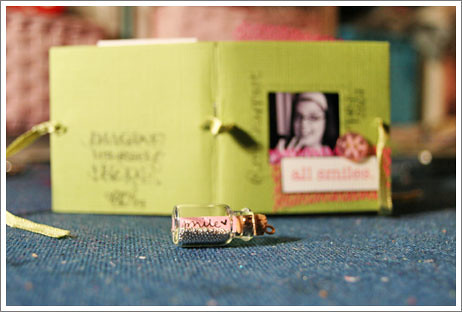
You might sign your name, cut a strip from a photo or two or have another idea completely. I also liked how it looked with cake sprinkles inside! Tie this to the ribbon closure or the centre. Be careful, as the tiny corks are pretty fragile, and the hook will fall out if pulled too much. You can always glue your cork if it needs a bit more stability.

To add your length of ribbon, pull the ribbon at the centre binding just enough to pull your ribbon through and knot it. Then you can knot the other end and have a way to tie it to something so you can see your book and smile often! You could even tie it to a handbag so when you fall down the rabbit hole, you won’t be quite as worried as Alice.
Tips for using your own stash
The pages inside this book are 2.5×5 inches. Cut as many of those as you would like, then score in the centre so they fold in half. Cut one slightly larger for the cover and bind with ribbon, stitches or a stapler. Then follow the basic idea using your own stash.
Prizes
If you upload your book online and post a link in the comments to this post, you will be entered in the draw for a bonus prize. Good luck! Drawing will take place on this Sunday evening, London time. You do not have to be in the UK to win.
xlovesx